

Before you can get that sweet SwiftNet Wifi flowing, you've got to pick the right router. This is especially true for life on the move. A router built for an RV is a completely different beast than your typical home model; it's got to handle constant movement, spotty signals, and some pretty unique power situations. The goal is to find a piece of gear that won't flake out on you when you're miles from the nearest town.
Choosing the Right Router for Life on the Road
Picking a router for your RV or rural homestead isn't about chasing the highest speed numbers on the box. It’s all about finding something tough, reliable, and adaptable. The router sitting in a suburban home gets a steady diet of power from the wall and a solid, wired internet connection from a cable or fiber line. For us travelers and folks in remote spots, the rules of the game are totally different.
The absolute must-have feature is cellular connectivity. This means the router needs a SIM card slot, letting it tap into 5G or 4G LTE networks, just like your phone. That one feature is what turns a standard router into a mobile internet command center, getting you online pretty much anywhere you can get a cell signal.
Essential Features for Mobile Connectivity
When you're comparing routers, a few specs are totally non-negotiable if you want to avoid headaches on the road. Skimp on these, and you'll be pulling your hair out in no time.
- External Antenna Ports: These are critical. When you're in a remote campground, the tiny antennas inside the router just aren't going to cut it. Having ports lets you hook up a bigger, more powerful roof-mounted antenna to grab a much stronger and more stable signal.
- 12V Power Compatibility: Your RV's electrical system is built on 12-volt DC power. Finding a router that can run directly off that system is way more efficient than using an inverter to change DC power to AC, a process that just wastes precious battery life.
- Robust Build Quality: Your gear needs to be tough enough to handle the constant vibrations and temperature swings that come with travel. Look for routers that were designed for mobile or even industrial use—they're built to take a beating.
It's no secret that the demand for reliable internet on the go has absolutely exploded. This has fueled some serious innovation, with the global wireless router market valued at around USD 15.15 billion and growing fast. Not surprisingly, residential use—which for many of us now includes our moving homes—makes up more than half of that. Learn more about the growth of the wireless router market.
When you're trying to decide which router is right for you, it's worth taking a moment to compare the key features that really matter for a mobile setup. This isn't like buying a router for a stationary house where your biggest worry might be Wi-Fi range to the back bedroom. Out here, things like power consumption and the ability to grab a weak signal are paramount.
Key Router Features for RV and Rural Use
| Feature | Why It Matters for RV Life | What to Look For |
|---|---|---|
| Cellular Modem | This is the heart of your mobile internet. Without it, you can't use a SIM card to get online. | Look for 5G or 4G LTE compatibility. A Cat 12 modem or higher is great for better speeds. |
| External Antenna Ports | Allows you to connect a powerful roof-mounted antenna to pull in weak cell signals. | Usually SMA or TS-9 connectors. Ensure it has at least two for MIMO technology. |
| 12V DC Power Input | Lets you wire the router directly to your RV's battery system, saving energy by avoiding an inverter. | Check the specs for a DC barrel jack or a terminal block and a wide voltage input range (e.g., 9-30V). |
| Wi-Fi as WAN | Lets your router connect to campground or public Wi-Fi and share it as your own private network. | A must-have for saving cellular data. Look for dual-band (2.4GHz & 5GHz) support. |
| Durable Construction | RVs vibrate and experience wide temperature swings. Your gear needs to be tough. | Metal casings and components rated for a wide operating temperature range are ideal. |
Thinking through this table should give you a solid checklist. The best router is one that ticks these boxes while fitting into your budget and technical comfort zone.
Matching a Router to Your Lifestyle
Ultimately, your day-to-day life should steer your final decision. A solo digital nomad who needs rock-solid video calls to make a living has very different needs than a family that just wants to stream movies after a day of hiking.
Think about how many phones, laptops, and smart devices you'll need to connect and what you'll be doing online. For a much deeper look at specific models and what makes them stand out, check out our detailed guide on portable wireless routers. It'll help you compare all the nitty-gritty features to find your perfect match.
Getting Your Router Physically Installed in the RV
Alright, you've picked out the perfect router. Now for the fun part: getting it installed in your rig. When you’re dealing with wireless internet in an RV, placement isn’t just about tucking it out of sight—it’s everything when it comes to performance. Finding that sweet spot is the key to a strong signal and a stable connection, even when the road gets a little bumpy.
First things first, let's get it out of the box. This handy visual guide walks you through those initial moments of unboxing your new gear.
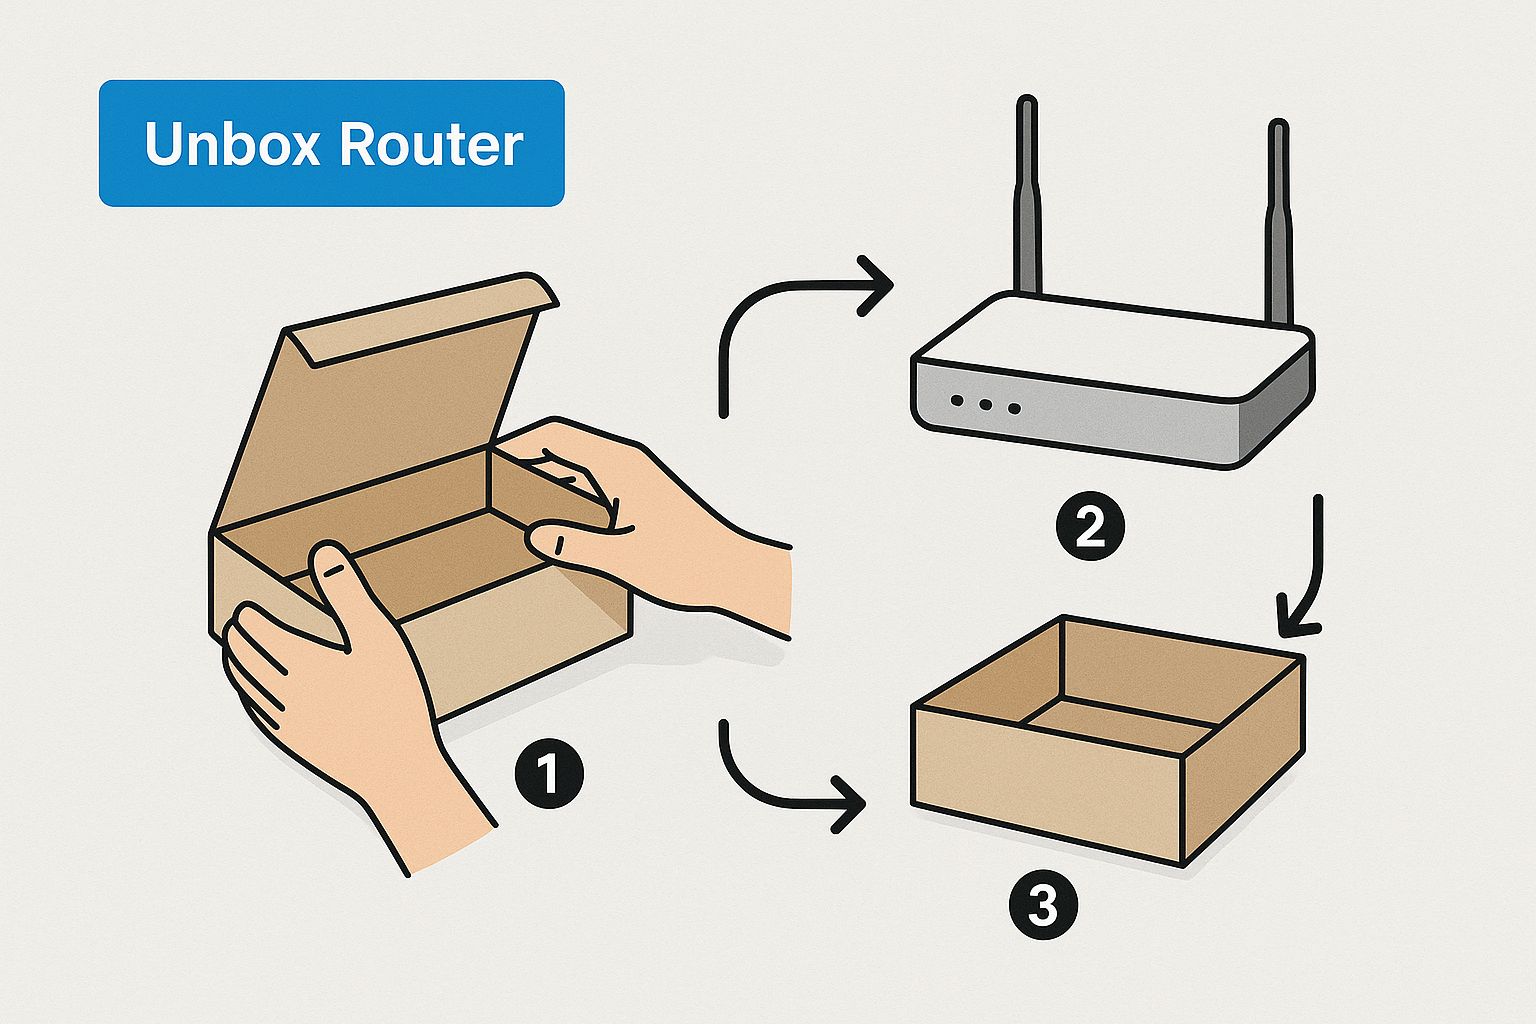
Starting with a clean, organized space from the get-go makes the whole process smoother. Trust me, a little method to the madness now prevents a frantic search for tiny screws later.
Finding the Perfect Spot
Think high and central. I’ve found the best location is usually in an overhead cabinet, as high up as you can get it. This elevation helps the Wi-Fi signal blanket your entire rig, getting it up and over obstacles like furniture and interior walls that can kill your connection.
Just as important is getting it close to a window. Let's be honest, our RVs are basically metal boxes, which are signal killers. Placing your router near glass gives that incoming cellular signal a much clearer path to the nearest tower, which can make a huge difference in your internet speed.
Pro Tip: Whatever you do, avoid mounting your router right up against large metal surfaces. Also, keep it away from appliances that create electronic interference, like your microwave or fridge. They can seriously weaken both the incoming cell signal and your outgoing Wi-Fi network.
Securing the Hardware for Travel
Life on the road means constant vibration and movement. Your router can’t just sit on a shelf—it needs to be locked down so it doesn't bounce around and get damaged.
Here are a few road-tested methods I’ve used:
- Heavy-Duty Velcro Strips: This is my go-to for a simple and surprisingly solid setup. A few strips of industrial-strength Velcro will hold a router firmly against a cabinet wall. It’s tough enough for travel but lets you easily pull the router off if you need to swap a SIM card or access the ports.
- Mounting Brackets: If your router came with mounting brackets or has screw holes on the bottom, use them! Screwing it directly to a solid surface is by far the most secure method.
- Zip Ties: A bit of an old-school trick, but if you’re putting the router in a cabinet with slatted shelving, a few strategically placed zip ties can create a surprisingly sturdy hold.
Powering Up and Connecting Antennas
With the router mounted, it’s time to plug everything in. Most routers built for RVs are designed to run on a 12V power system, which is way more efficient than using an inverter. You can either use a dedicated 12V plug or, if you're comfortable with it, wire it directly into your RV's fuse panel.
This is also when you'll connect your external antennas—they're absolutely essential for pulling in weak signals when you're out in the boonies.
If you want a little more background on connecting internet hardware in general, our guide on how to hook up a modem has some great foundational info. Getting your router installed correctly is a critical step, much like knowing how to set up your RV at a campground before you even arrive.
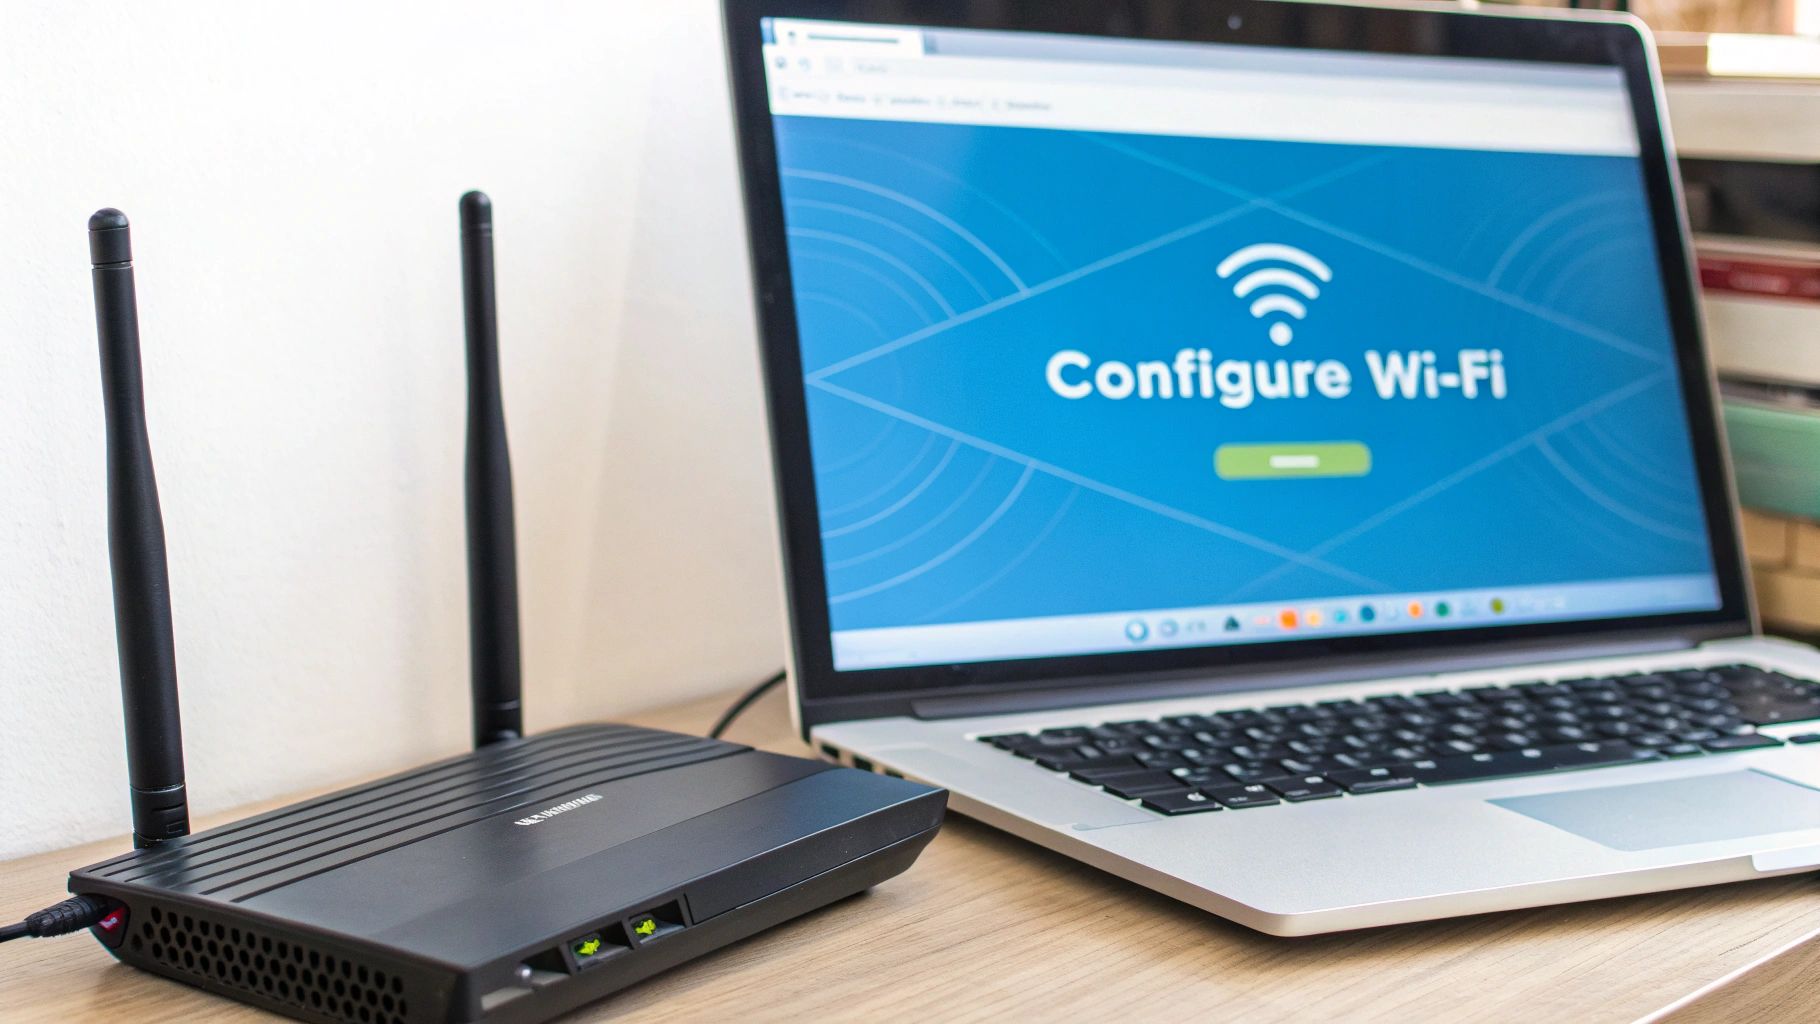
Configuring Your New Mobile Wireless Network
Alright, with your router mounted and powered up, it's time for the fun part: bringing your new mobile wireless network to life. We're moving from the physical hardware to the software side of things, where you get to customize all the settings and really make this network your own.
Don't let the technical terms scare you. Modern routers are designed to make this surprisingly painless, usually through a simple webpage you access on your laptop or a dedicated app on your phone.
First-Time Login and Locking It Down
First things first, you need to connect a device—your laptop or smartphone will do just fine—to the router for this initial setup. Right out of the box, most routers will broadcast a default, unsecured Wi-Fi network. The network name (the SSID) and password should be printed on a sticker somewhere on the router itself.
Once you’re connected to that temporary network, open up a web browser. You'll type in the router's IP address, which is a numerical address like 192.168.1.1—this is also usually printed on that same sticker. Punch in the default username and password, and you're in the control panel.
Now, your first two moves are absolutely critical for security.
- Change the Network Name (SSID): That default name is boring and generic. Swap it out for something memorable and personal, like "WanderlustWagon" or "RoadTripFi." It makes it way easier to spot your network in a crowded campground.
- Set a Strong Wi-Fi Password: This is completely non-negotiable. Create a strong password using a mix of uppercase and lowercase letters, numbers, and symbols. Make sure you select WPA2-Personal as the security type; it's the standard for a reason and will keep unwanted neighbors off your connection.
Leaving the router's default admin password unchanged is one of the biggest security mistakes you can make. It's like leaving the keys in the ignition. Your very first action after logging in should be creating a new, strong password for the router's administrative access itself.
Verifying Your Mobile Connection
With your Wi-Fi network secured, the next job is to make sure the router is actually talking to the SwiftNet cellular network. Head back into the router's settings and look for a "Status" or "WAN" page. This is where you'll find the vital signs of your mobile connection.
You should be able to see a few key details:
- Connection Status: This will tell you if you're actively connected to the 5G or 4G LTE network.
- Signal Strength: You'll see metrics like RSSI, RSRP, and SINR. These numbers tell you how strong and clean your signal is from the cell tower. For RSSI, remember that lower numbers (closer to zero) are better!
- Network Provider: Just double-check that it shows you're connected to the right network.
Think of this status page as your command center for troubleshooting connection problems down the road. Getting familiar with it now will save you a ton of headaches later. If everything looks good here, congratulations! Your router is officially configured and ready to pump out that sweet, reliable internet for all your travels.
Optimizing Your Signal for Peak Performance
Getting your router installed and configured is a huge win, but the real magic happens when you start fine-tuning the signal. A great installation gets you online; smart optimization keeps you there with a fast, stable connection, no matter where you park your rig.
This is how you squeeze every last drop of performance out of your SwiftNet Wifi setup.

Honestly, the single biggest factor in your mobile internet speed is the quality of the cellular signal reaching your router in the first place. If you have external antennas, their positioning is absolutely critical.
Don't just stick them on the roof and call it a day. Use an app that shows cell tower locations to aim them for the strongest possible connection. I've seen a slight adjustment turn a frustrating one-bar signal into a solid three bars, which can dramatically boost your speeds.
Fine-Tuning Your Wi-Fi Frequencies
Inside your RV, your router broadcasts its own Wi-Fi network on two main frequencies: 2.4GHz and 5GHz. Understanding the difference is key to getting the best connection for all your devices. Think of them as different lanes on a highway.
- The 2.4GHz Band: This is your long-distance, all-terrain lane. It has a much longer range and is way better at penetrating through the walls and obstacles inside your RV. The catch? It's more susceptible to interference from other devices (like microwaves) and offers slower top speeds.
- The 5GHz Band: This is the express lane. It provides much faster speeds and is less crowded, which means less interference from your neighbors at the campground. The trade-off is its shorter range; it just doesn't travel through walls as effectively as the 2.4GHz band.
So, here's the pro-tip: connect devices that are close to the router and need high speeds (like your streaming TV or a work laptop) to the 5GHz network. For devices that are further away or don't need blistering speeds (like a smart thermostat or your phone), the 2.4GHz network is the perfect choice.
The need for this kind of network management has really exploded. The global home Wi-Fi router market is projected to expand by USD 3.34 billion in the coming years, driven largely by the massive shift to remote work and e-learning. This has spurred the development of smarter routers that can better handle these complex network demands.
Conquering Dead Spots in Larger Rigs
If you're in a larger RV or a fifth wheel, you've probably run into this: the Wi-Fi signal struggles to reach the back bedroom or the driver's cab, creating those frustrating "dead spots." When moving the router isn't an option, a Wi-Fi extender or a mesh system can be a total lifesaver.
An extender is a simple fix. It just picks up your existing Wi-Fi signal and rebroadcasts it, pushing the network's reach further into your rig. This is a straightforward solution for eliminating those weak-signal areas and ensuring you have a solid connection everywhere you need it.
For a deeper dive on this, check out our guide on how to extend your Wi-Fi range. It’s the perfect next step to make sure that after you install a router for wireless internet, every single corner of your space gets covered.
Troubleshooting Common RV Internet Issues
Even with the perfect router setup for your rig, some days your internet will just decide to take an unscheduled vacation. It happens to all of us out here on the road. The good news? Most of the common hiccups are surprisingly easy to fix yourself, getting you back online without having to burn time on a support call.
From that infuriating "No Internet" message to speeds that feel like you’re back on dial-up, let’s walk through the stuff we see most often. Think of this as your first-response field guide for RV internet problems.
The Dreaded 'No Internet' Error
This is a classic. Your phone or laptop shows full Wi-Fi bars, but nothing loads. This usually means your router is broadcasting just fine, but it can't get a signal from the cell tower. Before you start pulling your hair out, run through this quick checklist.
- Check Your APN Settings: The APN (Access Point Name) is what tells the SwiftNet network who you are. If it’s wrong, you get nothing. It’s an easy thing to overlook. Just log into your router’s admin panel and double-check that the APN is set exactly like we show in our setup guide.
- Do a Real Power Cycle: Yeah, yeah, "turn it off and on again." It’s a cliché because it actually works. But you have to do it right. Unplug the router from its power source, and then go grab a drink or check the mail. Wait a full 60 seconds. This gives all the internal bits time to fully reset. Then, plug it back in.
- Read the Status Lights: Those little blinking lights aren't just for decoration; they're your router’s way of talking to you. A solid red or orange light often points to a problem with the SIM card or a failure to connect to the cellular network. Pull up the manual for your specific router to decode what it's trying to tell you.
You'd be surprised how often a simple reboot works. It probably solves up to 75% of common internet glitches. It forces the router to dump any temporary errors and establish a fresh, clean connection to the nearest cell tower.
When Your Speeds Are Frustratingly Slow
If your internet is crawling at a snail's pace, the problem is almost always signal quality. Before you get mad at the router, take a look around. Are you parked under heavy tree cover? Tucked down in a valley? Is the campground packed? All these things can kill your performance.
The best first step is to log into your router's dashboard and look for the signal strength numbers, specifically RSRP and SINR. If those numbers look weak, you might need to reposition your RV or tweak your external antennas to aim at a different tower. Sometimes, just rolling forward ten feet can make a massive difference.
A Device Just Won't Connect to the Wi-Fi
What about when your laptop or smart TV flat-out refuses to connect, but everything else works fine? This is almost always an issue with that specific device, not your router.
The quickest fix is to go into that device's Wi-Fi settings, find your network, and tell it to "forget" it. Then, reconnect and type in the password again. This clears out any old, corrupted data that might be causing the conflict. If that doesn't do the trick, a simple reboot of the device itself usually will.
By working through these simple checks, you can solve the vast majority of internet headaches on your own, keeping your connection solid and your adventures rolling.
Your Gateway to Reliable Internet on the Road
And just like that, you've done it! You've walked through the entire process and now have a router fully installed and ready to deliver wireless internet to your RV.
This isn't just another piece of tech—it's your connection to work, family, and entertainment, no matter where your travels take you. Now you’ve got the freedom that comes with reliable, high-speed internet on your own terms.
We covered some critical ground to get here. It all started with picking a router that's actually built for the realities of life on the road and connecting in rural spots. From there, we zeroed in on finding that perfect installation spot and tweaked the settings to turn a decent connection into a fantastic one.
Think of this mobile network as your personal gateway to the digital world. It’s what makes remote work from a scenic overlook possible. It powers movie nights in a national park and keeps you connected with loved ones over video calls from hundreds of miles away. Go ahead and enjoy your new freedom!
Common Questions Answered
Jumping into the world of mobile internet, especially for an RV or a rural home, can feel like learning a new language. Let's clear up some of the most common questions we get from folks just trying to get a solid, reliable connection.
Do I Really Need a Special Router for an RV?
Absolutely. It's one of the most common things people overlook. A regular home router is designed to plug into a cable in the wall, but an RV router is built to pull in internet from cellular data (4G/5G).
They're also tough little units, made to run on 12V power systems and built to withstand the constant vibration of the road. Plus, most good ones have ports for external antennas, which is a lifesaver for boosting your signal out in the boonies.
Where’s the Best Place to Mount My Router?
Think high and central. Tucking it away in an upper cabinet, especially one near a window, is usually the sweet spot. This helps the signal get past the metal cage of your RV, which can really kill Wi-Fi performance.
Just make sure the spot has decent airflow so it doesn't overheat, and whatever you do, mount it securely. Bumpy roads are no joke.
Can’t I Just Use My Phone as a Hotspot?
You can, but it's a bit like using a spare tire to drive cross-country. A phone hotspot is great in a pinch or for a quick email check, but a dedicated router is a whole different beast. It’s just built for the job.
Routers have much more powerful antennas for a stronger, more stable connection. They can also handle a bunch of devices—laptops, TVs, tablets—all at once without getting bogged down. And the best part? It won't drain your phone battery right in the middle of a work call or movie night.
These dedicated setups have come a long way. With Wi-Fi 6 becoming standard and 5G networks expanding, modern mobile routers are more than capable of handling the heavy lifting for remote work and streaming. It's been a real game-changer. If you're interested in the tech, you can read more about the growing wireless router market.
Is an External Antenna Actually Worth It?
If you plan on spending any time camping in rural areas or places with spotty service, then yes, a hundred times yes. An external antenna, mounted up on your RV's roof, can grab a signal that the router's tiny internal antennas could only dream of.
It often makes the difference between a frustrating, buffering connection and smooth, usable internet. It’s a crucial piece of the puzzle for anyone serious about staying connected off the beaten path.
Ready for a connection you can count on, wherever the road takes you? SwiftNet Wifi specializes in high-speed 5G internet built from the ground up for RVers and rural homes. Get connected today!
#rv #rvlife #rvliving #rvlifestyle #rvrenovation #rvremodel
#rvtravel #rvcamping #rvadventures #ruralwifi #5gwifi
#5ginternet


