
· By James
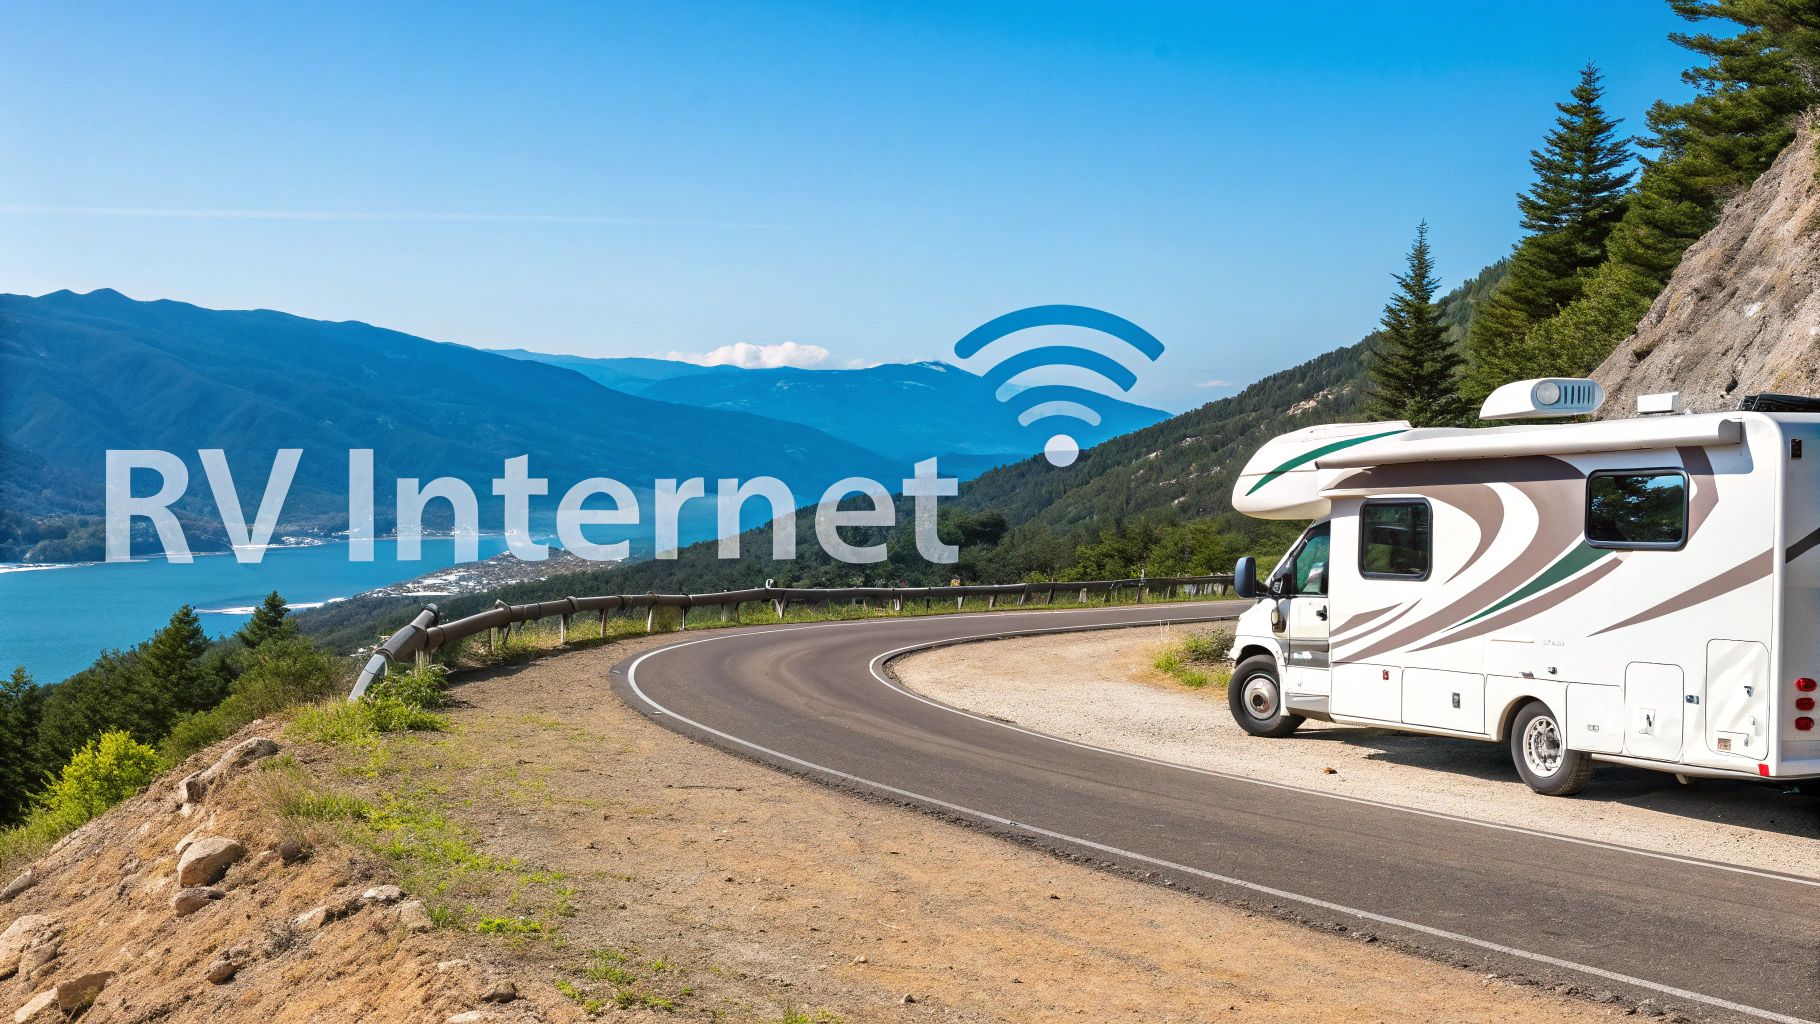
How to Get Internet for RVs Anywhere You Go
Getting reliable internet in your RV really comes down to three main choices: cellular data plans, satellite systems like Starlink, and the often-hit-or-miss campground WiFi. From my experience, most seasoned travelers end up using a mix of these. This approach gives you the best shot at staying connected, whether you’re parked in a fully-equipped RV resort or boondocking somewhere off the grid.
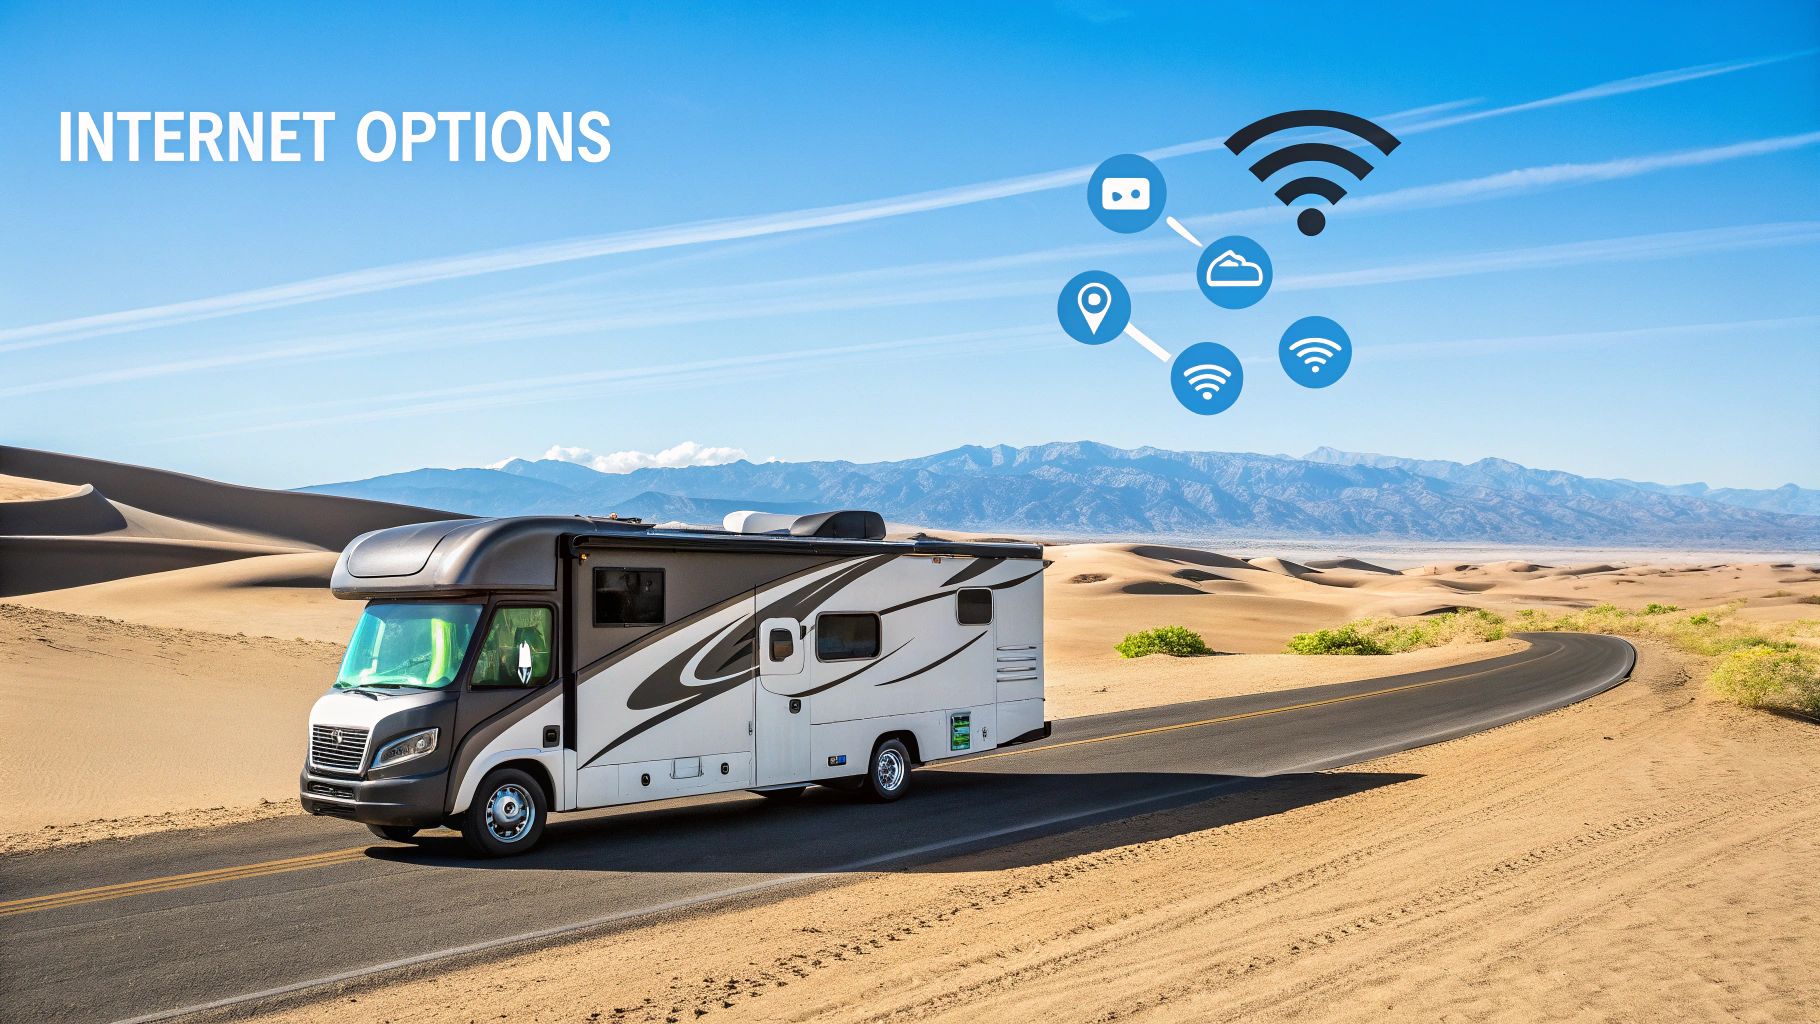
A Quick Look at Your Key RV Internet Options
Figuring out how to get online in an RV can feel overwhelming at first, but it gets a lot simpler once you understand the pros and cons of each method. The right choice for you really hinges on your travel style, how much data you burn through, and where you plan on parking your rig. Let's break down the main contenders.
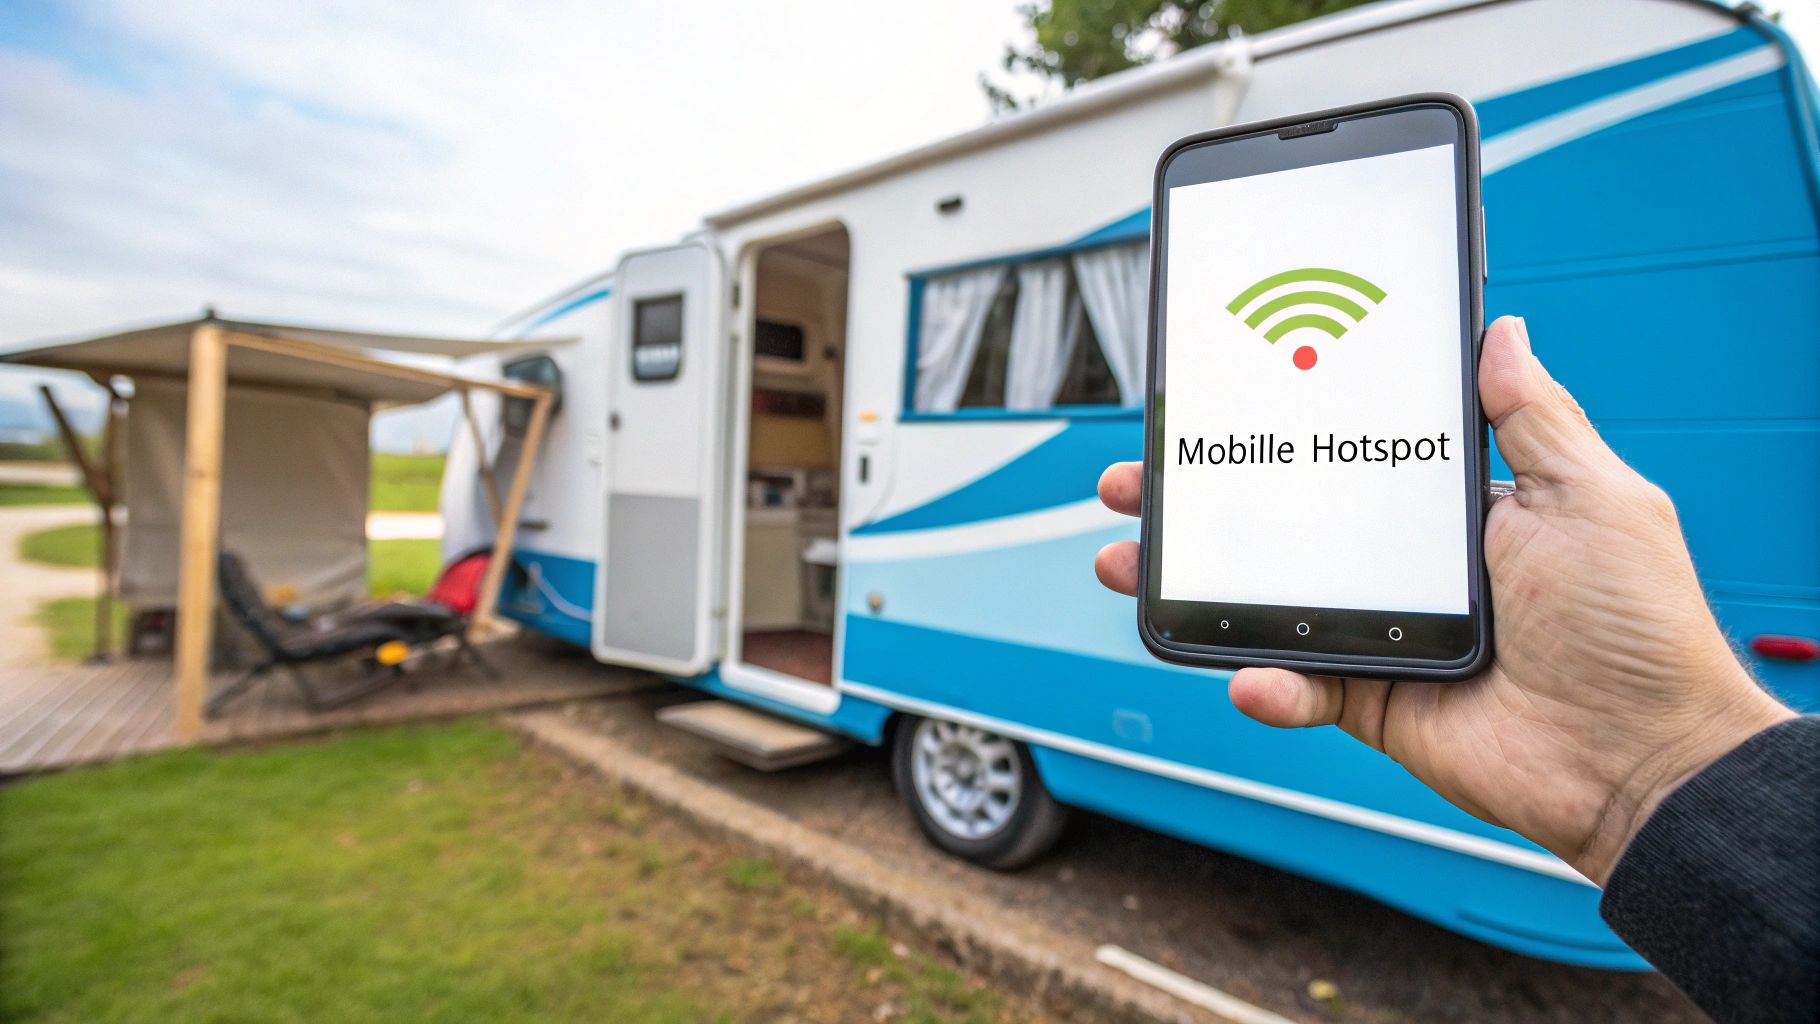
Cellular Hotspots and Routers
For many, this is the go-to solution. It uses the same cellular networks your phone does—like Verizon, AT&T, or T-Mobile—to create a private WiFi network right inside your RV. You can start with your phone's built-in hotspot, but for a much stronger and more reliable connection, a dedicated mobile hotspot or a more powerful 5G router is the way to go.
- Best For: Travelers who tend to stay within areas with decent cell service, which includes many national parks and campgrounds near towns.
- Pros: You can get seriously fast speeds, the initial cost is relatively low, and data plans are pretty flexible.
- Cons: It’s completely dependent on how close you are to a cell tower. In really remote spots, you'll find the signal is weak or non-existent.
Satellite Internet Systems
Not long ago, satellite was a clunky and expensive option reserved for a select few. Now, it's a total game-changer for RVers, thanks to mobile-friendly services. These systems use a dish to pull a signal directly from satellites orbiting the earth, giving you internet access far beyond the reach of cell towers.
- Best For: Full-time RVers, remote workers, and die-hard boondockers who absolutely need a solid connection in the middle of nowhere.
- Pros: The coverage is simply unmatched in remote and off-grid locations.
- Cons: The upfront hardware cost is higher, and you need a clear view of the sky, which can be a real pain in heavily wooded areas.
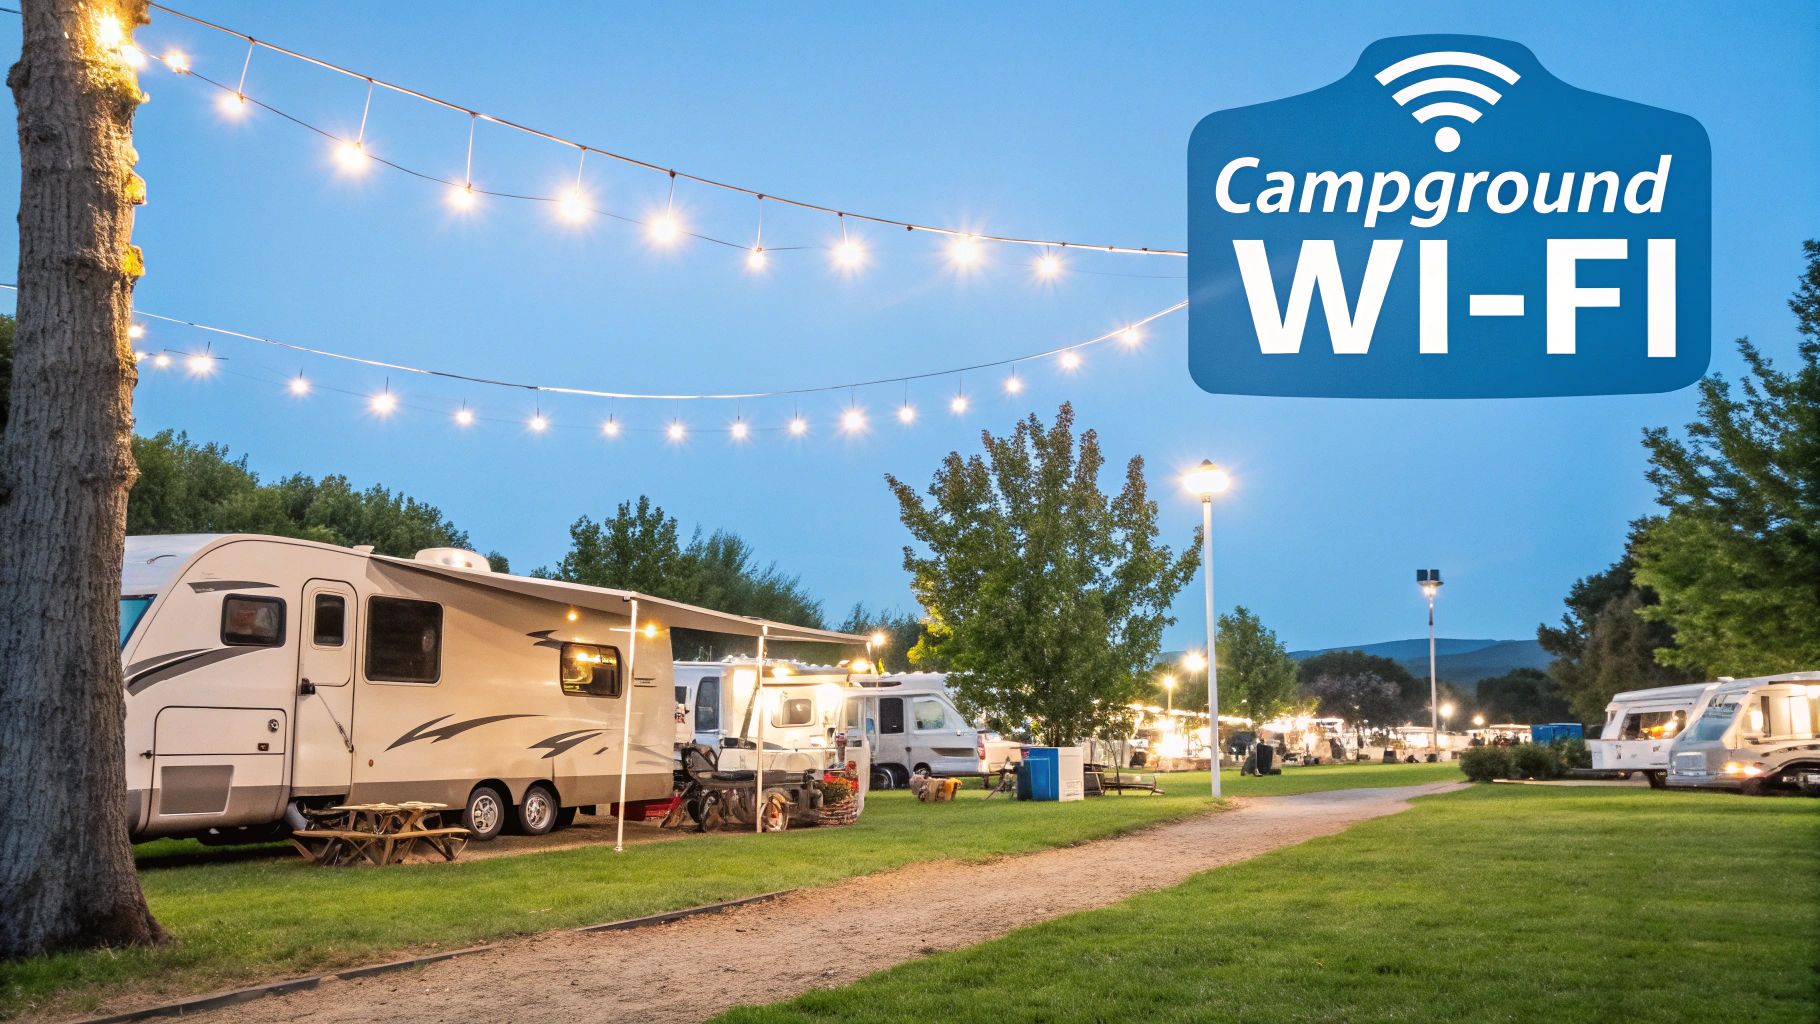
Campground WiFi
This is the easiest option by far. You just connect to the WiFi offered by the RV park or campground. There's no special gear needed, and it's often included with your stay or available for a small daily fee.
The thing about campground WiFi is its wild unpredictability. It’s fine for quickly checking emails or the weather, but it’s often too slow and congested for streaming movies or hopping on a video call. For most of us who rely on the internet, it's just not dependable enough to be your primary connection.
This login page is a familiar sight for anyone who has tried to connect to a park's network. It's the first hurdle, but the real test is the speed you get once you're on.
Often, performance depends entirely on how many other campers are trying to stream their own shows at the same time.
Comparing Your RV Internet Choices
To make it a bit easier to see how these options stack up, I've put together a quick comparison table. This should give you a clearer picture of what to expect from each one in terms of speed, cost, and where it works best.
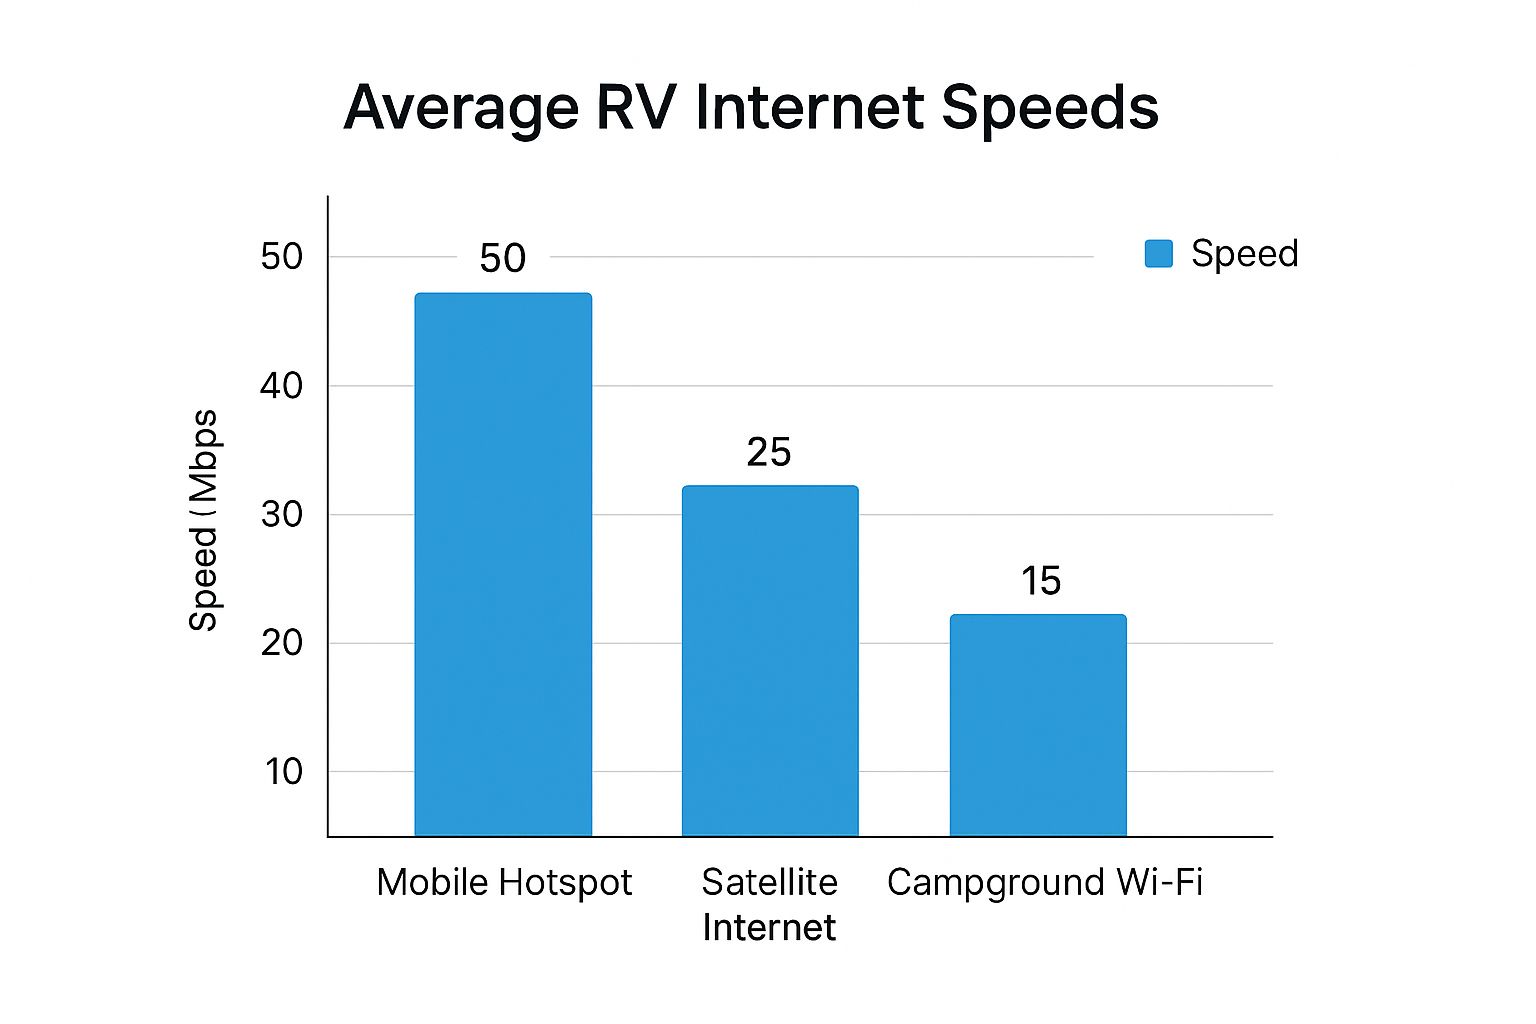
| Option | Typical Speed | Monthly Cost | Coverage Strength |
|---|---|---|---|
| Cellular | 25 - 100+ Mbps | $50 - $150 | Strong near towns & highways |
| Satellite | 50 - 150 Mbps | $150 - $250 | Excellent in remote/open areas |
| Campground WiFi | 1 - 10 Mbps | Free - $10/day | Very inconsistent; park-dependent |
Ultimately, the "best" option is the one that fits your life on the road. Many of us find that a primary cellular or satellite system, with campground WiFi as a backup, covers all the bases.
To learn more about how to blend these systems for the ultimate setup, you can check out our complete guide on internet for RV travel.
A Deep Dive into RV Connectivity Methods
 Alright, let's get past the high-level talk and dig into what these internet options actually feel like on the road. Understanding the real-world quirks of each one is the key to picking a setup that won’t drive you crazy. Your choice will literally make or break everything from a critical work video call to a simple rainy-day movie marathon.
The Realities of Cellular Connections
When you go the cellular route, you’re looking at two main choices: using your phone as a hotspot or getting a dedicated mobile router. Your phone is fine in a pinch for some light browsing, but it's just not built to be a full-time internet source. They overheat, the battery drains in a flash, and honestly, their internal antennas are often much weaker than what you'd find in a dedicated device.
A dedicated mobile router, especially a 5G one, is a different beast entirely. It's built for one job and one job only: to provide a rock-solid internet connection for all your gadgets. These routers pack much more powerful antennas that can snag a faint signal from a distant cell tower, which is a massive advantage when you're parked on the edge of service.
Pro Tip: Don't ever trust a carrier's coverage map as gospel. Those maps show where a signal should be, but they don't account for real-world obstacles like hills, deep valleys, or even a thick patch of forest. The best strategy I've found is to have data plans from two different major carriers to give yourself the best shot at finding a usable signal, no matter where you park.
What to Expect from Satellite Internet
Satellite internet has become a game-changer for RVers, especially for those of us who love to wander far off the grid. Its biggest selling point is that massive coverage area—you can get high-speed internet in places where cell service is just a distant memory.
But there's a catch. The hardware needs a completely clear, wide-open view of the sky. This can be a serious pain in heavily wooded campgrounds, like those you find all over the Pacific Northwest or down the East Coast. Trees are your enemy here.
Also, you have to be really careful about what "unlimited" data actually means. Most satellite plans come with a certain amount of priority data. Once you blow through that monthly allotment, your speeds can get throttled down to a crawl, especially during peak evening hours when everyone else is online. For anyone relying on a fast connection for work, that's a detail you can't afford to miss.
Navigating Campground WiFi
And finally, we have campground WiFi. It's convenient when it's there, but it is notoriously unreliable. You'll constantly battle frustrating login portals that seem to kick you off every few hours. Since it's a shared network, your connection speed is completely at the mercy of every other RVer who's streaming, gaming, and video chatting.
The truth is, the demand for reliable internet is a huge part of modern life. With around 5.52 billion internet users across the globe spending almost 7 hours online each day, the expectation for a stable connection has definitely followed us into the RV lifestyle. Mobile internet now makes up nearly 59% of all web traffic, and with average speeds often topping 29 Mbps, people expect performance that can handle things like 4K streaming. You can dive deeper into these global internet trends in this detailed report. This really highlights why a single, shaky source like campground WiFi just doesn't cut it anymore for most travelers.
Choosing the Right Gear for Your RV Network
After you’ve picked your main internet strategy, getting the right hardware is easily the most critical part of building a reliable connection. This gear is the backbone of your entire RV network. The quality of what you buy will make or break your ability to get online, especially when you’re miles from the nearest town.
Trust me, investing a little more upfront saves a ton of headaches and prevents you from having to buy everything all over again a year down the road.
At the heart of any solid RV internet setup is a dedicated mobile router. Sure, you can use your phone’s hotspot for a quick email, but it’s just not built for the long haul. A real router is designed to grab weaker signals and handle multiple devices—your laptop, a smart TV, a tablet—without overheating or killing a battery you might desperately need.
If you’re going the cellular route, a router with dual-SIM capabilities is a game-changer. This lets you pop in SIM cards from two different carriers, like Verizon and AT&T. If you pull into a spot where one network is dead, you just log into your router's control panel and flip over to the other carrier. It dramatically boosts your odds of finding a signal you can actually use.
Boosting Your Signal Strength
Even a top-tier router can’t do much at the very edge of a service area. That’s where antennas and signal boosters become your best friends, especially for anyone who wants to explore more remote spots. The choice between an omnidirectional and a directional antenna really comes down to how you travel.
- Omnidirectional Antennas: These are the "set it and forget it" heroes. They pull in signals from a full 360 degrees, making them perfect for RVers who are constantly on the move and don’t want to fuss with aiming an antenna every time they park.
- Directional Antennas: These antennas need to be pointed right at the closest cell tower. It’s a bit more work, but their focused beam can latch onto a signal from much, much farther away. For serious boondockers, a directional antenna is pretty much non-negotiable.
A lot of people think a booster can magically create a signal where one doesn't exist. It can't. A cellular booster takes an existing weak signal and makes it stronger. If you have absolutely zero service—not even a single bar—a booster won’t do you any good.
Essential Hardware for Different RVers
Your ideal setup is going to look different depending on your travel style. A weekend warrior who sticks to state parks has completely different needs than a full-time digital nomad. To help you figure out what you really need, I've put together a quick comparison of the most common pieces of gear.
Essential RV Internet Hardware Compared
Here’s a look at the core components you’ll be choosing from, broken down by what they’re best for, what you can expect to pay, and the features that matter most from an RVer's perspective.
| Equipment | Use Case | Price Range | Key Features |
|---|---|---|---|
| Mobile Router | The "brain" of your setup; essential for anyone using multiple devices or needing a stable, long-term connection. | $250 - $900+ | Dual-SIM slots, 5G capability, Wi-Fi 6, multiple Ethernet ports |
| Omnidirectional Antenna | Best for frequent movers and those staying in areas with decent cell coverage. Mount it and forget it. | $150 - $400 | 360-degree reception, easy installation, low profile |
| Directional Antenna | A must-have for boondockers and anyone camping in fringe signal areas. Requires aiming. | $100 - $300 | High gain, long-range reception, requires manual pointing |
| Cellular Booster | Amplifies weak but existing cell signals. Perfect for turning a 1-bar connection into a usable one. | $400 - $700 | Works with all carriers, boosts signal for all devices in the RV |
| Satellite System (e.g., Starlink) | The ultimate solution for off-grid connectivity where no cell service exists. | $599 - $2,500+ | Requires clear view of the sky, high-speed capabilities, monthly subscription |
Choosing the right combination from this list is all about being honest about your needs. Don't overbuy, but don't skimp on the gear that will make or break your travels.
For instance, if you’re mostly hitting established campgrounds with pretty good service, a quality 5G router and a roof-mounted omnidirectional antenna will keep you connected almost everywhere without any daily hassle.
But if you’re a full-timer who dreams of working from deep within a national forest, your go-to kit needs to include a directional antenna and a cellular signal booster. This combo gives you the power to pull in and strengthen those faint signals, turning an unusable connection into something solid enough for video calls and streaming. That’s the setup that really lets you work from anywhere.
Finding the Best Internet Plans and Providers
Once you've got a handle on the hardware, it's time to dive into the world of data plans and providers. This is where you match your shiny new gear to a subscription that can actually keep up with your travel style and how much data you burn through. The maze of options, from cellular carriers to satellite services, can feel a little overwhelming, but it really just boils down to understanding a few key details hidden in the fine print.
Choosing a plan isn't about snagging the cheapest deal. It's about finding one that delivers on its promises when you're parked in the middle of nowhere. You have to look past the flashy ads and dig into the details on data caps, throttling policies, and actual coverage zones.
Decoding Cellular and Satellite Plans
For cellular internet, the big names you'll see are Verizon, AT&T, and T-Mobile. They all have different plans, and some are specifically built for hotspots and routers like the ones we've discussed. The most important thing to look for here is "priority data." Think of this as your monthly allotment of high-speed, VIP data. Once you use it up, your provider can slow you down (or "throttle" your connection) when the network gets busy. If you're working remotely, a healthy amount of priority data is non-negotiable.
Satellite internet, on the other hand, has become a total game-changer for RVers who love getting way off-grid. We're seeing a huge wave of new satellite services designed specifically for people on the move. Starlink, for instance, now offers a specialized Starlink Mini kit made for RV life, making it simpler than ever to get online in remote spots. With plans like their Roam Unlimited sitting around $100/month for use within your country, plus a Mobile Priority plan for global adventurers, there are real options. This kind of service, which now works in over 100 countries, has truly opened up connectivity in places that were previously dead zones.
The screenshot below shows a pretty standard user dashboard for managing a mobile satellite system. You can see your data usage and connection status at a glance.
Having this real-time view is critical. It helps you keep an eye on your priority data so you don't get hit with unexpected slowdowns right in the middle of a video call.
Comparing Popular RV Internet Plans
To give you a clearer picture, let's break down what some of the top providers are offering. This table gives you a side-by-side look at the costs, data allowances, and coverage you can expect.
| Provider | Plan Name | Monthly Cost | Data Allowance | Coverage Notes |
|---|---|---|---|---|
| Starlink | Roam Unlimited | $150 | Unlimited (in-country) | Requires clear sky view; excellent for remote areas |
| Verizon | Pro Business Internet | $100 | 300GB Priority Data | Strong nationwide coverage, especially in cities |
| AT&T | Wireless Broadband | $90 | 100GB Priority Data | Good coverage, often performs well in rural areas |
| T-Mobile | Business Internet | $50 | Unlimited (no hard cap) | Expanding 5G network; best in urban/suburban areas |
This is just a starting point, of course. Prices and plans change, so always double-check the latest details. But it shows the trade-offs you'll be making between cost, data, and the type of coverage you get.
Making the Right Choice for Your Travels
So, how do you pick the right one? The first step is to get a rough idea of your monthly data usage. When you're looking at different plans, understanding internet bandwidth requirements for things like video calls versus just browsing can really help you nail down what you actually need.
For a lot of full-time RVers, the best solution isn't just one plan, but two. We've found that pairing a primary cellular plan from a major carrier with a mobile satellite service like Starlink creates an incredibly reliable, redundant system. It gives you the best of both worlds: fast, low-latency cellular in populated areas and dependable satellite coverage when you're truly off the beaten path.
This dual-provider strategy is your best bet for making sure you're almost never without a solid connection.
To get an even better sense of how different subscriptions stack up, check out our in-depth guide to the best RV internet plans available today. It will help you compare all the nitty-gritty costs and features side-by-side.
Installing Your System for Peak Performance
 Once you've picked out your internet gear and a data plan, the last piece of the puzzle is a solid installation. How you mount your antennas and where you put your router can make a massive difference in performance, turning a good system into a truly great one.
These are the road-tested techniques I’ve used myself to build a reliable setup that’s built to last for thousands of miles.
Mounting and Sealing Your Antenna
The most critical part of installing any external antenna is getting it up on the roof with a clear, unobstructed view of the sky. A clean, professional job here is crucial not just for signal, but for preventing every RVer's nightmare: water leaks. A little planning goes a long way.
Before you even think about drilling, map out your entire cable route. You want the shortest, straightest path possible from the antenna to your router inside. If you're lucky enough to have an RV that was pre-wired for WiFi, you can often use the existing entry points and mounting plates, which simplifies the whole process immensely.
If your rig isn't pre-wired, no sweat. Just pick a spot on the roof that gives the antenna a clean 360-degree view, well away from your AC unit or other tall objects that could block the signal.
- Drill with Care: Use a drill bit that’s just big enough for the cable to pass through. No need to make a huge hole.
- Seal Everything: Apply a generous amount of a high-quality, UV-resistant RV sealant like Dicor Lap Sealant around the cable entry point and any mounting brackets. Don’t be shy with it—a proper seal is your best defense against leaks.
- Secure the Cables: Use adhesive-backed cable mounts to tack the wire down neatly along the roof. This keeps it from flapping in the wind on the highway, which can lead to damage over time.
A common mistake I see all the time is people using standard silicone sealant on their RV roof. Silicone just doesn't stick well to common RV roofing materials like EPDM or TPO and will absolutely fail, almost guaranteeing a leak. Stick with products made specifically for RVs.
Optimizing Your Interior Setup
With the cables run inside, the next thing to consider is your router placement. Think of its WiFi signal like a lightbulb—you want it in a central spot to "illuminate" the whole RV with a strong signal. Whatever you do, avoid stashing it away in a deep cabinet or at the far end of the coach.
For the best possible coverage, I always recommend mounting the router up high on an interior wall or inside an overhead cabinet. This helps the signal travel over and around furniture and other obstacles that can easily block it.
Finally, let's talk power. Most good RV internet routers run on 12V DC power, which is perfect for boondocking. Even if your router came with a standard AC wall plug, you can usually find a 12V adapter for it or wire it directly into your RV’s 12V system. This is so much more efficient than running it through an inverter, which saves precious battery power when you're off-grid. A stable power source is key to making sure your internet is always ready to go when you are.
Troubleshooting Common RV Internet Problems
Even with the best internet setup, you’re going to have days where your connection just doesn’t want to play nice. We’ve all been there: frustratingly slow speeds or a connection that drops right in the middle of something important. It's a common headache on the road, but the good news is that these issues are almost always fixable with a bit of detective work.
The key is to avoid that initial panic and instead work through the potential culprits one by one. Often, the problem isn't your gear at all—it's the environment. Network congestion is a huge factor, especially in a packed campground where everyone is trying to stream movies or video chat at the same time. If your internet speed tanks around 7 PM, congestion is the likely suspect.
Before you start unplugging cables and rebooting everything, do a quick speed test. This gives you a baseline measurement. If the speed is way lower than what you usually get in that spot, you have a much clearer picture of the problem you're trying to solve.
Quick Fixes for When Your Connection Acts Up
When your internet falters, run through this simple checklist first. From my experience, it solves the problem more than 80% of the time without needing a deep dive into technical manuals.
- The Classic Reboot: It sounds too simple, but it works. Power down your router, give it a full 60 seconds to clear its memory, and then power it back on. This single step can resolve a surprising number of temporary glitches.
- Check Your Antenna's Line of Sight: If you rely on a satellite dish or a directional antenna, make sure nothing is blocking its view of the sky. A newly grown tree branch or parking just a little too close to your neighbor's rig can easily obstruct the signal.
- Toggle Your Cellular Carrier: For those with a dual-SIM router, now's the time to use it. Try switching over to your backup carrier. One provider's network might be overloaded while the other is wide open, or one might simply have a stronger signal in that exact location.
If these initial steps don’t bring your connection back to life, try moving your rig. I know it sounds like a hassle, but sometimes shifting just 20-30 feet can put you in a sweet spot for cell service, turning an unusable connection into a solid one. It's a surprisingly effective trick when you're figuring out how to get internet for rv life.
RV Internet Questions We Hear All the Time
Even after you've done all the research, there are always a few lingering questions when it comes to piecing together your perfect RV internet setup. We get it. Here are some of the most common questions we hear from fellow RVers, along with our straightforward, road-tested answers.
What’s the Absolute Best Internet for a Full-Time RVer?
If you're living on the road full-time, putting all your eggs in one internet basket is a recipe for frustration. You'll quickly find that the most dependable strategy is a hybrid approach. For most people, this means running a primary cellular plan through a powerful router connected to a roof-mounted antenna.
Then, you bring in a mobile satellite service like Starlink as your backup. This setup truly gives you the best of both worlds: you get fast, low-latency cellular in most areas, but you also have a reliable satellite connection for those beautiful, remote spots where cell towers are just a distant memory.
How Do I Boost a Weak Signal at a Remote Campground?
When you’re stuck on the fringe of cell service, boosting that weak signal becomes your top priority. The best way to tackle this is with a couple of key pieces of hardware designed for this exact problem.
- A Directional Antenna: This is a game-changer. Unlike an omnidirectional antenna that pulls from all directions, a directional one lets you aim it right at the nearest cell tower. This focus helps pull in a much stronger, more stable signal.
- A Cellular Signal Booster: Once the antenna grabs that weak signal, a booster takes over. It amplifies that signal inside your rig, turning one shaky bar into a solid, usable connection for your phones, laptops, and other devices.
Just remember, a booster is a signal amplifier, not a signal creator. It needs some existing signal to work with. If your phone shows "No Service" no matter what, a booster, unfortunately, won't be able to conjure a connection out of thin air.
For a deeper dive into the specific gear and strategies that work, check out our complete guide on how to get WiFi in an RV.
Is It Really Safe to Use Campground WiFi?
Using public or campground WiFi is certainly convenient, but it does come with some security strings attached. These networks are typically open and unencrypted, which can make it easier for snoopers to see your online activity. For casual stuff like checking the weather or browsing the news, it's usually fine.
However, you should never use public WiFi for online banking, shopping, or anything involving passwords, credit cards, or personal data. When it's time for sensitive tasks, always switch over to your own secure, password-protected cellular or satellite connection. It's just not worth the risk.
Ready to build a reliable connection that travels with you? SwiftNet Wifi provides high-speed 5G internet designed for RVers and rural residents, ensuring you stay connected wherever the road takes you. Explore our plans today.