

Decoding Your Internet Options for Life on the Road
Choosing the right internet for rv living can feel like piecing together a puzzle without knowing what the final picture looks like. But you don't need a degree in network engineering to stay connected. The most successful full-time RVers simply know which tools to use for which situation. Think of it as building a custom lifeline that follows you everywhere, from a quiet desert campsite to a packed RV park.
The secret is to understand the main technologies at your disposal. Most dependable RV internet setups come down to three key methods: cellular-based systems, satellite services, and smart hybrid approaches that blend different technologies for constant connectivity.
This infographic lays out the main paths you can take for RV internet.
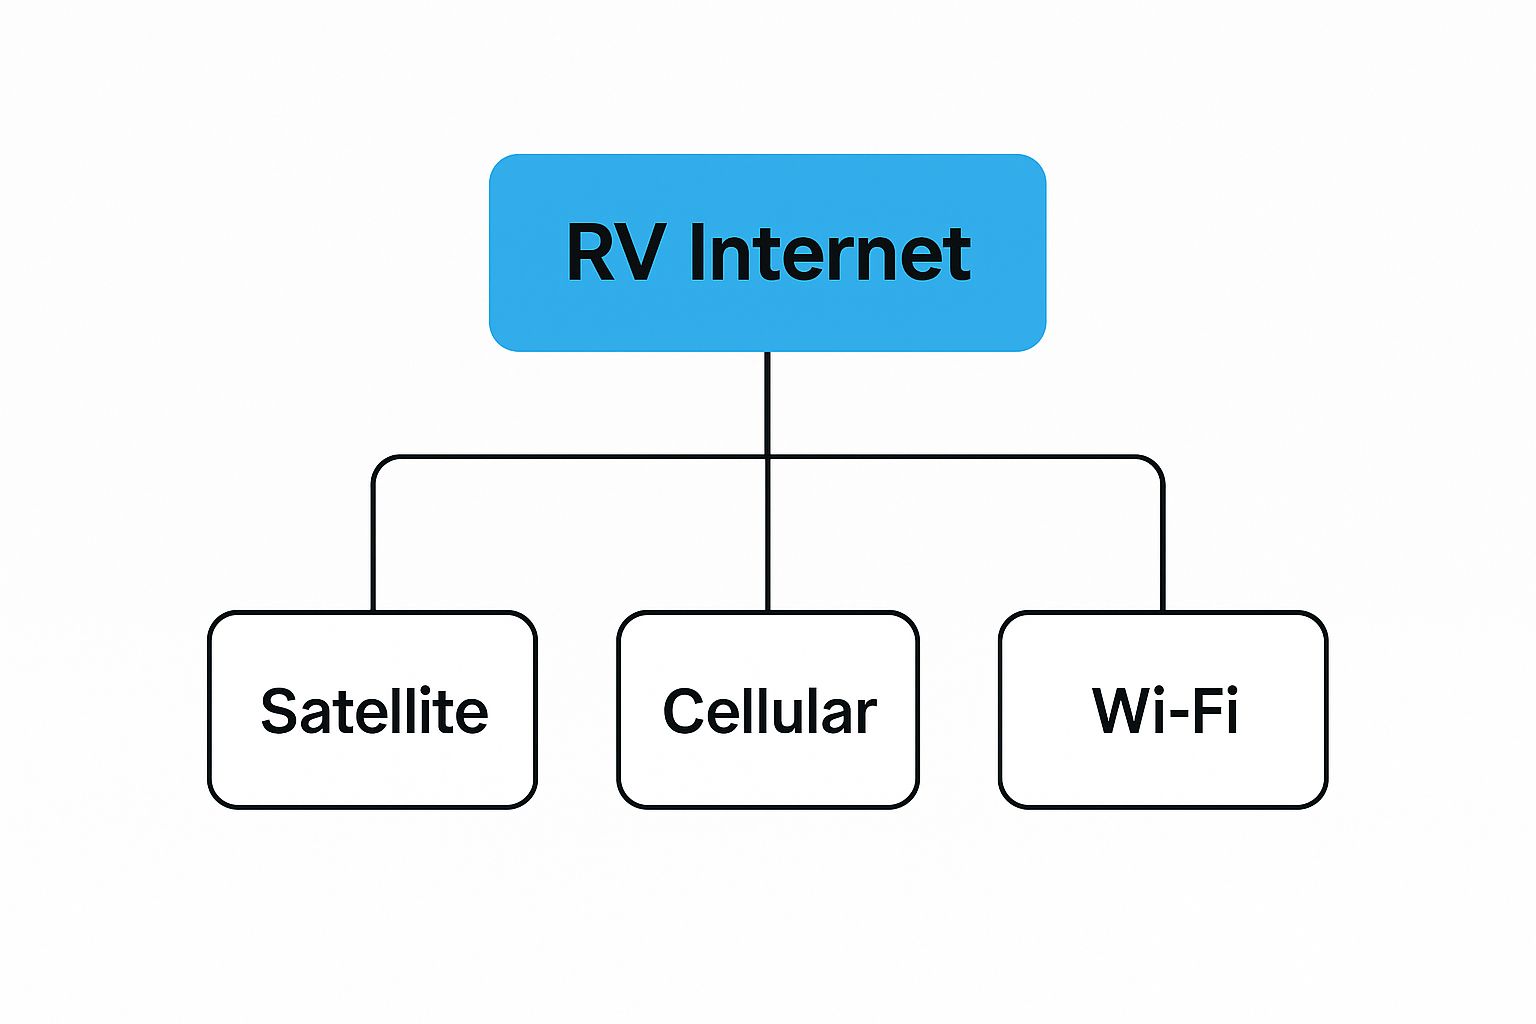
As you can see, your journey to staying connected on the road starts with a choice between Satellite, Cellular, or using available Wi-Fi. These are the fundamental components of any solid RV internet system.
The Three Pillars of RV Connectivity
Each way of getting online has its own strengths and is built for different kinds of travel. It's rare that one single option works for every RVer, which is why it’s so important to know how each one works.
- Cellular Internet: This is the most popular choice, using the same networks your smartphone relies on. It works with devices like mobile hotspots or specialized RV routers that run on data plans from carriers like Verizon, AT&T, and T-Mobile. This option is great in areas with cell service but can become unreliable when you venture into remote locations.
- Satellite Internet: This method connects you to the web through a dish that communicates with satellites orbiting the planet. While older systems were often bulky and slow, modern low-earth orbit (LEO) services like Starlink have completely changed the game for boondockers and anyone who travels far from cell towers. The trade-offs are a need for a clear view of the sky and a higher initial cost for the equipment.
- Wi-Fi Extending: This tactic involves using public Wi-Fi at campgrounds or cafes. While it's often free, the connection is usually slow, inconsistent, and not very secure. RVers can use Wi-Fi extenders to pull in a stronger signal from farther away, but it’s best viewed as a backup plan rather than your main source of internet.
The need for reliable mobile internet is part of a much larger picture. In early 2025, the global internet population reached approximately 5.56 billion users, which is 67.9% of everyone on Earth. This vast network is what makes the modern RV lifestyle possible, letting people work, learn, and stay in touch from almost anywhere. To see more on these global digital numbers, you can find the complete report on Statista.
To help you decide which path is right for you, here’s a table comparing the main RV internet solutions.
| Internet Type | Coverage Area | Typical Speed | Data Limits | Best Use Case |
|---|---|---|---|---|
| Cellular | Anywhere with cell tower signal | 10-100+ Mbps | Often has caps or throttling on "unlimited" plans | RVers who stick to areas with good cell reception |
| Satellite | Nearly global, requires a clear view of the sky | 50-250+ Mbps (LEO) | Can be truly unlimited, but may have fair use policies | Boondockers and travelers in very remote locations |
| Hybrid | Combines the coverage of both cellular & satellite | Varies based on active service | Depends on the active plan being used | Full-timers needing maximum uptime and redundancy |
As the table shows, there’s no single "best" option—the right choice depends entirely on how and where you travel.
Choosing Your Path: Cellular, Satellite, or a Hybrid Approach
Often, the most effective internet for rv living isn’t one single service but a hybrid strategy that combines the strengths of different technologies. For example, a full-timer might rely on their cellular plan for everyday use in towns and cities but set up their satellite dish when camped deep in a national park without a bar of signal.
This layered method gives you redundancy, making sure you have a backup plan when one service isn't available. To learn more about setting up these systems, you might find our guide to top RV connectivity options helpful. Your perfect setup will be a mix of your travel style, how much data you need, and your budget.
Mastering Cellular Internet: Your Mobile Connection Arsenal
 For the vast majority of RVers, cellular internet is the cornerstone of their connection strategy. This is about more than just turning on your phone's hotspot; it has become a robust and flexible system that acts as the digital lifeline for road life. Think of your cellular setup as a personal, mobile network that follows you wherever you go, capable of grabbing a usable signal even in remote areas. This adaptability is precisely why cellular is so central to the internet for rv living experience.
The growing reliance on mobile networks isn't just an RV trend. Mobile data now drives about 59% of all web traffic across the globe, which shows how vital smartphones and mobile hotspots have become for anyone on the move. This fact highlights why a solid grasp of cellular tech is crucial for a smooth RV journey. You can dive deeper into this trend by checking out the complete report on mobile internet usage. This dependence makes picking the right cellular plan and gear a critical part of your travel prep.
Priority vs. Deprioritized Data: The Hidden Detail
One of the most vital, yet often misunderstood, parts of any cellular plan is the distinction between priority data and deprioritized data. Picture this: you're at a popular campground on a holiday weekend, and the local cell tower is swamped with users. If you have priority data, your connection essentially gets to "skip the line," giving you faster and more reliable speeds.
On the other hand, if your data is deprioritized—which is common for many "unlimited" phone hotspot allowances or reseller plans—your traffic is sent to the back of the queue. During peak times, this can throttle your connection to a frustrating crawl, making streaming or video calls nearly impossible. For anyone who works from the road, a plan with a generous chunk of priority data isn't a luxury; it's a necessity.
The Big Three Carriers: A Quick Comparison
While you might see service sold by smaller companies, known as Mobile Virtual Network Operators (MVNOs), they are all piggybacking on networks owned by Verizon, AT&T, and T-Mobile. Each of these major carriers has unique strengths when it comes to providing internet for RV living.
| Carrier | Primary Strength | Common Perception | Ideal For |
|---|---|---|---|
| Verizon | Widespread rural coverage and reliability | Often viewed as the most dependable network in remote locations. | RVers who frequently boondock far from cities and towns. |
| AT&T | A solid mix of coverage and speed | Known for consistent performance across diverse areas. | Travelers who need a reliable all-around connection. |
| T-Mobile | Leader in 5G speed and network capacity | Delivers the fastest speeds, but coverage is best near populated areas. | RVers who stick closer to towns and prioritize raw speed. |
Because no single carrier offers perfect coverage everywhere, many seasoned full-time RVers maintain plans with at least two different providers. This strategy provides redundancy, allowing them to switch to whichever network is strongest at their location and greatly improving their odds of staying connected.
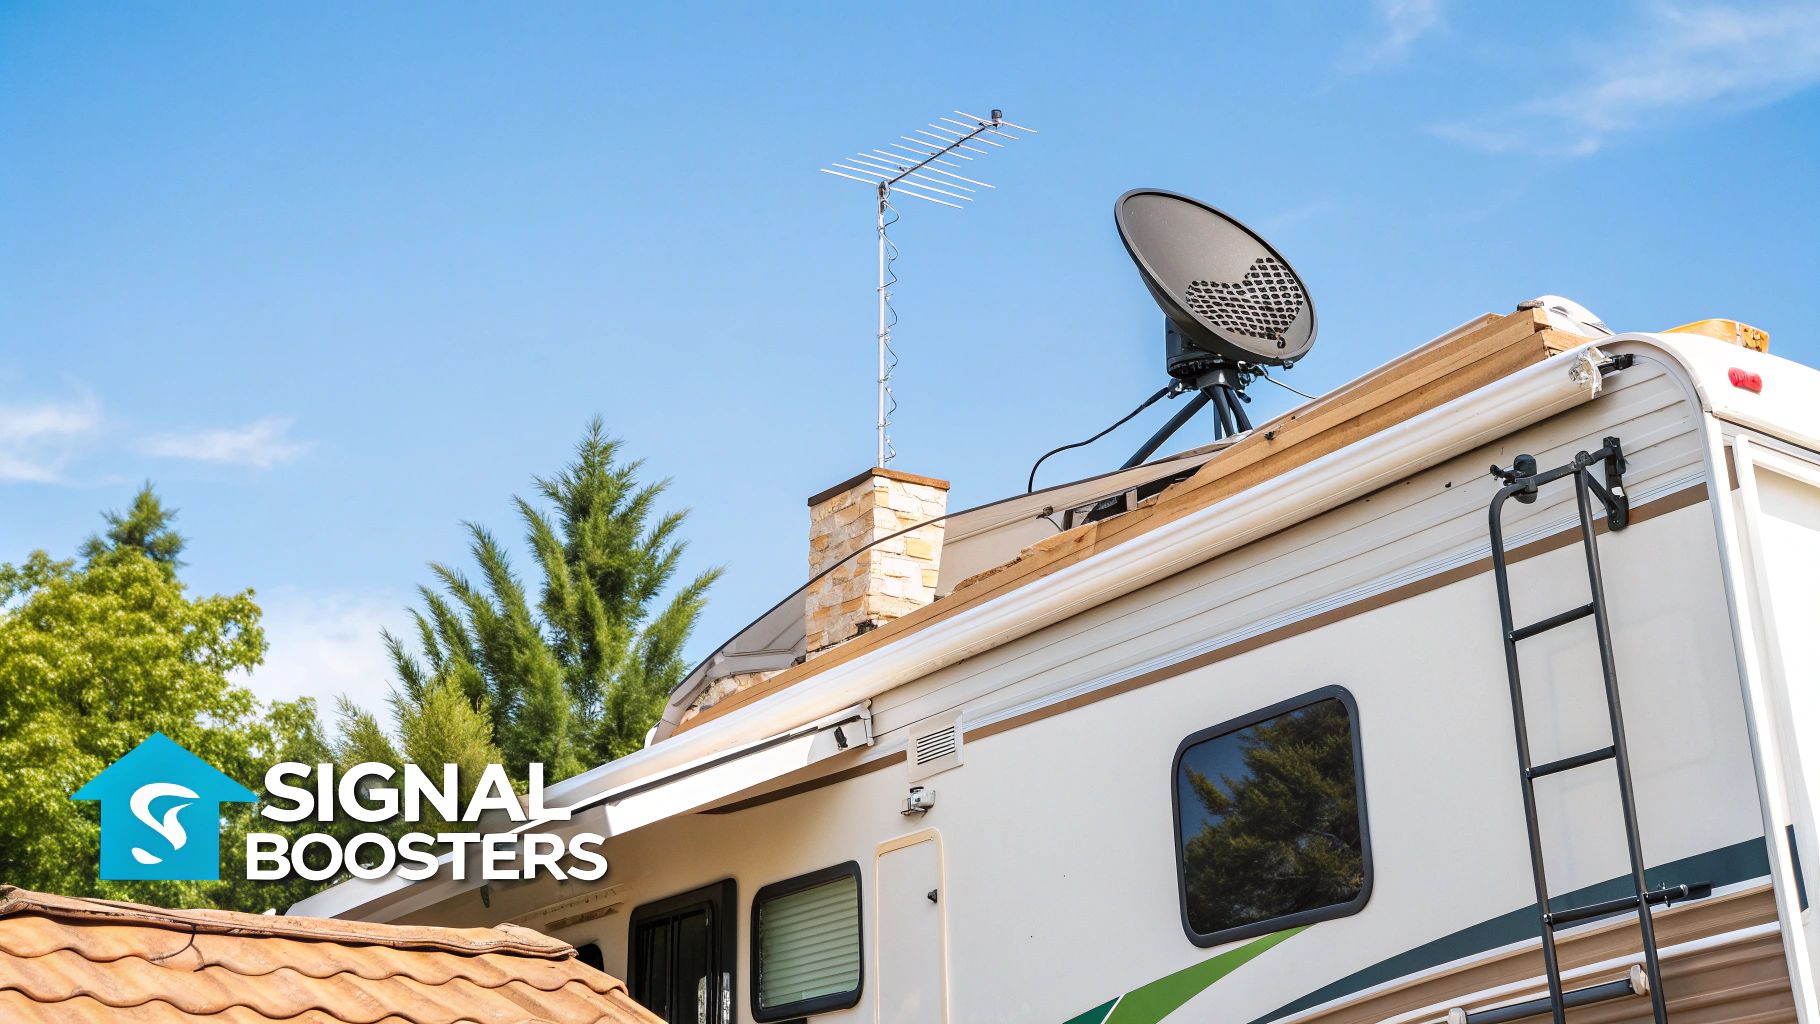
Boosting Your Signal: Antennas and Boosters
A great data plan is only half the equation; you also need the right hardware to capture and use that signal effectively. This is where external antennas and cellular boosters become indispensable tools in your connectivity toolkit.
- Cellular Boosters: A device like a weBoost Drive Reach RV takes a faint, existing signal from outside, amplifies it, and then rebroadcasts a stronger signal inside your RV. It can't create a signal from thin air, but it can transform an unusable single bar into a solid, workable connection.
-
External Antennas: Mounted on your RV's roof, these connect directly to your hotspot or cellular router. They are much better at picking up signals than the tiny antennas built into your devices.
- Omnidirectional Antennas: These antennas pull in signals from every direction, which makes them incredibly easy to use. Just park, and you're set.
- Directional Antennas: These must be aimed directly at a cell tower. While they require a bit more setup—locating the tower and pointing the antenna—they provide the best possible performance for pulling in a strong signal in very weak areas.
For the best results, you can combine a quality router with MIMO (Multiple Input, Multiple Output) antenna technology. This setup uses multiple antennas to send and receive data at the same time, which is like turning a single-lane country road into a multi-lane highway for your data.
Satellite Internet: Your Lifeline Beyond Cellular Boundaries
When your RV adventures take you to stunning, remote locations where cell towers are just a memory, satellite internet becomes your connection to the world. If your past experience with satellite involved clunky, slow connections, it’s time for a fresh look. The arrival of low-earth orbit (LEO) satellite networks, most famously Starlink, has completely changed what’s possible for remote connectivity. It delivers genuine high-speed internet in places that were once digital dead zones.
This development is a massive deal for the internet for RV living community, especially for those who love to boondock. Traditional geostationary satellites orbit about 22,000 miles above Earth. This immense distance creates a noticeable delay, or latency. LEO satellites, however, fly at just a few hundred miles up. This drastically shorter trip for the signal means much faster data transfer and lower latency, making video calls and online gaming totally possible from the middle of nowhere.
LEO vs. Geostationary Satellites
To grasp the practical difference, picture a conversation. Using a geostationary satellite is like yelling to a friend across a vast canyon and waiting for the echo to bounce back before they can answer. The delay is long and makes real conversation impossible. An LEO satellite, on the other hand, is like talking to someone in the same room. The back-and-forth is smooth and immediate. This is exactly why LEO systems are such a game-changer.
| Feature | LEO (e.g., Starlink) | Geostationary (e.g., Viasat) |
|---|---|---|
| Orbital Altitude | ~340 miles | ~22,000 miles |
| Latency (Lag) | 20-40ms | 600+ ms |
| Typical Speeds | 50-250+ Mbps | 12-100 Mbps |
| Best For | Real-time activities, remote work, streaming | Basic browsing and email where no other option exists |
Practical Realities for RVers
While satellite offers incredible freedom, it brings its own practical challenges. The most critical requirement is a clear, unobstructed view of the sky. Trees, buildings, and even very heavy cloud cover can disrupt your signal. This means you’ll need to be strategic when choosing a campsite, as that perfectly shaded spot under the trees might leave you offline. For a closer look at the leading services, check out our guide on the top satellite internet for RV options.
Power consumption is another major consideration, particularly for boondockers who depend on battery banks. A system like Starlink can draw between 50 to 75 watts on average. That's a significant amount of power that you must account for in your energy budget. You'll need a solid solar setup or a generator to keep it running without draining your batteries dry.
Finally, there’s the price tag. The initial equipment cost for an LEO system can run several hundred dollars, with monthly service fees often exceeding $100. It's a real investment, but for those who need a dependable connection far from civilization, the price is often worth it. Many RVers see it less as an expense and more as a tool that enables a truly mobile lifestyle, providing a vital link to work, family, and safety no matter where the road takes them.
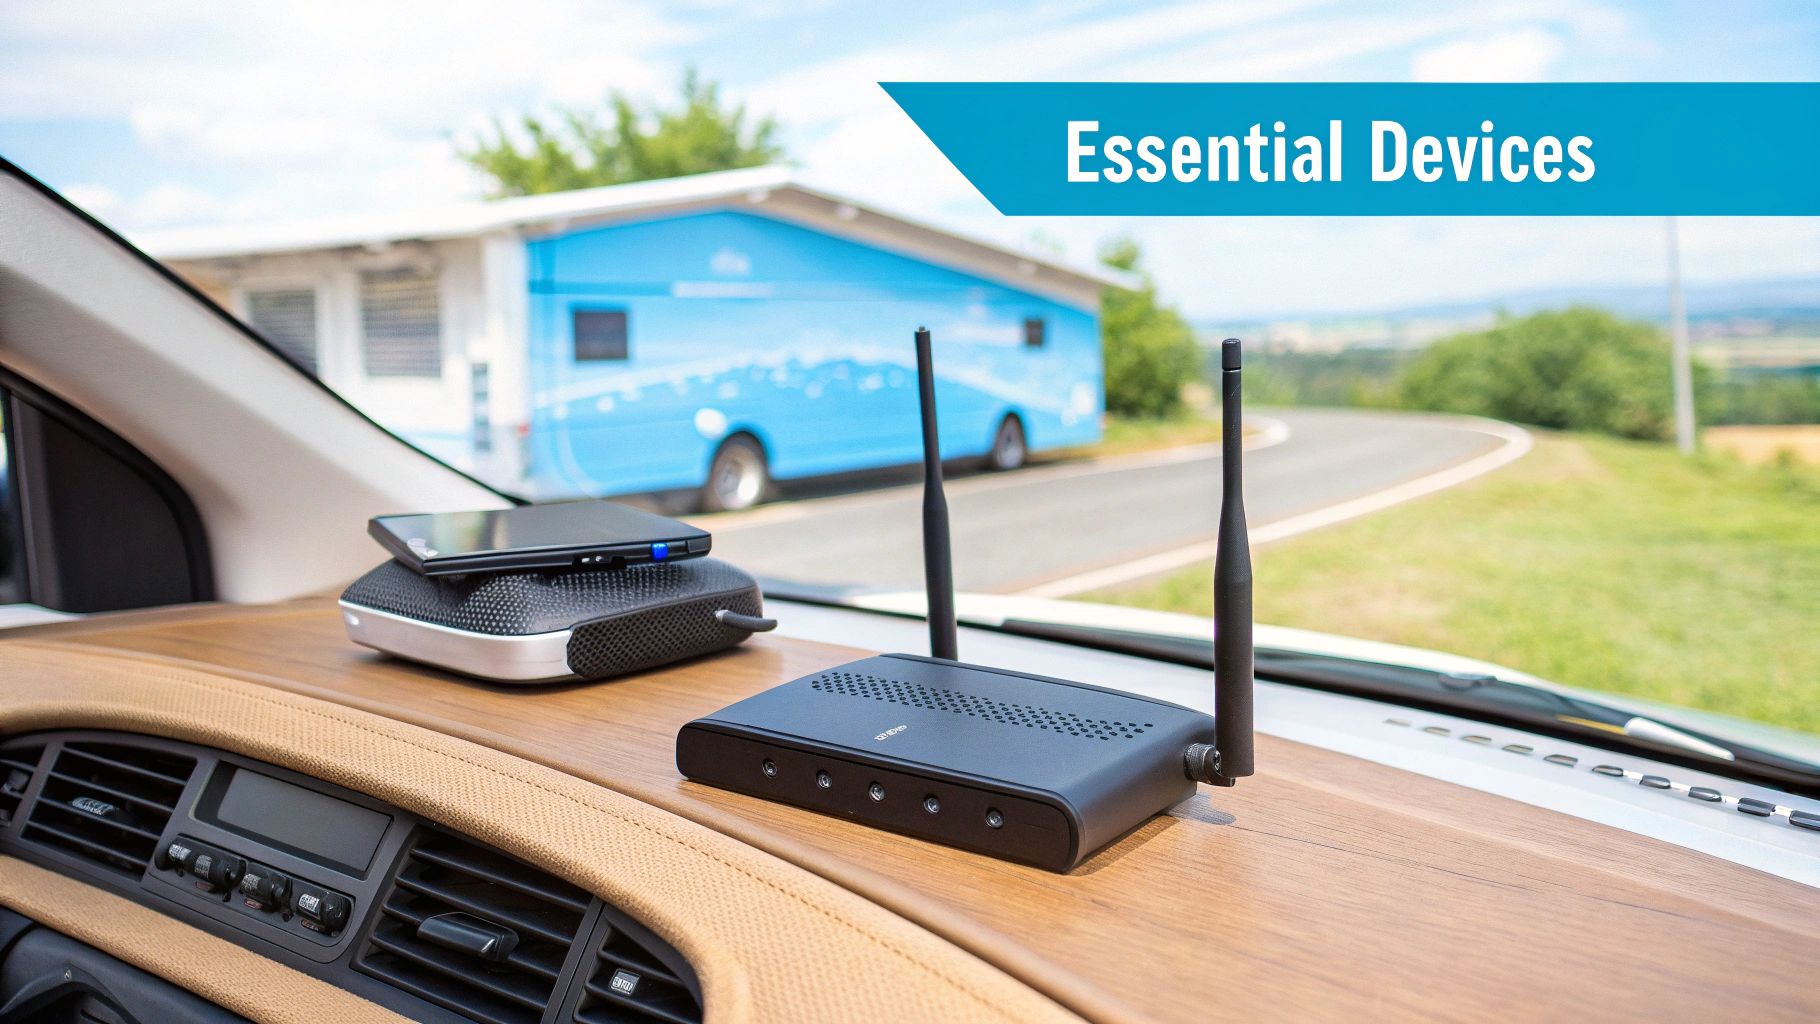
Building Your Mobile Command Center: Essential Equipment Guide
Setting up a reliable internet system for your RV is a bit like putting together a mobile command center. The gear you choose is the difference between frustratingly hunting for a signal and enjoying a smooth digital life on the road. This guide breaks down the essential hardware that creates a solid RV internet setup, from simple hotspots to advanced routers that can juggle multiple connections at once.
Each piece of equipment has a specific, important job. Think of your router as the brain of the operation, the antennas as its powerful ears, and a cellular booster as a megaphone helping those ears pick up faint sounds. Together, they form a system that keeps you connected wherever you roam.
To give you a clearer picture, here’s a breakdown of the essential hardware components for a complete RV internet setup. This table outlines what each piece does, what you can expect to pay, and how it impacts your connection.
| Equipment Type | Purpose | Price Range | Installation Difficulty | Performance Impact |
|---|---|---|---|---|
| RV Router | Acts as the "brain," managing multiple internet sources (cellular, Wi-Fi) and providing stable in-RV Wi-Fi. | $300 - $900+ | Moderate | High (enables connection stability and failover) |
| Omnidirectional Antenna | Captures cellular signals from all directions without needing to be aimed. Ideal for frequent movers. | $150 - $400 | Easy to Moderate | Medium (improves signal reception over internal antennas) |
| Directional Antenna | Focuses on a single cell tower for a much stronger, targeted signal. Best for weak signal areas. | $100 - $300 | Moderate to Hard | High (dramatically boosts signal in specific situations) |
| Cellular Booster | Amplifies a very weak, unusable cellular signal to make it strong enough for your devices. | $500 - $700 | Moderate | High (can make an unusable connection functional) |
As you can see, each component plays a role in building a dependable system. While a basic hotspot is a start, investing in specialized equipment significantly improves performance and reliability, especially when you're far from a city.
The Brains of the Operation: RV-Specific Routers
While a mobile hotspot from your carrier is a decent entry point, a dedicated RV router offers a whole new level of control and stability. These devices are built to handle the unique challenges of a life in motion. One of the most important features is dual-WAN capability, which lets the router connect to multiple internet sources at once, like a cellular SIM card and campground Wi-Fi.
This feature enables failover, a process where the router automatically switches to a backup connection if the primary one drops. This is a lifesaver for staying online during an important video call. Routers like the Pepwave MAX BR1 Pro 5G are purpose-built for this, with rugged designs and slots for multiple SIM cards from different carriers for ultimate backup.
The Power of Antennas: Reaching for a Better Signal
Your router or hotspot is only as good as the signal it can grab. The small, internal antennas inside these devices often struggle in remote locations. This is where external antennas become a game-changer. By mounting one on your RV’s roof, you get it high above ground-level obstacles, making it far better at catching weak signals.
You have two main choices for external antennas:
- Omnidirectional Antennas: These antennas pull in signals from a 360-degree circle. Their biggest plus is convenience—you just park, and they work. They are perfect for RVers who change locations often and don't want to mess with aiming an antenna every time.
- Directional Antennas: These require you to point them directly at a cell tower. While this takes more effort, they can lock onto a much stronger and more stable connection, especially where service is poor. They focus their energy in one direction, much like a telescope zeroing in on a single star.
Cellular Boosters: Amplifying a Faint Signal
When you're in an area where the cell signal is barely a whisper, a cellular booster can be your most valuable asset. A booster system has three parts: an external antenna to catch the weak signal, an amplifier to make it stronger, and an internal antenna to broadcast the improved signal inside your RV.
It’s crucial to know that a booster can’t create a signal out of thin air. Instead, it takes a faint, unusable signal and strengthens it enough for your devices to use. This can turn one flickering bar of service into a stable, fast connection. When looking for a booster, models like the weBoost Drive Reach RV are popular choices because they're designed for the power systems and layout of a recreational vehicle.
Professional Installation and Configuration Strategies
Getting your RV internet system installed correctly from the very beginning can save you from months of frustrating connection problems. Think of it as building the digital foundation for your mobile home; a solid setup ensures your gear works reliably day in and day out. Proper installation is the cornerstone of dependable internet for RV living, making sure all your equipment performs exactly as it should.
This process is more involved than just plugging in a few devices. It requires routing cables safely, creating weatherproof seals that can withstand the elements, and positioning antennas for the best signal without ruining your RV's look.
Step-By-Step Installation Basics
Whether you're working with a simple hotspot or a more advanced multi-carrier router, the core ideas behind a quality installation are the same. A smart approach boils down to three key elements: placement, power, and protection.
- Optimal Antenna Placement: Your external antenna needs the clearest possible line of sight to the horizon. Mount it on your RV’s roof, keeping it away from air conditioners, solar panels, or other large metal objects that can block or interfere with the signal. This one adjustment can make a huge difference in your connection strength.
- Clean Cable Routing: Running cables is practically an art form. The objective is to connect the antenna on the roof to your router inside with the least amount of signal loss, all without creating messy or hazardous wiring. Many RVers use existing entry points, like refrigerator vents, to avoid drilling new holes. If you must drill, always use grommets and sealant to make the entry point completely weatherproof.
- Stable Power Supply: Your router and any signal boosters need a steady, reliable source of electricity. Connecting them directly to your RV’s 12V DC system is usually the most efficient method. It avoids the energy waste that comes from using an inverter to change DC power to 120V AC, which is a big deal when you're boondocking and managing battery life.
For a broader look at getting your vehicle situated, which is the first step toward a great connection, you can learn more about how to set up your RV at a campground.
Configuring for Maximum Uptime
With the hardware physically in place, the next stage is to configure the software for intelligent, hands-off operation. This is where a high-quality RV router really shines. The main goal is to create a network that can manage multiple internet sources and adapt automatically as conditions change.
A key feature to set up is automatic failover. This function tells your router to watch your primary internet source (like your main cell plan). If that connection drops or becomes too weak, the router instantly and seamlessly switches to a backup, like another cellular carrier or a satellite link. The switch is so smooth that your video call or movie stream will continue without a hiccup. You can customize the rules based on data usage or signal quality, giving you precise command over your connection.
You can also configure your network to prioritize certain online activities. This feature, known as Quality of Service (QoS), lets you tell the router which tasks are most important. For example, you can ensure your work video conference gets the bandwidth it needs, even if someone else is downloading a large file. This level of control turns your RV into a dependable mobile workspace, ready for almost any connectivity scenario you might encounter on your travels.
Maximizing Performance and Smart Data Management
Getting a signal is just the first hurdle; the real trick to great internet for RV living is making every bit of that signal count. This means being smart about how you use your data to make each gigabyte last longer and fine-tuning your setup for a fast, steady connection.
Picture your monthly data plan as the fuel tank for your digital life on the road. Just like you drive your RV efficiently to conserve fuel, managing your internet use stops you from emptying your data tank before you're ready to top up. The first step is figuring out where your data is actually going. Many routers have built-in tools, and there are specialized apps that can show you your data consumption in real time. Spotting that a single tablet is eating up 40% of your data in a week gives you the power to make a change before you get that dreaded "data limit reached" notification.
Prioritizing Your Connection with QoS
One of the most effective tools for managing your RV network is Quality of Service (QoS). This feature, found on many modern RV routers, lets you play traffic cop for your internet connection. With QoS, you can tell your router which online activities are most important and should get first dibs on your bandwidth.
For example, you can give your work laptop top priority for video calls, ensuring they remain smooth and clear, while pushing background app updates on your phone to the back of the line. It's the difference between a crisp, professional-looking Zoom meeting and a frustrating, pixelated mess where you can barely hear anyone.
Smart Strategies for Content Consumption
Seasoned RVers know that a few small changes in how you consume content can dramatically lower your data usage without making you feel disconnected. These simple habits can make a huge difference to your monthly bill:
- Adjust Streaming Quality: Streaming video is a massive data hog. Switching from 4K to standard definition (SD) can slash data use by over 85%. Services like Netflix and YouTube make it easy to manually lower the video quality.
- Schedule Large Downloads: Got a big system update, a new game, or offline maps to download? Plan to do it during off-peak hours or, even better, when you're connected to free Wi-Fi at a campground or coffee shop.
- Utilize Offline Features: Before you hit the road, download your favorite movies, playlists, and podcasts. This gives you a library of entertainment that doesn't use any of your mobile data.
- Set Up Guest Networks: When friends or family visit, create a separate guest Wi-Fi network. You can set specific data caps or speed limits on this network to prevent visitors from accidentally burning through your entire monthly allowance.
By blending these techniques, you can enjoy a solid internet connection without constantly worrying about your data plan. For those who need more data freedom, our guide to the 7 best unlimited internet for RV options in 2025 dives into plans that can better support a data-heavy lifestyle.
Your Connected RV Lifestyle Action Plan
Bringing reliable internet into your travels is about more than just buying gear; it's about creating a system that truly supports your life on the road. A well-thought-out plan for your internet for RV living setup makes sure you spend your money wisely and stay online when it really counts. Let's walk through how to turn ideas into a real, working connection, starting with a clear look at your needs.
Evaluating Your Connectivity Needs
Before you even think about shopping, you need to figure out what you actually need from your internet. The requirements of a weekend camper are worlds apart from those of a full-time digital nomad working from the road.
Start by asking yourself a few key questions:
- Primary Use: Will you be using the internet for casual web surfing and checking maps, or do you depend on it for important work video calls and uploading large files?
- Travel Style: Do you mostly park at established campgrounds that likely have some cell signal, or is your heart set on boondocking in remote, off-grid locations? Your answer will point you toward either a cellular or a satellite-focused setup.
- Device Count: How many gadgets need to connect at once? A solo RVer with just a laptop and a phone has much simpler needs than a family with multiple tablets, smart TVs, and gaming consoles.
Answering these honestly is crucial. It keeps you from overspending on powerful equipment you'll never use or, even worse, buying a cheap setup that leaves you stranded without a connection.
Budgeting for Your Setup: Beyond the Monthly Bill
Putting together a realistic budget means looking past the monthly service fee. The upfront cost of equipment is a big piece of the puzzle and can range from a few hundred dollars to several thousand.
| Cost Category | Description | Estimated Range |
|---|---|---|
| Initial Equipment | This includes the router, antennas, and/or a satellite dish. | $300 - $2,000+ |
| Monthly Service | Data plans for your cellular and/or satellite service. | $70 - $250+ |
| Installation/Misc. | Any cables, mounts, sealants, or professional help needed. | $50 - $500+ |
Try to see this as a long-term investment in your travel freedom. Sometimes, paying more at the start for quality hardware, like a dual-SIM router, can save you a lot of money and headaches later on. Remember, a great connection unlocks other powerful tools for your journey. For instance, you can check out some of the top travel map apps that become even more useful with the reliable internet you're building.
Ready to build a reliable, high-speed connection for your adventures? Explore SwiftNet Wifi's powerful 5G internet plans designed specifically for RVers and travelers who refuse to compromise on connectivity. Get the speed you need, wherever the road takes you. Learn more about SwiftNet Wifi today.


