

If you want to control your network's internet access, blocking websites directly on your router is hands-down the most powerful way to do it. The process is pretty straightforward: you log into your router's admin settings, look for a section called something like 'Parental Controls' or 'Access Control', and add the specific URLs you want to block. Just like that, every single device on your Wi-Fi is prevented from reaching those sites.
Why Blocking Websites on Your Router Is So Effective
Before we get into the nitty-gritty, let's talk about why managing access at the router level is such a game-changer. Unlike software you have to install on every single device, a router-level block is a universal command. It applies to every phone, laptop, smart TV, and gaming console connected to your network—no exceptions.
This centralized control lets you create a really consistent digital environment. For example, you can carve out a distraction-free homework zone by blocking social media and gaming sites during certain hours. Or, in a small office, you can easily prevent access to time-wasting websites and boost productivity without having to micromanage anyone.
A Unified First Line of Defense
Beyond just productivity, filtering at the router level adds a serious layer of security. By blocking known malicious domains at the point of entry, you’re protecting every device that connects to your network. It’s crucial to understand common network security vulnerabilities to really appreciate how big of a deal this is. You're essentially stopping threats before they can even get a foothold.
This isn't just a niche trick; it's become standard practice. By 2023, up to 70% of organizations in North America were already blocking malware-hosting sites at their network gateway, according to research shared by the SAMENA Council. It shows a clear trend toward using the router as a primary defense against all sorts of cyber risks.
By creating a single set of rules for your entire network, you simplify content filtering and ensure consistent protection for everyone. This makes it the most reliable and efficient method for managing your network’s internet access.
Gaining Control and Visibility
Setting up these blocks also gives you a much clearer picture of what’s happening on your network. When you dictate which sites are accessible, you can manage bandwidth more effectively and make sure it's being used for the right things.
If you want to get a better handle on your data consumption, our guide on how to see internet usage is a great next step. Ultimately, this approach puts you in the driver's seat, turning your router into a true gatekeeper for a safer, more focused online experience.
Getting Into Your Router's Admin Settings
Before you can block a single website, you need to get into your router's control panel. Think of it as the mission control for your entire home network. To manage your network traffic effectively, you first have to access these admin settings, which are a core part of the broader router, switching, and Wi-Fi infrastructure in your home. It’s not nearly as technical as it sounds; you just need a couple of key pieces of information to get started.
Your first mission is to find your router's IP address. This unique string of numbers is the doorway to its settings page. On almost every home network, this IP is also called the default gateway.
Finding Your Default Gateway
Figuring out this address is a little different depending on your computer, but it’s always straightforward. You don’t need any special software—just a quick peek at your system's network info.
On a Windows PC:
- Pop open the Command Prompt. The quickest way is to search for "cmd" in the Start Menu.
- Type
ipconfigand hit Enter. - Scan the results for a line that says "Default Gateway." The numbers next to it are what you're looking for.
On a Mac:
- Head over to System Settings and click on "Network."
- Select your active connection, whether it’s Wi-Fi or Ethernet.
- Click "Details," then navigate to the "TCP/IP" tab. The IP address listed next to "Router" is your target.
Once you’ve got that IP address, open up any web browser, type it into the address bar, and press Enter. You should see your router’s login screen pop up.
Pro Tip: Many routers use common IPs like 192.168.1.1 or 192.168.0.1, but it's always better to confirm the exact address with the steps above. Guessing can get frustrating fast if your router uses a less common one.
Finding Your Login Credentials
The login screen will ask for a username and password. Before you start guessing "admin" and "password," take a look at the physical router itself. Most manufacturers print the default login details on a sticker, usually on the bottom or back of the device.
This little sticker is your golden ticket and typically lists:
- The default username (often 'admin')
- The default password (usually a random string of letters and numbers)
- The router's IP address
What if you changed these details a while back and can't remember them? Your only real option is a factory reset. This will wipe all your custom settings and revert the password back to what’s printed on that sticker. You can usually do this by pressing a tiny, recessed button on the router for about 10-15 seconds.
If you find yourself setting up your router from scratch after a reset, our guide on how to set up a Wi-Fi router can walk you through the rest. Once you're logged in, you'll have full access to the administrative interface where the real work begins.
Using Your Router's Built-In Website Filters
Once you're logged into your router's admin panel, the good news is most modern devices have user-friendly features baked right in. These tools are the best place to start learning how to block websites on a router without needing a degree in network engineering.
Router manufacturers all have their own names for these settings, but they do the same job. You'll want to hunt around the menu for things like 'Parental Controls,' 'Access Control,' or 'Website Filtering.' These are the sections designed to give you direct control over what your network can and can't see.
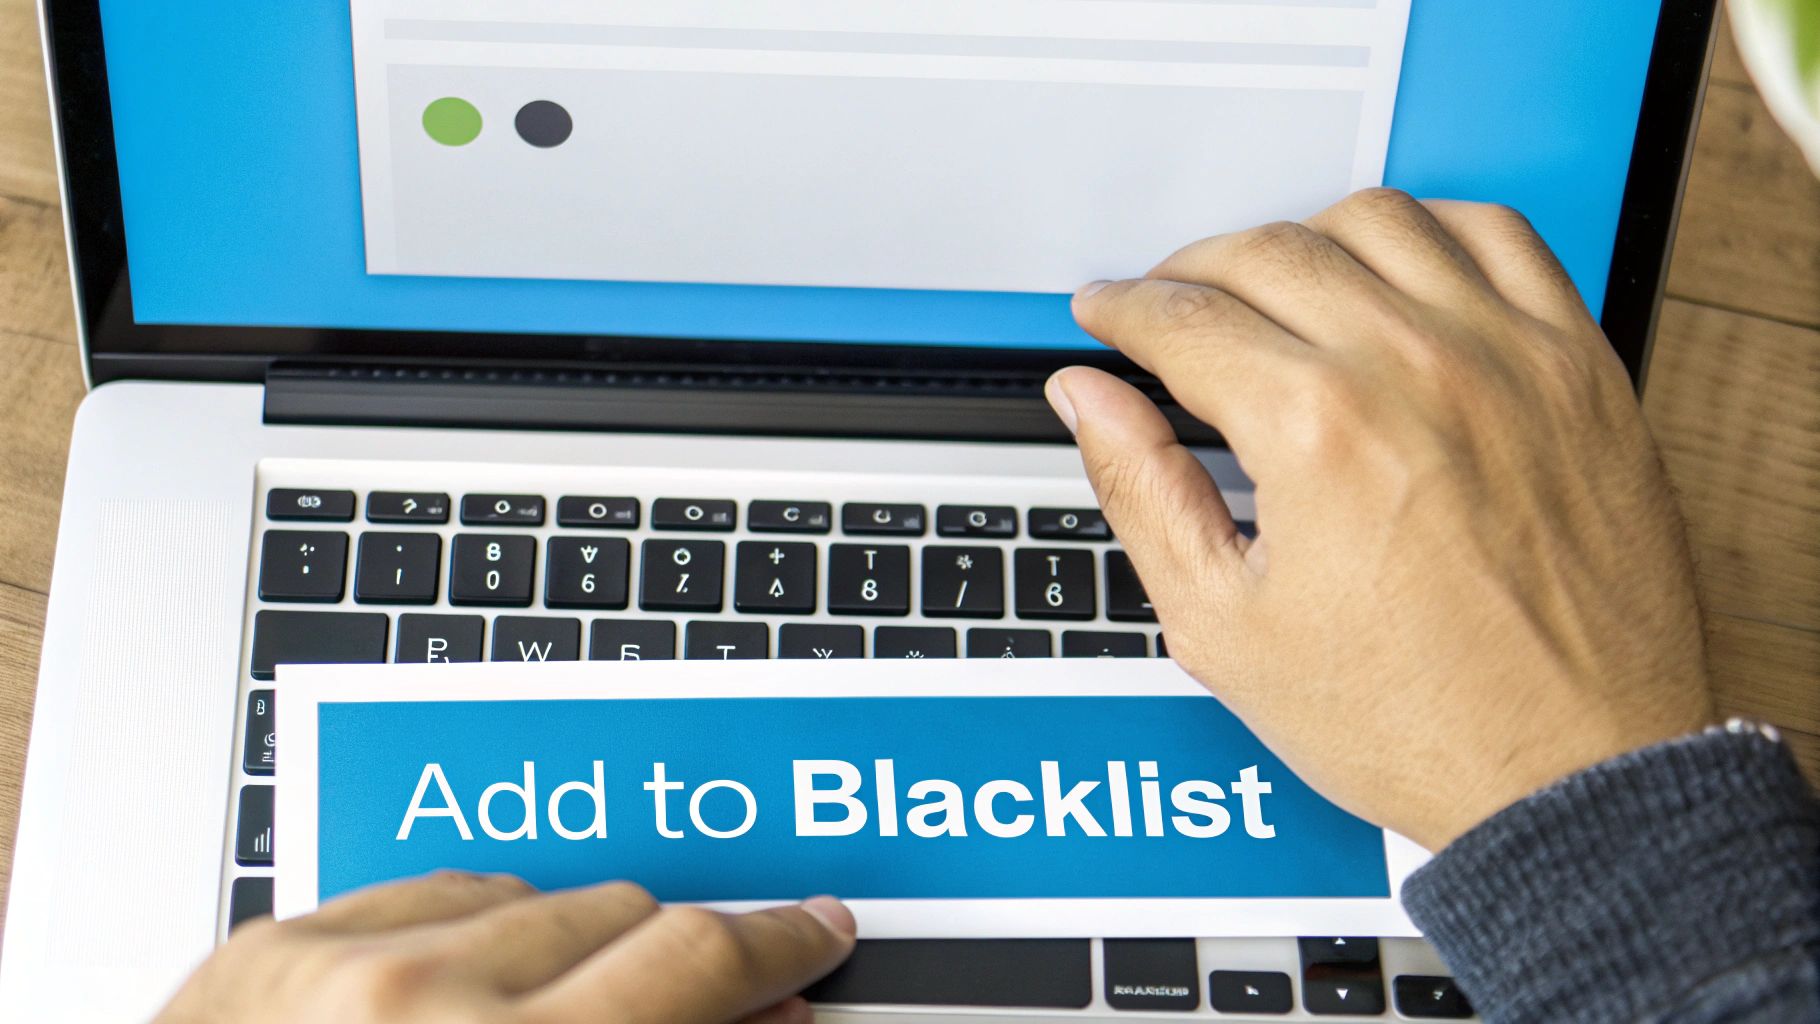
This infographic gives you a quick visual of where the process starts—getting to your router's login page.
As you can see, it all begins at that login screen. That's your command center for everything related to your network.
Navigating Popular Router Interfaces
Let's talk about where you'll likely find these settings on a few of the big router brands. Every interface is a little different, so it's not a one-size-fits-all process, but the core ideas are the same across the board.
-
TP-Link: On TP-Link routers, these tools are usually under a very clearly labeled Parental Controls tab. What's nice is that you can create profiles for different users or devices, making it a breeze to set separate rules for your kids' tablets versus your own work computer.
-
Netgear: Netgear often calls this section Access Control, or they’ll integrate it with their "Smart Parental Controls" app. This is where you can set up user profiles, hit the pause button on the internet for certain devices, and build out your blocklists.
-
ASUS: If you have an ASUS router, look for a feature suite called AiProtection. Tucked inside, you'll find "Parental Controls" that offer both Malicious Site Blocking and a dedicated Web & Apps Filter. This is super handy for blocking entire categories of content with just a couple of clicks.
Even though the names and locations change, the goal is always the same: find the menu that lets you tell the router which websites or content types are off-limits.
Before we dive into creating rules, it's helpful to understand the different tools your router might offer. Most consumer routers come with a basic set of features for filtering content, though the exact names can vary.
Common Router Features for Website Blocking
| Feature | Common Name in Settings | How It Works | Best For |
|---|---|---|---|
| URL Filtering | Block Sites, Website Filter, Blacklist/Whitelist | You manually enter the specific web addresses (like youtube.com) that you want to block or allow. |
Blocking a handful of specific, known websites that are causing distractions or are inappropriate. |
| Keyword Blocking | Keyword Filter, Content Filter | The router scans web addresses for certain words (e.g., "game," "casino") and blocks any URL containing them. | Broader filtering when you can't list every single site, but it can sometimes block legitimate sites by mistake. |
| Category Blocking | Web & Apps Filter, Content Categories | Pre-defined categories (e.g., Social Media, Gambling, Adult) that you can block with a single click. | Easily blocking large swaths of the internet without needing to know specific URLs. Great for general safety. |
| Time Scheduling | Access Schedule, Time Limits, Bedtime Mode | You set specific times and days when internet access is allowed or blocked for certain devices or profiles. | Managing screen time, like cutting off internet access on school nights after 10 PM or during homework hours. |
Knowing these terms will make it much easier to find and configure the right settings for your needs, no matter which brand of router you're working with.
Creating Device Profiles and Rules
One of the most powerful features you'll find is the ability to create unique profiles for different people or devices. This is a huge step up from the old days of a single, network-wide ban that affected everyone.
For example, you could set up a "Kids" profile and assign their tablets and game consoles to it. Then, you can apply a specific rule to just that profile, like blocking all social media and video streaming sites between 4 PM and 7 PM on weekdays. This targeted approach means your work-from-home connection is completely untouched while the kids can stay focused on their homework.
This level of customization is what makes router-level filtering so effective. You're not just blocking sites; you're creating a structured digital environment that adapts to your family's or business's schedule and needs.
Using Blacklists and Whitelists
Once you've found the filtering section and maybe created a profile, you'll generally have two ways to control access: blacklists and whitelists. Figuring out which one to use is key to getting the results you want.
A blacklist is just a list of specific websites you want to block. If a site isn't on the list, it's allowed. This is the go-to method for most people and works perfectly for targeting a few known problem sites.
-
Example: You add
youtube.comandtiktok.comto the blacklist for your "Kids" profile. They can still get to their school portal and other educational sites, but those two specific domains won't load.
A whitelist, on the other hand, flips that logic on its head. It's a list of websites that are the only ones allowed. Everything else on the entire internet is blocked by default. It's much more restrictive, but it's incredibly effective for creating a totally locked-down environment.
-
Example: For a young child's first tablet, you could create a whitelist that only allows
pbskids.organddisneyjunior.com. Nothing else will work, creating a completely safe digital sandbox for them to explore.
For most households, the best strategy is a mix of blacklisting a few specific URLs and using the category-blocking feature for broad topics like "gambling" or "adult content." Start by identifying the biggest time-wasters or most concerning sites and add them to a blacklist. You can always come back and tweak the rules later. This lets you fine-tune your network over time, keeping your internet environment both safe and productive.
Manually Blocking Websites by Domain or Keyword
Not every router comes with a fancy, app-driven Parental Controls suite. If you log into your router's admin panel and find the options a little bare, don't worry—you can still lock things down. Most routers, even older ones, have manual blocking tools tucked away in sections like 'Security,' 'Firewall,' or 'Access Restrictions.'
This method is definitely more hands-on, but it gives you surgical precision. Instead of relying on broad, pre-set categories that might accidentally block useful sites, you're the one in charge. You get to target the specific domains and keywords you know are a problem on your network.
Domain Blocking vs. Keyword Blocking
Once you dig into these settings, you’ll usually find two ways to block content. Understanding the difference is key to setting up effective filters without causing a headache later.
-
Domain Blocking: This is the most direct approach. You just type in the full website address you want to block, like
facebook.comornetflix.com. When any device on your Wi-Fi tries to go to that exact domain, the router simply denies the connection. It’s clean, simple, and perfect for targeting specific, known websites. -
Keyword Blocking: This method is broader. It works by scanning the actual URLs people are trying to visit for a specific word you've provided. If you add "gaming" or "casino" to the list, the router will block any URL that contains that word. It's a powerful tool, but you have to be careful. For instance, blocking the keyword "game" might inadvertently block a school resource like
coolmathgames.com.
For most situations, I recommend starting with domain blocking. It's the most reliable strategy because you have complete control. Keyword blocking is better when you want to cast a wider net, but be prepared to tweak your list if it starts blocking legitimate sites.
Finding the Right Menu in Your Router
Honestly, the biggest challenge is often just finding the right page in your router's admin interface. Every manufacturer uses different labels, so you might have to do a little exploring.
I'd start by looking for these common menu headings:
- Security
- Firewall
- Access Control
- Content Filter
- Block Sites
Once you find the right spot, you'll probably see a simple text box or a list where you can add websites. This is where the magic happens.
The real power of manual blocking is its specificity. You aren’t relying on a third party’s definition of “distracting” or “inappropriate.” You are building a custom filter tailored precisely to your household's or business's needs.
Adding Entries to Your Blocklist
Getting a website onto your router's blocklist is usually pretty straightforward. After you've navigated to the right menu, you'll see a field to enter a domain or keyword and an "Add" or "Apply" button.
Let's walk through a common scenario. Say you want to create a distraction-free zone for homework by blocking a few social media and video sites.
-
First, identify the target domains. You've decided the biggest time-wasters are YouTube, TikTok, and Instagram. That makes your target list
youtube.com,tiktok.com, andinstagram.com. -
Next, add each one individually. In the "Block Sites" menu (or whatever your router calls it), type
youtube.cominto the field and click "Add." Then, just repeat the process fortiktok.comandinstagram.com. -
Finally, save your changes. This is the most important step! Look for a "Save" or "Apply" button. If you just close the browser tab without saving, your new rules won't take effect.
It's also a good practice to block both the www and non-www versions of a site if your router seems to require it, though most modern routers are smart enough to block the entire domain automatically.
This manual method is a fundamental skill for anyone learning how to block websites on a router. It might not feel as advanced as slick, category-based filtering, but its directness is often its greatest strength. You have absolute authority over what gets blocked, leaving no room for ambiguity.
Go Deeper With a Custom DNS Service for Advanced Filtering
If you want a truly powerful, set-it-and-forget-it solution, then using a custom DNS service is the way to go. While the other methods we've covered give you direct, manual control, leaning on a third-party DNS provider automates the entire process. This offers a much broader and more robust layer of protection for every single device on your network.
It’s a more advanced technique, for sure, but it's incredibly effective for anyone who's serious about managing their home's internet access.
Think of the Domain Name System (DNS) as the internet’s phonebook. When you type google.com into your browser, your router asks your Internet Service Provider's (ISP) default DNS server to look up the correct IP address. It’s a behind-the-scenes process that happens in a flash.
By changing your router's DNS settings to point to a specialized service, you're essentially handing it a brand new, pre-edited phonebook—one that has entire categories of unwanted websites already ripped out.
So, What Are These Custom DNS Filtering Services?
Companies like OpenDNS (now part of Cisco) and CleanBrowsing are built from the ground up specifically for content filtering. They maintain massive, constantly updated lists of websites sorted into all sorts of categories: adult content, phishing schemes, malware, social media, gambling—you name it.
When any device on your network tries to visit a site that falls into one of your blocked categories, the DNS service simply refuses to provide the IP address. The result? The site never even begins to load.
This approach brings some huge advantages to the table:
- Automatic Updates: You can forget about manually blocking new threats. The service provider is updating its blocklists around the clock, protecting you from malicious sites the moment they pop up.
- Comprehensive Filtering: It’s so much easier to block an entire category like "Gambling" than it is to hunt down and block thousands of individual gambling websites on your own.
- Enhanced Security: Most of these services come with built-in protection against phishing attacks and malware, which adds a significant security boost to your whole network.
This hands-off nature is what makes DNS filtering such a powerful tool in your toolkit for learning how to block websites on a router. You configure your filtering level one time, and it just works silently in the background.
By intercepting malicious or unwanted requests before they even reach your network, a custom DNS service acts as a proactive security guard for all your connected devices, from smart TVs to smartphones.
Changing Your Router's DNS Settings
Switching your router's DNS server is a one-time change that pays dividends for years. The process is pretty straightforward: you just need to log into your router's admin panel and find the section that handles your internet or WAN (Wide Area Network) settings.
First, you'll need the DNS server addresses from the provider you've chosen. For example, CleanBrowsing offers different "filters," each with its own unique addresses. Their "Family Filter" blocks adult content, phishing, and malware, while their "Adult Filter" just blocks explicit sites.
Once you have the addresses you want to use, here are the general steps:
- Log into your router's admin interface. We walked through how to find your router's IP address and login details earlier in this guide.
- Locate the DNS settings. You'll often find this under "Internet," "WAN," or "Network Settings." Look for two fields labeled "Primary DNS" and "Secondary DNS."
- Enter the new DNS addresses. Carefully type the primary and secondary DNS server addresses from the filtering service into the right fields.
- Save your settings and reboot the router. Make sure to click "Save" or "Apply," then give your router a quick restart for the changes to lock in.
After your router reboots, every device that connects to it will automatically use the new custom DNS service for filtering. It's as simple as that.
Gaining Deeper Network Insights
One of the coolest benefits of using a service like OpenDNS is the detailed reporting it provides. Once you create an account and link it to your network, you can log into a dashboard that shows you exactly what's happening behind the scenes.
You can see which categories of websites are being blocked most often and even look at logs of individual domain requests from across your network.
This kind of visibility is incredibly useful. It helps you understand your family's browsing habits, spot devices that might be trying to access malicious sites, and just generally confirm that your filtering rules are working as intended. This data-driven approach transforms your router from a simple internet gateway into a smart network management tool, giving you a complete overview of your digital world.
Common Questions About Router Website Blocking
Even after you've set up your first blocklist, a few questions almost always pop up. Let's walk through some of the most common ones I hear from people just learning how to block websites on a router.
Does This Block Websites on Every Device?
Yep, and that’s the real magic of this approach. Any block you create at the router level is a blanket rule for your entire network.
This means every single device connected via Wi-Fi or an Ethernet cable—from smartphones and laptops to smart TVs and gaming consoles—will be prevented from reaching those sites. It's a far more effective and straightforward strategy than trying to install and manage individual blocking apps on every device in your house.
Can I Unblock a Website Later?
Absolutely. Unblocking a site is just as easy as blocking it, you just do the process in reverse. You'll log back into your router's admin panel and find the same section you used before, whether the manufacturer calls it 'Parental Controls,' 'Access Control,' or 'Website Filtering.'
Once you're there, just find the website URL or keyword in your list, delete the entry, and make sure to save your changes. The website should be accessible again almost instantly for everyone on the network.
Key Takeaway: Think of router-level blocking as a network-wide command. Every device that connects to your Wi-Fi is subject to the rules you set, which guarantees consistent filtering without needing any device-specific software.
Will a VPN Bypass These Blocks?
This is a great question. For the most part, yes, a determined user can get around router-level blocks with a VPN (Virtual Private Network). A VPN works by encrypting their internet traffic and routing it through an outside server, which effectively makes their activity invisible to your router's filters.
While some higher-end routers offer features to detect and block known VPN traffic, it's rarely a foolproof solution. For most families and home offices, though, router blocking is more than enough to be an effective deterrent. It puts up a solid barrier that stops casual attempts to get to restricted content.
Does Blocking Websites Slow Down My Internet?
Generally, no. Basic URL or keyword blocking on a standard consumer router uses a negligible amount of processing power. You shouldn't notice any impact on your internet speed at all. Your streaming, gaming, and browsing will feel just as snappy as they did before.
If you get into more advanced filtering, like routing all your traffic through a custom DNS service, you could theoretically introduce a tiny bit of latency. But even then, it's usually so small that you'd never notice it in everyday use. If you do run into any slowdowns after setting up your blocklist, our guide on Netgear router troubleshooting has some tips that often apply to other brands as well.
At SwiftNet Wifi, we believe in giving you full control over your internet experience, whether you're on the road in an RV or at home in a rural area. Our reliable high-speed 5G service ensures you have the bandwidth you need to work, stream, and stay connected. Check out our plans today
#rv #rvlife #rvliving #rvlifestyle #rvrenovation #rvremodel
#rvtravel #rvcamping #rvadventures #ruralwifi #5gwifi
#5ginternet


