

The Real Promise of Starlink for RV Adventurers
For RV enthusiasts, the allure of open-road exploration is often hampered by unreliable internet access. Traditional options, like campground Wi-Fi and cellular hotspots, frequently fall short. This leaves travelers struggling to stay connected for work, entertainment, and even basic communication. This is where Starlink enters the picture, promising a new level of connectivity on the road. However, it's important to have realistic expectations about this satellite internet system's true capabilities for RV adventurers.
Understanding the Starlink System
Starlink's appeal stems from its ability to provide high-speed internet through a network of low-Earth orbit satellites. This allows access to potentially reliable internet service, even in remote locations far from cell towers. Unlike traditional satellite internet, Starlink's satellites orbit much closer to Earth. This reduces latency (the delay before data transfer begins) and improves performance for activities like video streaming and online gaming. This makes Starlink an attractive alternative to services reliant on cellular networks, which can struggle in sparsely populated areas.
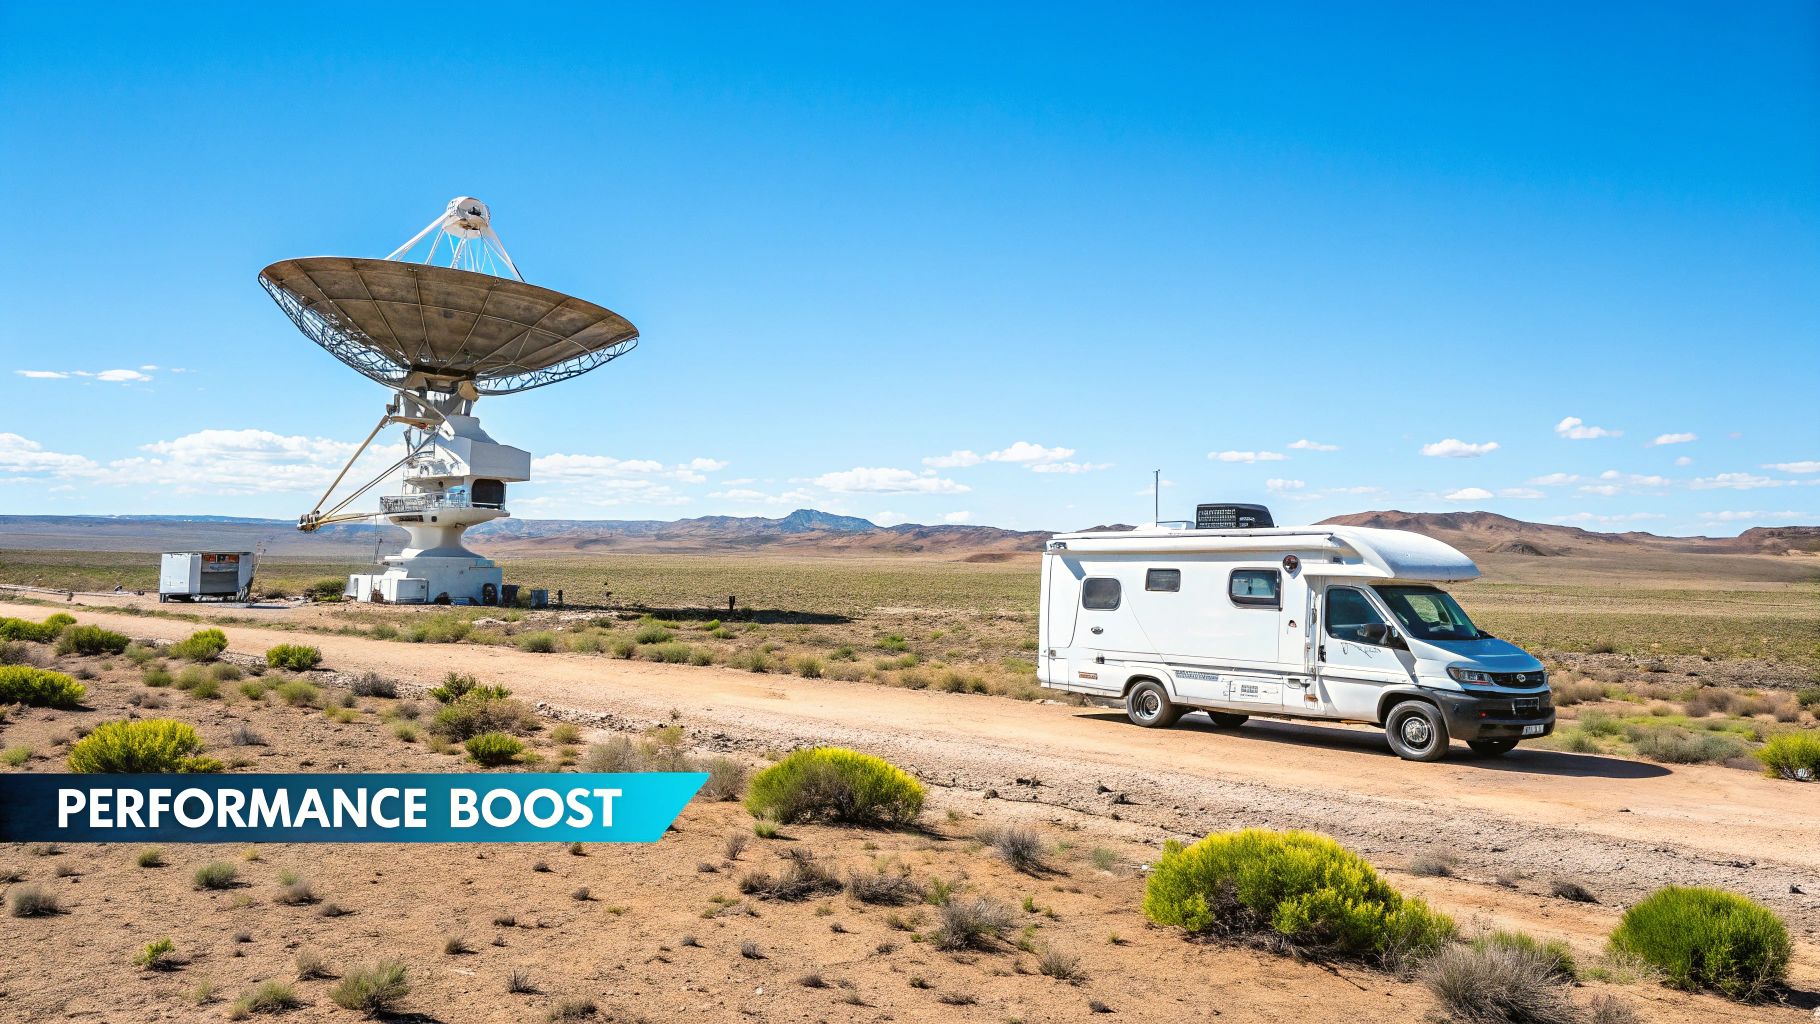
Realistic Performance Expectations
While Starlink represents a significant upgrade, managing expectations is key. Starlink's RV internet plans have seen significant speed and pricing adjustments. As of March 2025, the standard Mobile plan offers 5-50 Mbps downloads and 2-10 Mbps uploads. The Mobile Priority tier provides 40-220 Mbps downloads and 8-25 Mbps uploads.
2025 testing revealed real-world Roam plan speeds occasionally hitting 100 Mbps downloads. However, congestion can cause dips to 1 Mbps during peak hours. The High Performance dish ($2,500) is the only officially motion-approved hardware. However, users report success with standard ($599) dishes at speeds under 10 mph.
July 2024 energy consumption tests showed the Gen 3 model using 68Wh/hour, versus 129Wh/hour for High Performance models – a 190% increase, significantly impacting battery-dependent setups. For those considering other options, remember that cellular-based providers often struggle in areas with limited cell tower coverage, precisely where Starlink shines. Explore Starlink for RVs to learn more. Detailed statistics are available here. The need for a clear view of the sky for optimal dish performance also remains a key factor.
Adapting Travel Plans for Connectivity
The rise of remote work has increased the importance of reliable internet access for RV travelers. Starlink enables connectivity previously unavailable in many areas, allowing remote work while traveling. Understanding the system’s limitations, like potential obstructions from trees or terrain, is crucial.
RV adventurers may need to adapt travel plans and camping choices to optimize Starlink’s effectiveness. Choosing campsites with open sky views, for instance, can significantly improve performance. This proactive approach to trip planning lets RVers benefit from Starlink while mitigating its limitations, maximizing connectivity freedom on the road.
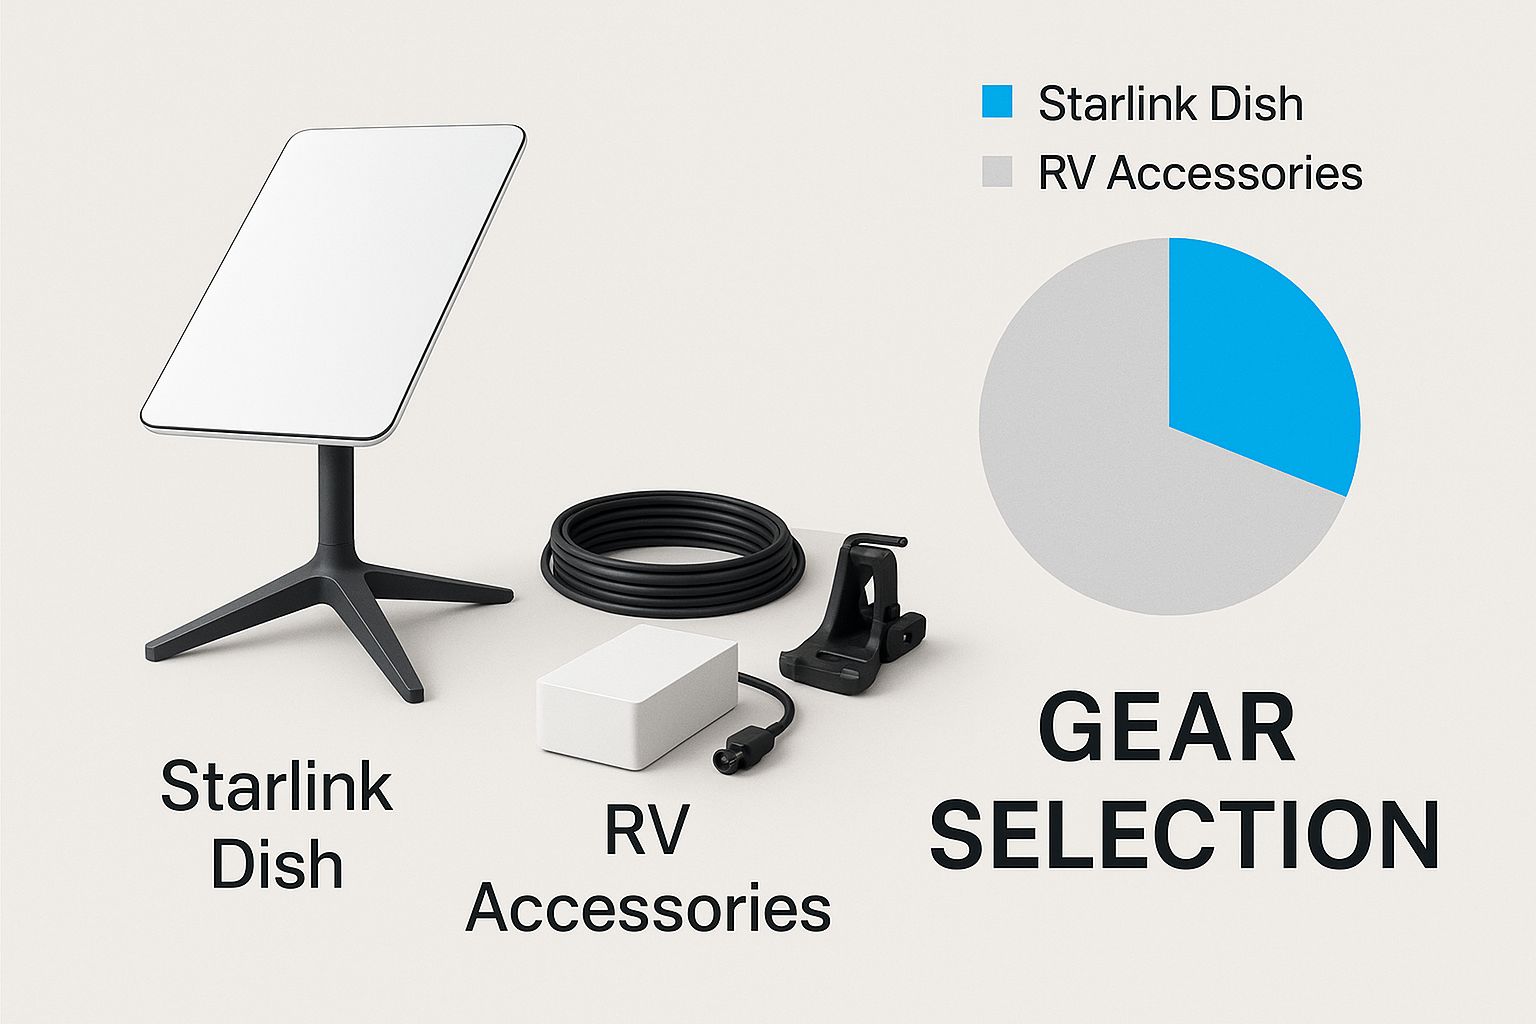
Essential Gear for Your Starlink RV Adventure
Hitting the open road in your RV with Starlink promises excellent connectivity. But a successful setup takes more than just the Starlink kit. Experienced RVers know that having the right accessories can make all the difference in ensuring a smooth connection, wherever your travels take you. Let's explore the essential gear for your Starlink RV adventure, from mounting hardware to power solutions.
Mounting Hardware: Finding Stability and Flexibility
A secure mount is crucial for uninterrupted internet, especially when driving on rough roads. Think about your RV type and travel style when deciding between permanent and portable mounts.
-
Permanent Mounts: Perfect for larger RVs and consistently open areas, these mounts offer great stability, even at highway speeds. However, repositioning the dish is difficult if obstructions like trees pop up.
-
Portable Mounts: These offer more adaptability and are great for smaller RVs or wooded areas where you might need to adjust your dish frequently for optimal satellite alignment. The trade-off is needing extra storage space.
Weatherproofing and Cable Management
Protecting your Starlink equipment from the elements is key to its longevity. Weatherproof cable organizers and protective covers shield your equipment from rain, snow, and sun damage.
-
Weatherproof Cable Entry Glands: These create a sealed entry point for cables, preventing water damage inside your RV.
-
UV-Resistant Cable Ties: These secure cables and can withstand sun exposure, ensuring they last longer. Good cable management not only protects your equipment but also keeps your setup organized and minimizes tripping hazards.
Power Solutions: Staying Connected Off-Grid
Starlink needs a reliable power source, especially for off-grid adventures. Consider these options:
-
Portable Power Stations: These offer backup power when you're boondocking or during power outages. Make sure the power station's capacity and output wattage meet Starlink's requirements.
-
Solar Panel Integration: Using solar panels reduces your reliance on shore power and lets you stay connected off-grid for longer. Accurately calculating your power needs is essential to ensure your solar setup can power both Starlink and your other RV appliances.
Operational challenges for RV users of Starlink often revolve around equipment requirements and weather conditions. The standard Starlink kit comes with a 23.6" dish, router, and cabling, which require dedicated storage space within an RV. User testing from 2023-2025 highlighted the importance of a clear 100° sky view; even partial tree cover caused 15-second hourly outages, disrupting activities like video calls. Heavy precipitation led to complete disconnections, while light rain or snow typically didn't affect service. Mounting also poses a dilemma: fixed installations save space but make it hard to reposition the dish, while portable setups maximize satellite acquisition but take up 2-3 cubic feet of storage, a major factor for vanlifers. Learn more about these challenges here.
To help visualize the space and power considerations for different RV classes using Starlink, take a look at the data chart below.
Data Chart: Space and Power Considerations for Different RV Classes
The following data chart breaks down the estimated storage space and power consumption needs for different RV classes using Starlink, comparing both portable and permanent mounting solutions.
As the data chart illustrates, Class A RVs have plenty of room for permanent mounts, minimizing storage issues. However, their higher overall power consumption requires a robust power system. Portable mounts are a common choice for Class B and C RVs, offering flexibility at the cost of storage space. Their power needs fall somewhere between Class A RVs and van conversions. Van conversions, where space is limited, often use portable mounts with compact storage solutions. Their lower power consumption makes solar power a highly efficient option.
The data reveals the trade-offs between portability and space/power demands. While Class A RVs have ample space, they also have the highest power needs. Van conversions benefit from lower power requirements ideal for solar, prioritizing minimal space usage. Class B and C RVs fall in the middle, balancing portability and power management. Selecting the right gear is essential for a truly seamless Starlink experience.
| Feature | Standard Dish ($599) | High Performance Dish ($2,500) |
|---|---|---|
| Portability | More Portable | Less Portable |
| Performance | Slower speeds, more susceptible to obstructions | Faster speeds, better performance in challenging environments |
| Cost | Lower | Higher |
| Ideal for | Casual internet use, budget-conscious RVers | Heavy internet use, demanding applications, remote work |
| Size | Smaller | Larger |
This table summarizes the key differences between the Standard and High-Performance Starlink dishes, further illustrating the trade-offs users must consider based on their needs and budget. Choosing the right dish is a key factor in determining the overall success of your Starlink RV experience.
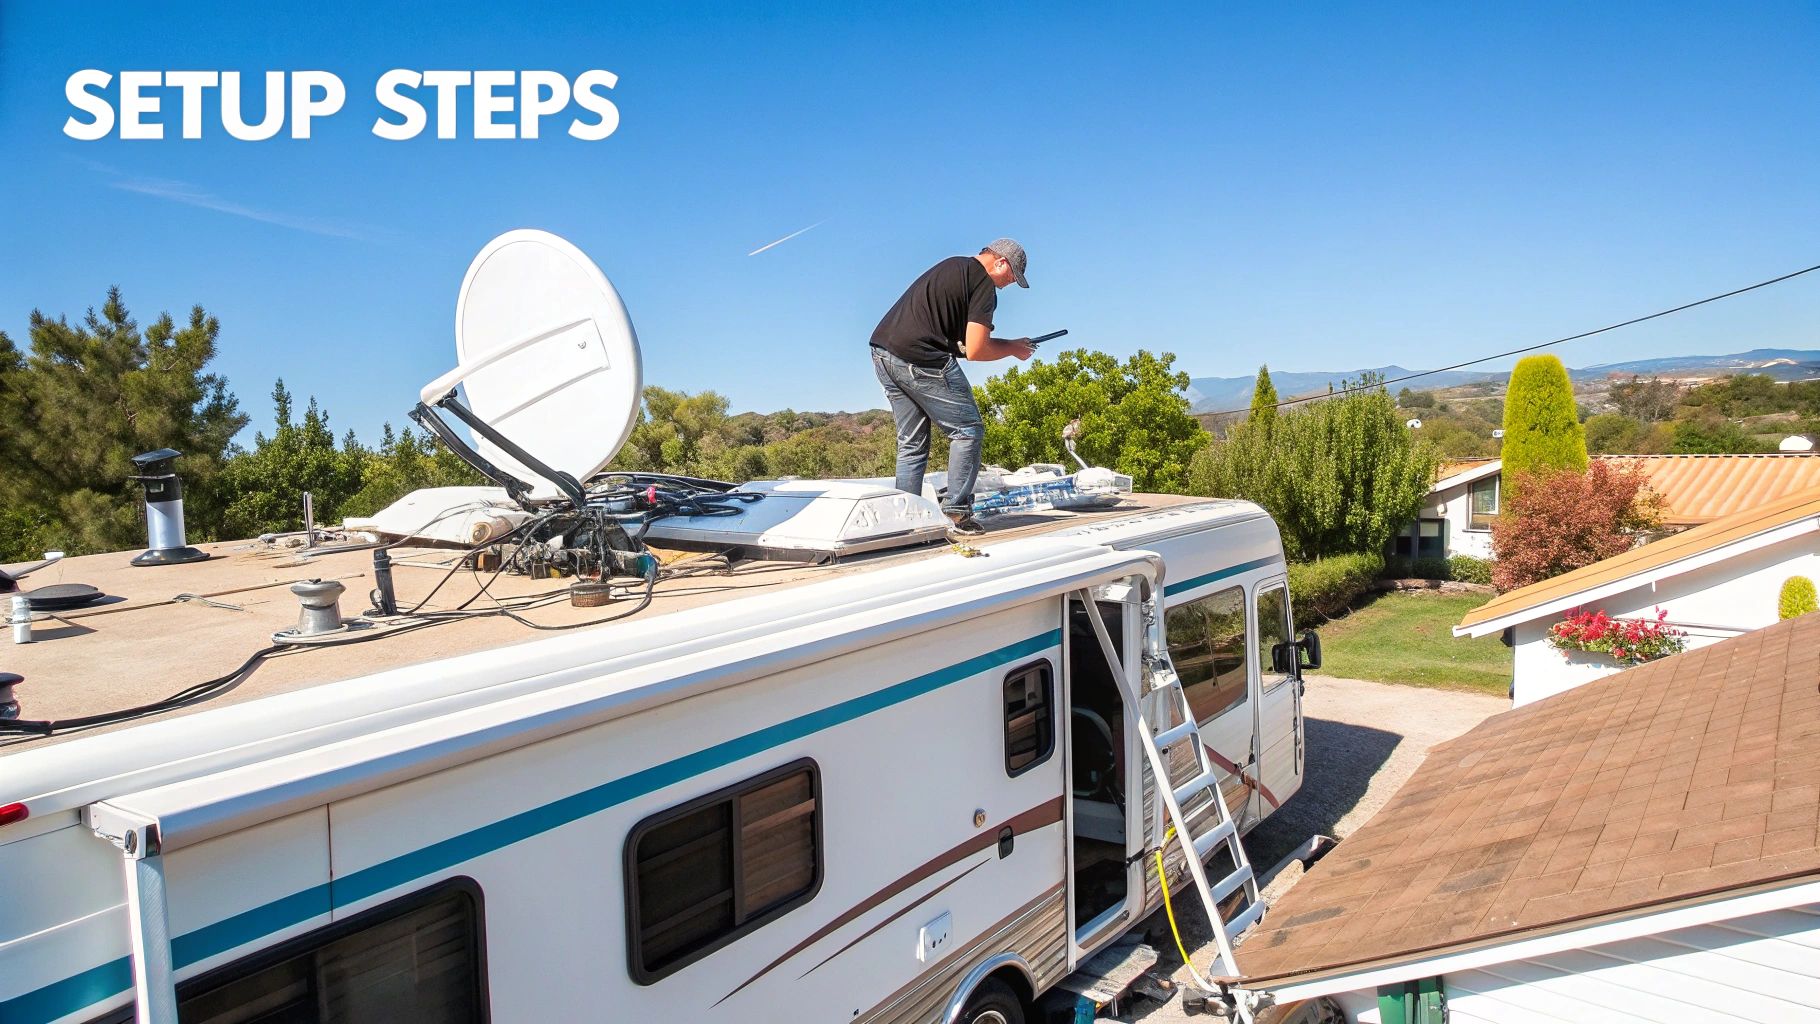
From Unboxing To Online: Your First Starlink RV Setup
Unboxing your new Starlink RV kit is an exciting moment, but the initial setup can seem a bit overwhelming. This guide offers a clear, step-by-step process to get you connected quickly, tailored for the mobile RV user. We'll cover everything from account activation to troubleshooting, sharing practical tips gathered from numerous RV setups.
Activating Your Account and Initializing the Dish
Before you hit the open road, activate your Starlink account online. This ensures your service is ready when you reach your destination. Once activated, power up the Starlink dish. It automatically starts searching for satellites. The Starlink app is a valuable tool throughout this process, helping you find the best location for your dish by identifying potential obstructions. Unlike some other satellite internet services, Starlink requires a clear view of the sky.
Finding the Optimal Dish Placement
Positioning your Starlink dish correctly is crucial for optimal performance. The app's obstruction checker helps you locate a spot with minimal interference from trees or buildings. For example, in a wooded campsite, you might place the dish on your RV's roof or use a portable mount for a clearer view. A full 100° clear view of the sky is ideal. However, even partial obstructions can significantly affect performance. Some users have reported 15-second hourly outages with just partial tree cover, highlighting the importance of careful placement.
Connecting to Your Starlink Network
With the dish positioned, connect to your Starlink network. Use the default Wi-Fi name and password found on the router base. The app guides you through the final connection steps. Protecting your equipment from travel damage is vital. Consider weatherproof cable organizers and protective covers, especially important for RV life. This protects your investment and ensures consistent connectivity on your travels.
Troubleshooting Your First Connection
Occasionally, issues may arise during the initial setup. If your Starlink isn't connecting, the app’s diagnostic tools are a good starting point. They offer information on signal strength and possible obstructions. Low signal strength may suggest an obstruction, while intermittent connectivity might indicate network congestion. If the app's diagnostics aren't resolving the issue, consider integrated systems like those offered by SwiftNet. SwiftNet intelligently manages connections and optimizes performance across multiple network types, potentially offering a broader range of solutions for travelers.
RV Type Considerations
Different RV classes present unique challenges for Starlink installation and storage. A permanent roof mount might work well in a Class A motorhome, while a portable mount offers more flexibility in a smaller van conversion. Permanent installations save space but offer limited repositioning. Portable setups allow for better satellite alignment but take up 2-3 cubic feet of storage, a significant factor for vanlifers. Consider your RV type and select a setup that balances performance and portability. A vintage Airstream, for example, might require a different approach than a modern Class B van.
Securing Your Equipment for Travel
Finally, secure your Starlink dish and router during travel. Many RVers use custom storage solutions to protect their equipment from bumps and vibrations. This is particularly important with a portable mount, as loose equipment can get damaged in transit. Carefully planning your Starlink RV setup ensures reliable internet access wherever your adventures lead. Services like SwiftNet can further enhance your experience, bundling multiple internet sources for consistent coverage and faster speeds. Explore SwiftNet’s travel internet solutions at swiftnetwifi.com to see how it can improve your connectivity, potentially exceeding the coverage of Starlink alone.
Mounting Mastery: Finding Your Perfect Setup Solution
Choosing the right Starlink RV mount can significantly impact your online experience. Finding the perfect balance between stability, portability, and ease of use is crucial for a seamless connection on the go. Let's explore different mounting approaches and discover the best solution for your RV lifestyle.
Permanent Vs. Portable Mounts: Making the Right Choice
The first decision involves choosing between a permanent or portable setup. Permanent mounts, often roof-mounted, offer superb stability, especially while driving. This keeps your connection consistent, even in challenging terrain. However, repositioning the dish to avoid obstructions like trees can be difficult.
Portable mounts offer greater flexibility. They're ideal for travelers who frequently camp in wooded areas or need to adjust the dish’s position. This adaptability comes with increased storage requirements – a key factor for RVers with limited space.
How Mounting Height Affects Your Signal
The height of your Starlink dish impacts signal quality. Higher placements generally lead to better reception, reducing interference from ground-level obstructions. This is particularly helpful in areas with dense vegetation or rolling hills.
However, higher mounts require more robust installation and safety measures. Roof-mounted dishes, for example, need secure anchoring to withstand high winds. Lower mounts are easier to install but might experience more signal disruptions.
Thinking Outside the Box: Creative Mounting Solutions
RVers are constantly innovating their Starlink setups. Some create custom mounts that integrate with their RV roofs, improving aerodynamics and minimizing visual impact. Others use telescoping poles for quick deployment in various terrains. These approaches highlight Starlink's adaptability for RV use.
For improved connectivity, consider combining your Starlink system with a service like SwiftNet for access to multiple internet sources.
Mounting Solutions Compared
To help you choose the right mount, let's look at a comparison of the most popular options:
| Mounting Type | Installation Difficulty | Stability | Storage Requirements | Best For | Estimated Cost |
|---|---|---|---|---|---|
| Roof Mount (Permanent) | High | Excellent | Minimal | Open areas, frequent travel | $100 - $300 |
| Ground Mount (Portable) | Low | Moderate | High | Wooded areas, occasional use | $50 - $150 |
| Telescoping Pole Mount (Portable) | Medium | Moderate | Medium | Versatility, varying terrain | $75 - $200 |
| Magnetic Mount (Portable) | Low | Low | Low | Temporary setups, flat surfaces | $30 - $75 |
As this table shows, permanent mounts offer superior stability, vital for consistent connectivity on the road. Portable options cater to different needs, balancing storage and setup.
Choosing the right mount for your RVing style and camping preferences is crucial for maximizing your Starlink experience. Supplementing your Starlink connection with a service like SwiftNet can provide combined network access and more consistent online access while traveling.
Power Strategies for Off-Grid Starlink Success
For RVers and those embracing the off-grid lifestyle, power management is crucial for a good Starlink experience. Understanding your power consumption and using effective strategies will keep you connected without draining your RV's batteries. This section explores the power requirements of a Starlink RV setup and how to manage it.
Understanding Starlink Power Consumption
Starlink's power needs depend on the model and generation. The newer, more efficient Gen 3 model uses less power than the High Performance dish. This difference can significantly impact battery life, especially when boondocking. For off-grid systems, this translates to longer uptime. Knowing your Starlink's power draw helps determine your overall energy needs and informs decisions about battery capacity and solar panel configurations.
Starlink hardware has evolved, leading to improvements in energy efficiency. July 2024 testing revealed the Gen 3 model consumed only 68Wh/hour compared to 129Wh/hour for previous generations – a 47% reduction. This improvement allows for longer off-grid use. Despite this, speed comparisons between the $599 Gen 3 and $2,500 High Performance dishes showed minimal real-world differences, even though lab results indicated a 25% faster throughput for the High Performance model. Network congestion has occurred with a growing mobile user base, but as of 2025, Starlink remains the only satellite internet provider offering near-global coverage with low latency. Find more statistics here.
Solar Panel Configurations for Starlink
Solar panels are a great way to power your Starlink system off-grid. The number of panels required depends on your Starlink's power usage, other energy needs, and sunlight hours.
-
Calculating Solar Needs: Accurately calculate your total power consumption. Include all RV appliances and devices, not just your Starlink, to correctly size your solar power system.
-
Panel Placement and Angle: Optimize panel placement and angle for maximum sunlight. Consider portable solar panels for flexibility in shaded areas.
Battery Capacity for Different Usage Patterns
Your battery bank needs to support your Starlink system and other power needs. Heavy Starlink users, particularly those with the High Performance dish, require a larger battery capacity.
-
Battery Type and Lifespan: Deep-cycle batteries are designed for frequent discharging and recharging and are vital for RV use. Lithium batteries offer better efficiency and lifespan but have a higher upfront cost.
-
Monitoring Battery Levels: Regularly check your battery levels to prevent unexpected outages. Many battery monitors provide insights into usage patterns, allowing you to refine your energy strategy.
Scheduling and Weather Adaptive Strategies
Smart scheduling helps maximize battery life. Limit Starlink use during peak sunlight hours to fully utilize solar power. This conserves battery charge for evening use. A backup power source, like a portable generator, provides a safety net during cloudy weather.
SwiftNet can also help manage power. By managing connections between Starlink, cellular, and other networks, SwiftNet reduces reliance on a single power-hungry source. This optimization can significantly save power, especially in areas with reliable cellular coverage. Learn more about SwiftNet’s solutions for RV internet here.
By implementing these strategies, you can maintain a reliable Starlink connection and power your other RV appliances, enhancing your off-grid experience.
Troubleshooting Your Starlink RV: Real Solutions That Work
Connectivity issues on the road can be frustrating, especially in remote areas where reliable internet is crucial. This section addresses common Starlink RV problems and provides effective solutions, drawing from real-world troubleshooting experiences.
Diagnosing the Issue: Decoding the Starlink App
The Starlink app is your first line of defense. It provides valuable diagnostic data, helping you differentiate between obstructions, network congestion, and hardware problems. A low signal strength often suggests an obstruction, such as trees or buildings.
Intermittent connectivity could point to network congestion, especially during peak hours. The app's obstruction checker is crucial for optimal dish placement. Look for a spot with a full 100° clear view of the sky. Even partial obstructions, like tree cover, can cause brief outages.
Heavy precipitation can also cause complete disconnections, so keep this in mind when choosing a location.
Overcoming Signal Challenges in Difficult Environments
Finding a clear view of the sky can be challenging in some camping environments. Portable mounts offer greater flexibility in wooded areas, enabling you to reposition the dish for better satellite alignment.
Alternatively, using a telescoping pole mount can elevate the dish above obstructions. Remember, permanent installations, while stable, offer limited repositioning flexibility.
Managing Thermal Issues in Extreme Temperatures
Starlink dishes are designed for outdoor use and can withstand various weather conditions. However, extreme temperatures can sometimes impact performance. In hot climates, ensure adequate ventilation around the dish to prevent overheating.
In snowy conditions, regularly clear snow accumulation to maintain optimal signal strength. While the dish can heat up to melt snow, a significant buildup can still block the signal.
Protecting Your Equipment from Environmental Damage
Safeguarding your Starlink equipment from the elements is vital for longevity and consistent connectivity. Use weatherproof cable organizers and protective covers to shield your equipment from rain, sun, and wind. Secure cable connections with UV-resistant ties.
Establish secure storage solutions for your equipment during travel to prevent damage from bumps and vibrations on the road.
A Systematic Troubleshooting Framework
Here’s a step-by-step troubleshooting guide:
- Check the Starlink app: Examine signal strength, obstruction data, and any error messages.
- Reboot the system: Often, a simple reboot of the router and dish resolves minor issues.
- Verify power connections: Ensure all cables are securely connected and the power supply is functioning correctly.
- Inspect the dish for physical damage: Look for any cracks, loose connections, or signs of wear.
- Check for obstructions: Use the app's obstruction checker to identify potential interference sources.
- Contact Starlink support: If the issue persists, contact Starlink for further assistance.
While Starlink offers robust connectivity, consider supplementing it with SwiftNet. SwiftNet intelligently manages multiple internet sources, including cellular and Wi-Fi, providing a broader range of connectivity options and potential backup solutions for when Starlink faces challenges. This layered approach can be especially beneficial in areas with spotty Starlink coverage or limited cellular options, allowing you to prioritize the strongest available connection. Check out SwiftNet’s RV internet solutions to learn how it can enhance your online experience on the road. This multi-network solution can overcome limitations inherent in relying on a single provider, ensuring you stay connected in a wider variety of environments.
Maximizing Your Mobile Starlink Investment
Getting your Starlink RV setup running is a great first step, but truly maximizing this technology requires a bit more strategy. Let's delve into some advanced techniques used by seasoned RV travelers and IT professionals to optimize their mobile Starlink systems. These methods range from building robust local networks to integrating with other connectivity solutions for uninterrupted internet access.
Creating a Robust Local Network
A single Starlink connection can power multiple devices. However, setting up a robust local network dramatically improves performance and security. A high-quality travel router lets you create a private Wi-Fi network inside your RV. This also gives you control over bandwidth allocation for different devices and users.
This is especially helpful for families or those working remotely. It allows for seamless video conferencing while others stream entertainment. It's similar to a home network, but on a smaller, mobile scale. For example, prioritize bandwidth for your work laptop during the day and then shift it to streaming devices in the evening. This control ensures everyone has the bandwidth they need, when they need it. Remember to prioritize safety when setting up your Starlink RV. Check out these helpful drone safety tips.
Integrating Starlink with Cellular Systems
Starlink provides impressive coverage, but combining it with a cellular system adds valuable redundancy. This dual-connectivity approach guarantees a backup internet source if Starlink encounters obstructions or network congestion.
Services like SwiftNet excel at managing multiple internet connections. They intelligently switch between Starlink and cellular data depending on signal strength and availability. This automated failover system gives you peace of mind, knowing you’ll stay connected even in areas with spotty Starlink service.
Optimizing Your Starlink Experience
Beyond basic connectivity, experienced RVers utilize additional tools to enhance their Starlink setup. Data usage monitoring apps help track consumption and prevent unexpected overage charges, especially on a limited data plan. This allows you to proactively adjust your usage habits.
Many RVers also find quality-of-service (QoS) settings on their routers very helpful. QoS prioritizes certain types of internet traffic, ensuring important activities like video calls or online gaming have the bandwidth they need, even with multiple devices connected.
Managing Starlink subscriptions is also important. Using the pause feature when you’re not traveling can save a lot of money, especially during the off-season. This allows you to enjoy Starlink when you need it without paying for unused service.
Community Resources and Future Considerations
Staying informed about Starlink's evolving technology and service offerings is crucial. Online forums and RV communities provide valuable insights and practical tips from other Starlink users. These communities are invaluable for troubleshooting, sharing setup strategies, and learning about the latest advancements.
As satellite internet technology improves, mobile users can expect even better performance and coverage in the coming years. Staying informed about these advancements helps you get the most out of your Starlink investment. For a truly reliable and seamless internet experience while traveling, explore SwiftNet. Their integrated approach to managing multiple connections can significantly improve connectivity, especially where a single service might not be enough.


