

To properly clean an RV water tank, you first need to drain the system completely. Then, you'll circulate a sanitizing solution—a common and effective mix is 1/4 cup of bleach for every 15 gallons of water—through the tank and every single plumbing line. After letting that solution sit for several hours, the final step is to flush the entire system with fresh water until absolutely no trace of the sanitizer is left.
Why a Clean RV Water Tank Is Essential
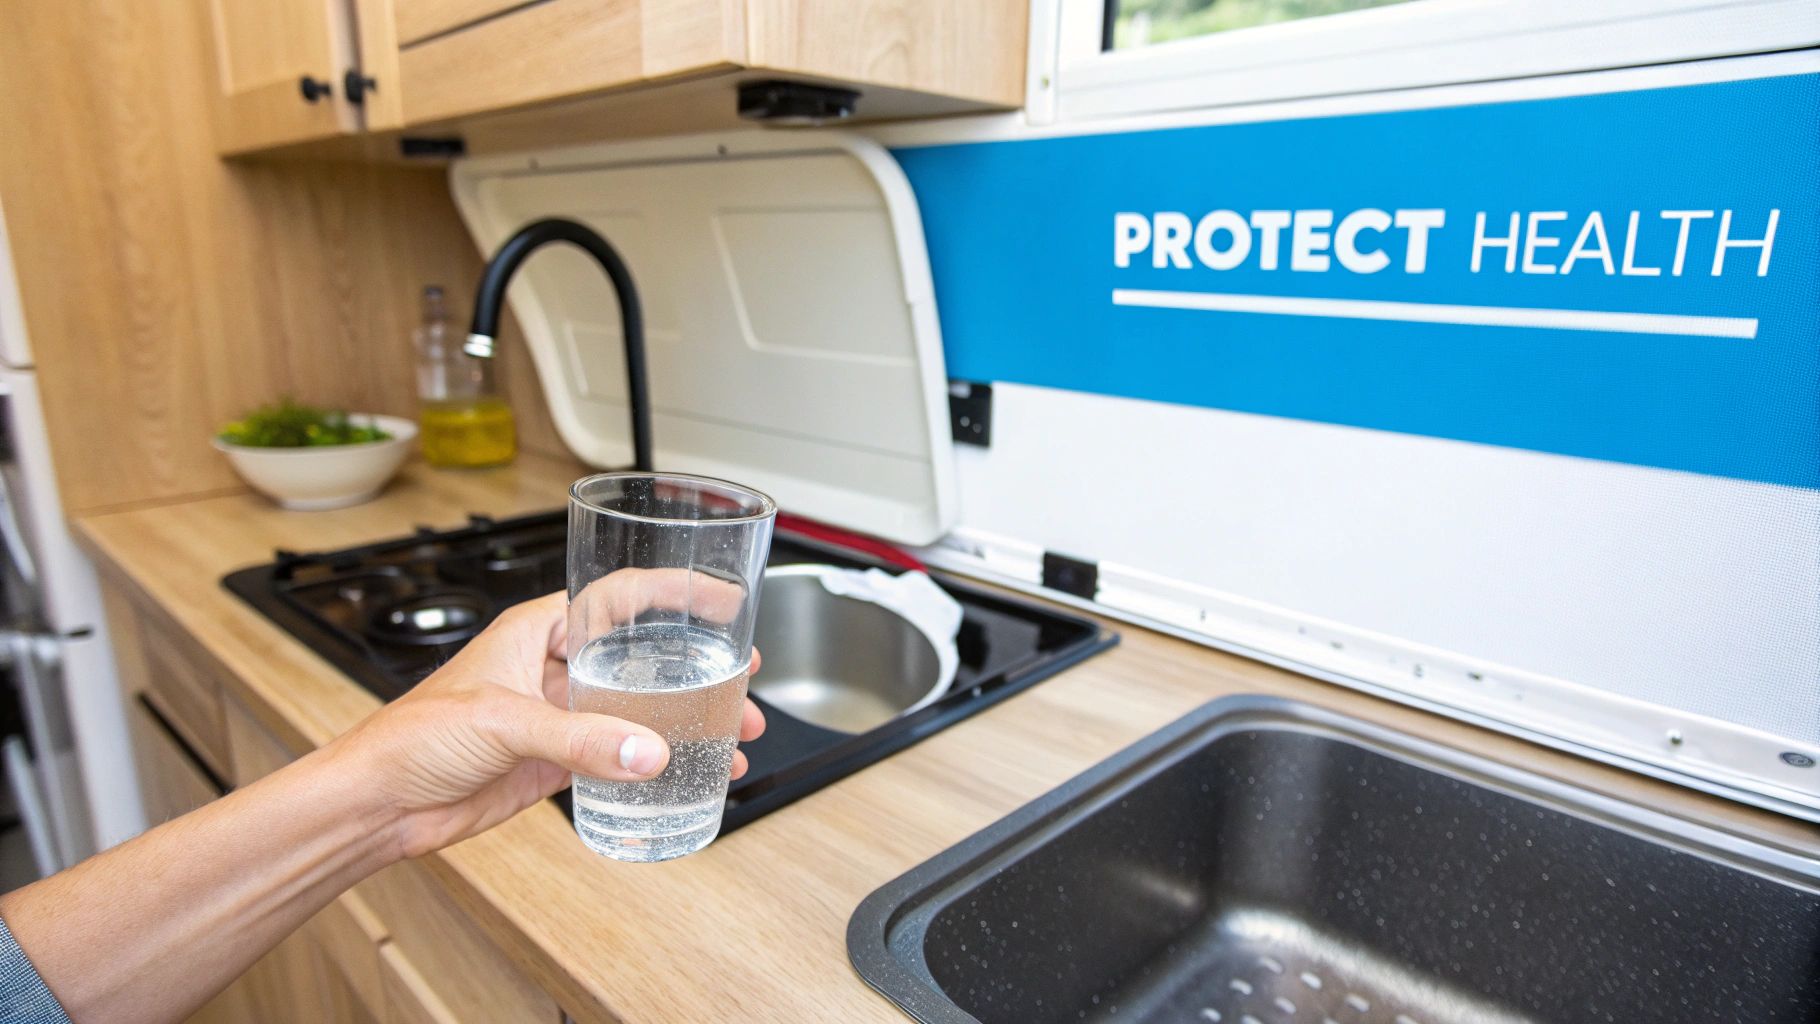
Before we jump into the nitty-gritty of how to clean your RV's water tank, let's talk about why this is a non-negotiable task for any RVer. Think of your fresh water tank as the heart of your rig’s plumbing. It supplies water for everything—drinking, cooking, showering. But if you neglect it, that source of life-sustaining water can quickly become a breeding ground for all sorts of nasty contaminants.
Over time, the combination of stagnant water, changing temperatures, and just plain infrequent use creates a perfect storm. It’s an ideal environment for bacteria, algae, and that slimy stuff called biofilm to thrive. This buildup is usually the culprit behind funky tastes and musty smells coming from your faucets, but the problem is more than just skin deep.
More Than Just Bad Taste
The single biggest reason to keep your water tank spotless is to protect your health and the health of anyone traveling with you. A contaminated tank can harbor harmful microorganisms that pose some pretty serious risks. For instance, Legionella bacteria, which causes the severe pneumonia-like illness known as Legionnaires’ disease, can absolutely flourish in untreated water systems.
A CDC-affiliated study actually found Legionella species in 20% of the RV water tanks they tested, which really highlights how real this health risk is. The research also pointed out that poor maintenance was common among those surveyed, drawing a direct line between a lack of sanitation and potential danger. You can read the full study and its findings on the National Institutes of Health website.
That one statistic should be enough to change your perspective. Sanitizing your tank isn't just another chore on the checklist; it's a critical safety procedure. Every time you clean your tank, you're actively preventing potential illness and making sure the water you rely on is safe for your family.
Protecting Your RV’s Plumbing System
Beyond the obvious health concerns, regular cleaning is also crucial for preserving the longevity and function of your RV's entire plumbing system. Biofilm and mineral deposits can flake off the tank walls and start traveling through your water lines.
These little particles can cause big headaches down the road. We're talking about things like:
- Clogging Faucets and Showerheads: It doesn’t take much sediment to block up the aerators in your faucets, leaving you with weak water pressure and a frustrating trickle.
- Damaging the Water Pump: Your RV’s water pump is a delicate piece of machinery. If it sucks in debris, the internal components can get damaged, leading to expensive repairs or a full replacement.
- Creating Blockages in Lines: Over time, a buildup of slime and scale can literally constrict the water lines, choking off flow and crippling the efficiency of your whole system.
By sanitizing your tank on a regular basis, you’re stopping these potential clogs right at the source. It’s proactive maintenance that ensures your plumbing works the way it’s supposed to, saving you from the hassle of unexpected repairs when you’re just trying to enjoy a trip. A clean tank truly means a happy, healthy, and fully functional RV.
Gathering Your Essential Cleaning Supplies
Having the right gear laid out before you start makes the whole job of sanitizing your RV water tank go so much smoother. It’s like prepping your ingredients before you start cooking—a little organization upfront saves you from scrambling around later. You don’t need a workshop full of specialized tools, just a few key items to get a safe and effective clean.
First up is your sanitizing agent. The big debate here often boils down to simple household bleach versus a commercial RV-specific cleaner.
Choosing Your Sanitizer
Your choice really comes down to personal preference. Bleach is cheap and ruthlessly effective at killing bacteria, but you have to use the plain, unscented stuff—no splash-less or scented varieties. RV-specific cleaners, on the other hand, are formulated to be gentler on your plumbing seals and gaskets and often leave less of a chlorine aftertaste.
For many RVers, the sheer cost-effectiveness of bleach makes it the go-to choice for routine maintenance. Both get the job done, but they have distinct differences worth weighing.
A quick look at your two main options can help you decide what's best for your rig.
Sanitizer Comparison: Bleach vs. RV-Specific Cleaner
| Feature | Household Bleach | RV-Specific Cleaner |
|---|---|---|
| Cost | Very inexpensive and widely available. | More expensive per use, found at RV supply stores. |
| Effectiveness | Highly effective at killing bacteria, viruses, and algae. | Formulated to kill germs common in RV water systems. |
| Taste | Can leave a strong chlorine taste/smell if not flushed thoroughly. | Often designed to be less odorous and easier to rinse. |
| Plumbing Impact | Can be harsh on rubber seals and gaskets over time if overused. | Generally gentler on plumbing components and seals. |
| Ease of Use | Requires careful measuring and dilution. | Usually comes with clear, pre-measured instructions for RVs. |
Ultimately, there's no single "best" answer. If you're meticulous about measuring and rinsing, bleach is a perfectly fine and budget-friendly option. If you prefer a simpler, gentler approach and don't mind the extra cost, a dedicated RV sanitizer is a great choice.
Pro Tip: If you go with bleach, a solid rule of thumb is one ounce for every eight gallons of tank capacity. Always dilute it in at least a gallon of water before pouring it into your tank. This prevents concentrated bleach from sitting on and potentially harming the plastic.
Beyond the sanitizer, you'll want a few other things on hand. This isn't just about what to clean with; it's about doing it safely and without accidentally damaging your rig.
Here's a practical checklist of what to grab:
- A Dedicated Potable Water Hose: This is non-negotiable. Never, ever use the same hose for flushing your black tank and filling your fresh tank. Keep a clean, white (or blue) potable-grade hose exclusively for fresh water to prevent nasty cross-contamination.
- Measuring Cup and Funnel: Precision is key, especially with bleach. A measuring cup ensures you use the correct, safe amount, and a funnel makes getting the solution into the fresh water inlet a mess-free affair.
- Water Pressure Regulator: When you connect to a city water spigot to refill your tank, a regulator is your plumbing's best friend. It protects your lines from unexpectedly high water pressure that could cause leaks or burst pipes. It's a small investment that can save you from a huge headache and costly repairs.
- 5-Gallon Bucket: Super handy for diluting your sanitizer before adding it to the tank. You can also use it to catch water as you drain the system.
Getting these few items ready before you begin will streamline the entire process. It turns what feels like a daunting chore into a simple, routine part of your RV maintenance schedule.
The Sanitization Process From Start to Finish
Alright, with your supplies gathered, it’s time to get to the main event: cleaning that RV water tank. This isn't a race, so take your time. Moving through each step deliberately is the key to a thorough and safe sanitization. We'll walk through the whole thing, from dumping the old water to making sure the cleaning solution gets into every nook and cranny of your plumbing.
First things first, you have to prep the system. Before you even think about adding a cleaning solution, you need to completely drain the fresh water tank and every single line. Find your low-point drains—they’re usually a pair of valves or caps tucked away underneath your RV—and open them up. Make sure you also open all your faucets and the shower head; this lets air in and helps the water drain out much faster.
This infographic gives you a great visual of the core steps for a successful flush-out.
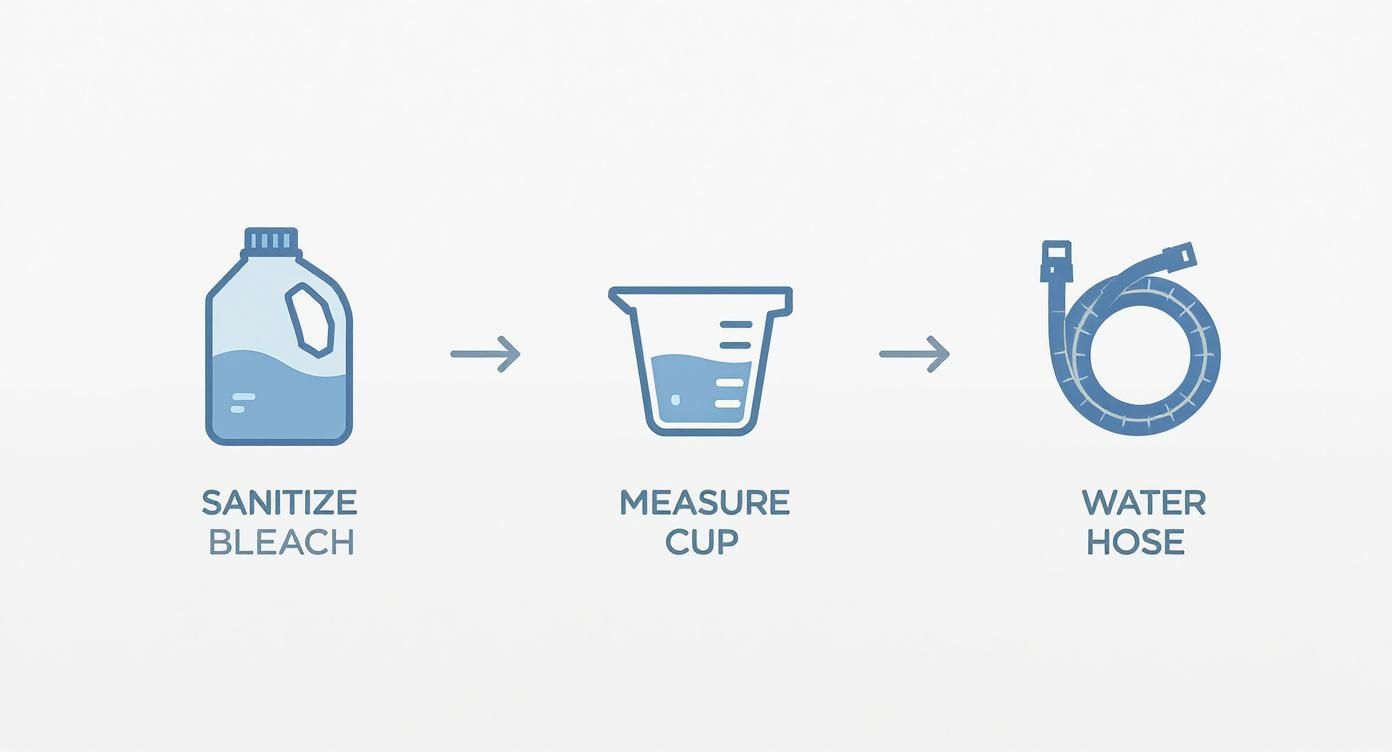
As you can see, it's all about proper sanitization, careful measurement, and using the right connections to get the job done safely and effectively.
Mixing and Adding the Solution
Getting the right amount of sanitizer is probably the most critical part of this whole job. If your ratio is off, the solution might be too weak to work, or worse, so strong it damages your system.
A good, widely accepted rule of thumb is to mix 1/4 cup of regular household bleach for every 15 gallons of water your tank can hold.
This concentration is potent enough to kill off bacteria but not so harsh that it becomes corrosive. It's in line with official standards for recreational vehicles (like NFPA 1192), so you know you're following established safety protocols for your drinking water system.
Crucial Tip: Never, ever pour concentrated bleach straight into your fresh water tank. Always dilute it first. Mix the measured bleach into a gallon of water, then use a funnel to pour that diluted mix into the fresh water fill port. This simple step prevents the harsh chemical from damaging the plastic of the tank itself.
Once you’ve added the diluted bleach, go ahead and fill the rest of the tank completely with fresh water using your potable water hose. This makes sure the sanitizer is mixed evenly throughout the entire tank.
Circulating the Sanitizer
With the tank full of your cleaning solution, the next goal is to push that solution through every single water line in your rig. This is the only way to be sure you’ve cleaned the entire system, not just the tank.
Here's the effective way to do it:
- Flip on the Water Pump: This will pressurize the system and start pulling the solution from the tank.
- Open Every Faucet: Go to each sink and open the hot and cold taps one by one. Let each one run until you can clearly smell the bleach. This is your sign that the solution has made it all the way through that pipe.
- Don't Forget the Shower and Toilet: Do the same with the shower, running both hot and cold water until you get that bleach scent. Give the toilet a flush or two as well to get the solution into that line.
A really important step here is to bypass your water heater. Most RVs have a bypass valve system for this exact purpose. Using it stops the bleach solution from filling the water heater tank, which can cause corrosion on the anode rod and heating element over time. If you're not sure where your bypass valves are, check your RV's manual. To keep your water even cleaner year-round, especially after a deep clean like this, you might want to look into using an inline RV water filter.
Once the solution is in every pipe, turn off all the faucets and the water pump. Now, it's time to wait. You need to let the solution sit in the tank and lines for at least five hours. If you can let it sit for up to ten hours, even better. This "dwell time" gives the sanitizer enough contact to neutralize any bacteria, algae, or nasty biofilm clinging to the inside surfaces of your water system.
How to Properly Flush Your Water System
Alright, the sanitizing solution has worked its magic. Now comes the part that's just as important: getting every last drop of it out of your system. A proper flush is what takes your clean, sanitized tank and turns it into a source of fresh, great-tasting water for your travels.
Your first move is to drain that sanitizing solution completely. The easiest place to do this is at a full hookup site where you can dump the chlorinated water directly and safely into a sewer connection. Just flip on your water pump, open up all the faucets, and let that solution run into your gray tank until it's empty.
Once the tank is drained, kill the pump and shut the faucets. Now, pop open the low-point drains one last time. This is a pro tip for getting that last bit of residual solution out of the tank and the lines. It’s a small step, but it makes a huge difference.
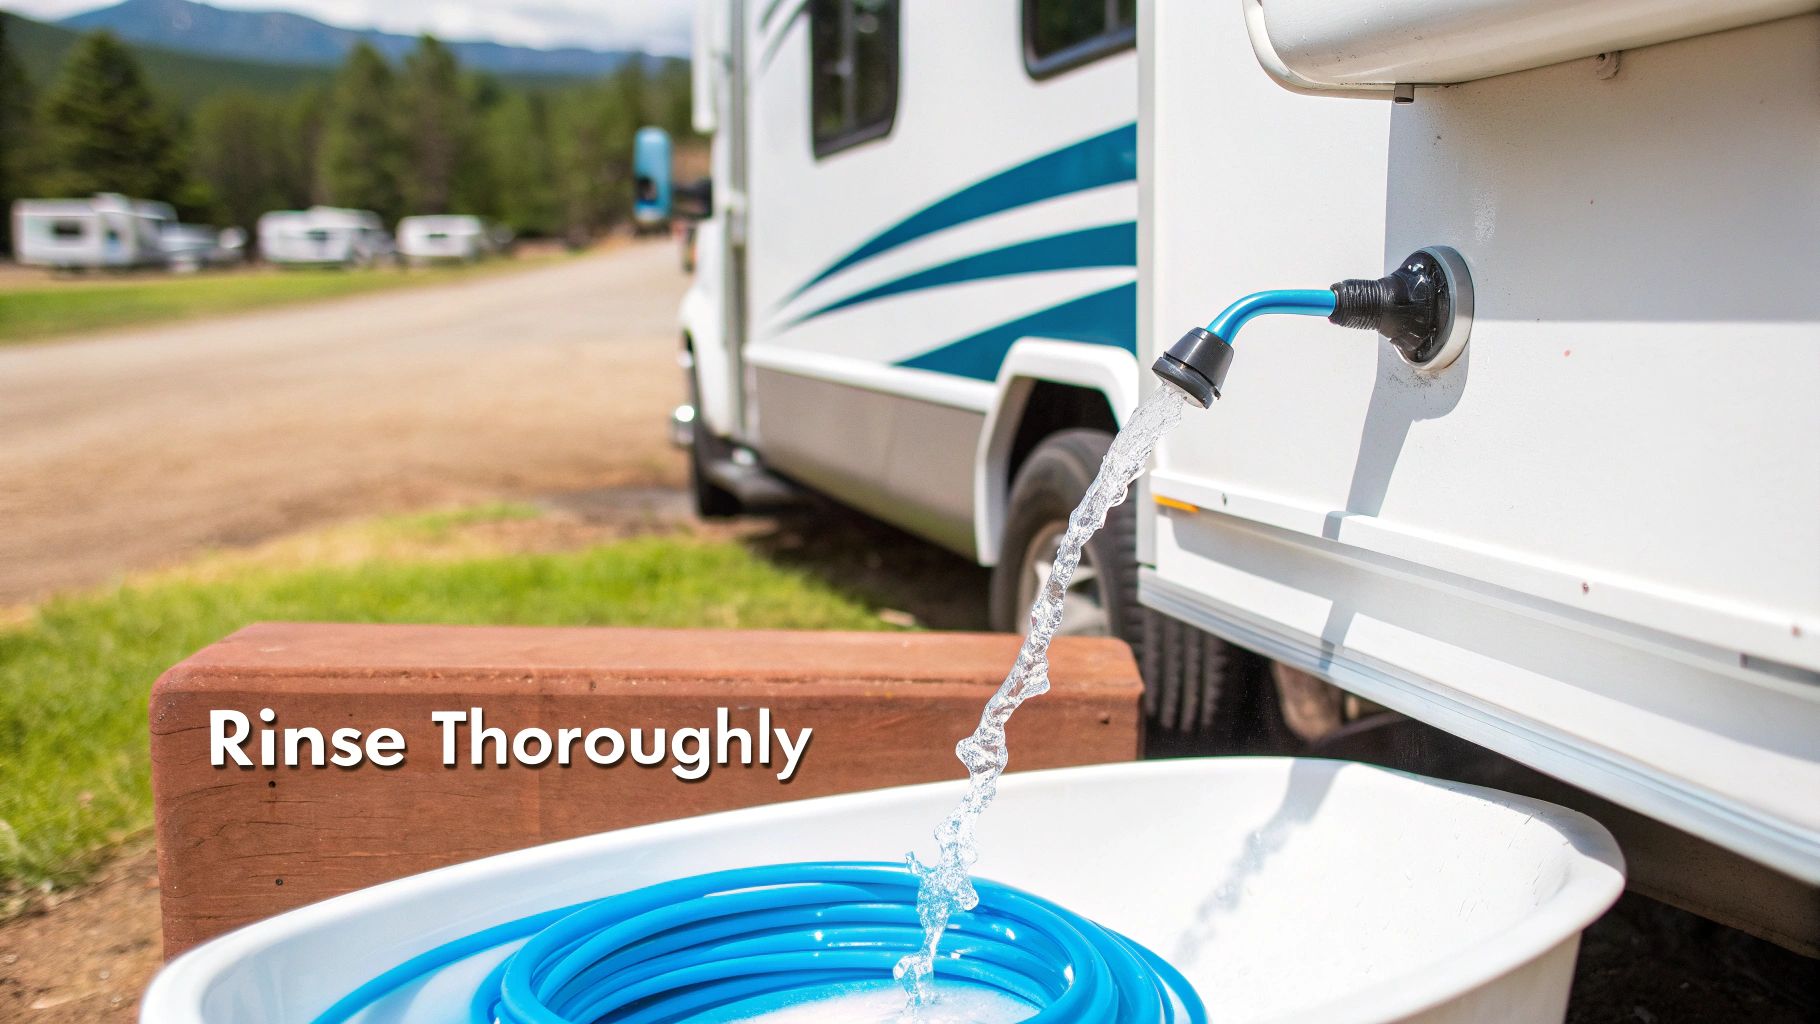
Rinsing and Repeating for Freshness
With the bleach mixture gone, it's rinsing time. Close up those low-point drains and fill your fresh water tank all the way up with clean, potable water. This first rinse is all about dilution—washing away the bulk of what's left.
Now, you’re basically going to repeat the same circulation process as before, just with fresh water. Fire up the water pump and open every single faucet—kitchen sink, bathroom, and shower. Let the clean water run for several minutes through both the hot and cold lines to push out any remaining sanitizer.
Don't be surprised if you have to do this more than once. It's totally normal to drain and refill the tank two or three times to get rid of that bleach smell. Your nose is your best guide here; keep flushing until you can't smell any chlorine coming from the faucets.
Neutralizing Stubborn Odors
Even after a few good flushes, you might still catch a faint whiff of chlorine. If you’re sensitive to the taste or just want your water to be perfect, there's one more trick up your sleeve.
A baking soda rinse is a fantastic final step. It does a great job of neutralizing any leftover chlorine and completely deodorizing the tank. The process is almost identical to sanitizing, but you're using a much gentler agent.
- Mix Your Solution: Start by dissolving one quart of baking soda into one gallon of water.
- Add to Tank: Pour this mixture directly into your fresh water tank, which should be partially filled.
- Fill and Circulate: Top off the tank with fresh water, then turn on your pump and run it through all the plumbing lines just like you did before.
- Final Flush: Let the baking soda solution sit for a few hours, then drain the whole system and do one last flush with fresh water.
After this, your water should be fresh, tasteless, and ready for your next adventure. Taking the time to do a thorough flush now also sets you up nicely for other seasonal tasks, like getting your rig ready for winter. It's always a good idea to know the proper steps for when you need to winterize your RV plumbing.
Creating a Realistic Maintenance Schedule
Knowing how to clean your RV water tank is half the battle. Knowing when to do it is what actually keeps your water fresh and safe trip after trip.
A truly clean tank comes from a consistent routine, not a frantic, once-a-year scrub-down. The secret is building a maintenance schedule that actually fits your travel style.
How often you need to sanitize your system really depends on how you use your rig. The needs of a full-timer are worlds away from those of a weekend camper who only hits the road a few times a year.
Full-Timers vs. Weekend Warriors
For those of us living the how to live in an RV full-time dream, the water system is always in use, which is a good thing—it helps prevent water from getting stagnant. The flip side is that you're constantly filling up from countless different water sources, and the quality can be a real mixed bag.
A good rule of thumb for full-timers is to sanitize the entire system at least twice a year.
If you're more of a seasonal or weekend camper, your RV probably sits in storage for long stretches. That downtime is prime time for bacteria and algae to throw a party in any leftover water. For occasional users, a thorough sanitization once per year is usually enough. The perfect time is when you're de-winterizing the rig for that first trip of the season.
Maintenance frequency is a huge factor. The general consensus is that active, full-time RVers should sanitize twice a year, while more casual campers can stick to an annual schedule. You can find more insights on why this is so important over at kleentank.com.
Triggers for an Unscheduled Cleaning
Your regular schedule is great, but sometimes life throws you a curveball. Think of these situations as red flags that your water system needs attention right now, regardless of when you last cleaned it.
You should be ready to do a full sanitization if any of these things happen:
- After Long-Term Storage: If your RV has been sitting idle for more than a couple of months, always sanitize before that first trip. Don't skip this.
- An Off Taste or Smell: This is the most obvious sign. If your water tastes metallic, musty, or just plain funky, it's cleaning time.
- Filling from a Questionable Source: Ever pull up to a spigot that just looks a little sketchy? If you have to fill up from a well or a rusty-looking tap, it’s much better to be safe than sorry. Sanitize as soon as you can.
- After Buying a Used RV: You have zero idea what the previous owner's habits were. The first thing you should do with a newly purchased used RV is give that water system a deep clean.
A proactive approach always makes the job easier down the road. Just by regularly using your water pump, you help circulate the water and stop it from getting stagnant. This simple habit can keep your system fresher between full cleanings and prevent bigger headaches from developing.
Common Questions About RV Water Tank Cleaning
Even with the best instructions, you're bound to have a few questions pop into your head when you're staring down your RV's water system. It's totally normal. Getting those questions answered is the difference between feeling confident and second-guessing your work halfway through.
Let's walk through some of the most common things that come up when RVers get ready to clean their tanks.
One of the big ones I hear all the time is, "Is it really safe to put bleach in my drinking water system?" The short answer is a resounding yes—as long as you do it right. The ratio we use, about 1/4 cup for every 15 gallons of water, isn't just some number we pulled out of thin air. It’s the standard sanitization mix recommended by health agencies and the folks who build these RVs.
That tiny amount, once it's diluted and flushed out completely, does its job killing off nasty bacteria without leaving anything harmful behind. The real key to safety is the final flush. You have to keep rinsing until every last trace of that chlorine smell is gone.
Dealing with Stubborn Smells and Tastes
Okay, so what if you've done everything by the book, but the water still has a weird plastic or stale taste? This happens. More often than not, the culprit isn't the tank itself, but the hose you're using to fill it.
If your hose isn't specifically rated for potable (drinking) water, it can leach a funky plastic taste right into your fresh supply, especially if it’s been baking in the sun. Always, always use a dedicated, drinking-water-safe hose. If yours is getting old, it might just be time for a new one. A quick baking soda rinse, like we talked about earlier, is also a fantastic way to absorb any stubborn odors still hanging out in the tank.
Key Takeaway: A lingering off-taste is often caused by the equipment used to fill the tank, not the tank itself. Check your hose first before assuming the tank is still dirty. A clean, high-quality potable hose is one of the best investments for fresh-tasting water.
Another point of confusion is the hot water heater. Should you sanitize it or not? My advice, and the general consensus, is to bypass the water heater when you're sanitizing. The bleach solution can speed up the corrosion of the anode rod inside, and that little part is critical for protecting your tank from rust.
Bypassing it not only saves your anode rod but also makes your life way easier. You won't have an extra 6-10 gallons of chlorinated water you need to flush out at the end.
Verifying Water Quality After Cleaning
After all that work, you want to be sure the water is actually clean, right? The good old "smell test" is a pretty reliable way to know the bleach is gone, but some folks want a little more peace of mind. For insights into assessing water purity, consider resources on understanding water quality with a TDS measurement meter.
These handy little gadgets measure Total Dissolved Solids (TDS). They can give you a baseline number for the water you put into your tank versus what's coming out of the faucet. While a TDS meter can't detect bacteria, it's a great tool for understanding the mineral content and general purity of your water source, adding that extra layer of confidence to your whole setup.
Stay connected on all your adventures with high-speed, reliable internet from SwiftNet Wifi. Our 5G service is designed for RVers and rural residents who need a strong connection for work, streaming, and staying in touch. Explore our plans and see how we keep you online, wherever the road takes you, by visiting us at https://swiftnetwifi.com.
#rv #rvlife #rvliving #rvlifestyle #rvrenovation #rvremodel #rvtravel #rvcamping #rvadventures #ruralwifi #5gwifi #5ginternet


