

Getting your new SwiftNet modem up and running is thankfully a pretty simple affair. The whole secret is connecting things in the right order: coax cable first, then the power cord. Give it a few minutes for the lights to settle in, and you're done.
Seriously, that's it. The whole process should take you less than 15 minutes, and getting this sequence right from the start is what prevents most common setup headaches.
Your Quick Guide to Connecting a New Modem
So, you've got your new SwiftNet modem ready to go. Before we jump into the nuts and bolts, let's get a quick lay of the land. Think of this as the "big picture" view of what we're about to do. It’s not complicated, I promise.
Getting from a modem in a box to a live internet connection really just comes down to three phases:
- Placement: Finding the perfect spot for your modem. This isn't just about aesthetics; it can actually impact your signal quality.
- Cabling: This is the crucial part. We'll connect the coaxial and power cables in the right sequence to make sure everything syncs up properly.
- Synchronization: Just letting the modem do its thing—powering up, talking to the SwiftNet network, and getting itself online.
One of the first things you'll notice are the blinking lights on the front of the modem. It’s easy to get confused by what they all mean, but they’re actually your best friend during setup. These little lights are how the modem tells you what it's doing, and learning to read them turns a guessing game into a clear status update.
Decoding Your Modem's Status Lights
When you first plug everything in, the lights on your SwiftNet modem will blink and change as it works to establish a connection. This table is your cheat sheet for understanding exactly what's happening at each stage. It takes all the guesswork out of knowing when you’re good to go.
Decoding Your Modem's Status Lights
A quick reference for understanding what the lights on your SwiftNet modem are telling you during setup.
| Light Indicator | Status (Solid Light) | Status (Blinking Light) | What It Means for Your Connection |
|---|---|---|---|
| Power | The modem is on and receiving power. | N/A - should always be solid. | Your device is powered up correctly. |
| Downstream | Locked onto a downstream channel. | Searching for a downstream channel. | The modem is receiving data from the network. |
| Upstream | Locked onto an upstream channel. | Searching for an upstream channel. | The modem is sending data back to the network. |
| Online | The modem is fully connected to the internet. | Finalizing network registration. | Your internet service is active and ready to use. |
Once that Online light turns solid green, you’ve done it. Your modem is officially synced up with the network and ready for you to connect your devices.
Preparing for a Flawless Modem Installation

A solid, reliable internet connection starts well before you ever plug in a cable. In my experience, a little bit of prep work is the secret to a smooth setup and knowing exactly how to connect your modem for the best possible signal. The first—and most critical—piece of the puzzle is finding the right spot for it.
Think of your modem as the command center for your home or RV network. It needs a central location where its signal can reach every corner without having to fight through walls and interference.
- Get it up high: Place your modem on a shelf or desk, never on the floor where the signal gets muffled.
- Give it breathing room: Don't tuck it away in a cabinet, cram it behind the TV, or surround it with other electronics or bulky furniture.
- Dodge interference: Keep it clear of devices like microwaves, cordless phone bases, and even baby monitors, all of which can disrupt your Wi-Fi signal.
Your SwiftNet Kit Checklist
Before you get started, pop open your SwiftNet box and do a quick inventory. It’s really important to use the gear provided in the kit, since all these components have been tested to work perfectly together. Here's what you should find inside:
- The SwiftNet Modem
- A Power Cord
- One Coaxial Cable (this is the thicker one with the little pin in the middle)
- One Ethernet Cable
My Pro Tip: A quick pre-flight check can save you a world of frustration. Before you connect a single thing, make sure your SwiftNet service has actually been activated. A quick visit to their website or a call to support can keep you from spending hours troubleshooting your hardware when the service itself isn't even turned on yet.
This attention to detail is just one small part of a massive global push to keep everyone connected. The market for mobile modem platforms was valued at a whopping $8.31 billion back in 2021 and is projected to climb to $13.31 billion by 2025. It just goes to show how essential these little boxes have become in our daily lives. You can dig into more of the data in this mobile modem and processor platforms market report.
Once you've got your modem humming along, your next move is to get the router configured. You can get a head start by checking out our guide on how to setup the WiFi router.
Connecting the Hardware Like a Pro
Alright, let's get our hands dirty. Hooking up a modem is surprisingly simple, but there's a specific sequence you need to follow. Getting this order right is the secret sauce to helping the modem establish a clean, stable link with the SwiftNet network right from the get-go.
First up is the coaxial cable—that's the thicker one with the little pin in the middle. Go ahead and connect one end to the cable outlet on your wall. Gently screw the other end into the port on your modem labeled 'Cable In' or 'Coax'. You want it snug, but don't go full Hercules on it; overtightening can actually damage the connector.
With the main line connected, it's time to link the modem to your home network. Grab your Ethernet cable and plug one end into the modem's LAN port. The other end goes into the WAN (or 'Internet') port on your WiFi router. If you're going old school with a direct wired connection, you'll plug this straight into your computer instead.
This picture gives you a close-up look at the back of a typical modem, so you can see exactly which port is which.

Taking a second to visually confirm each port before plugging things in is a simple habit that prevents the most common setup mistakes and ensures you've got a solid physical connection.
The Final Step: Powering On
The very last thing you'll do is plug in the power. Connect the power adapter to a wall outlet, and then plug the other end into the modem's power port. Yes, this specific order—coax, then Ethernet, then power—really does matter.
Following this sequence allows the modem to detect the network signal from the coaxial cable first, before it tries to do anything else. This systematic approach prevents initialization errors and is a pro tip for a flawless setup every time.
Once it has power, the modem will start its boot-up sequence. You'll see the lights on the front start to flash and change colors. Don't worry, that's completely normal. We'll dig into what all those blinking lights mean in the next section as we officially bring your new internet connection to life.
Alright, with all the cables hooked up, it's time for the main event: bringing your internet connection to life.
Go ahead and plug the power adapter into a wall outlet. As soon as you give it juice, your modem will kick off its boot-up sequence. You’ll see the lights on the front panel flicker and flash, which is exactly what’s supposed to happen. Don't worry, it's just waking up.
This startup can take a few minutes, so grab a coffee and be patient. The Power light should go solid almost right away. Next, you'll see the Downstream and Upstream lights blink as they hunt for the network signals. They'll eventually lock in and turn solid, too. The grand finale is the Online light—once that little guy stops blinking and stays solid, you are officially on the internet.
Finalizing Your Activation
Now that the hardware is talking to the network, the last piece of the puzzle is activating your SwiftNet service.
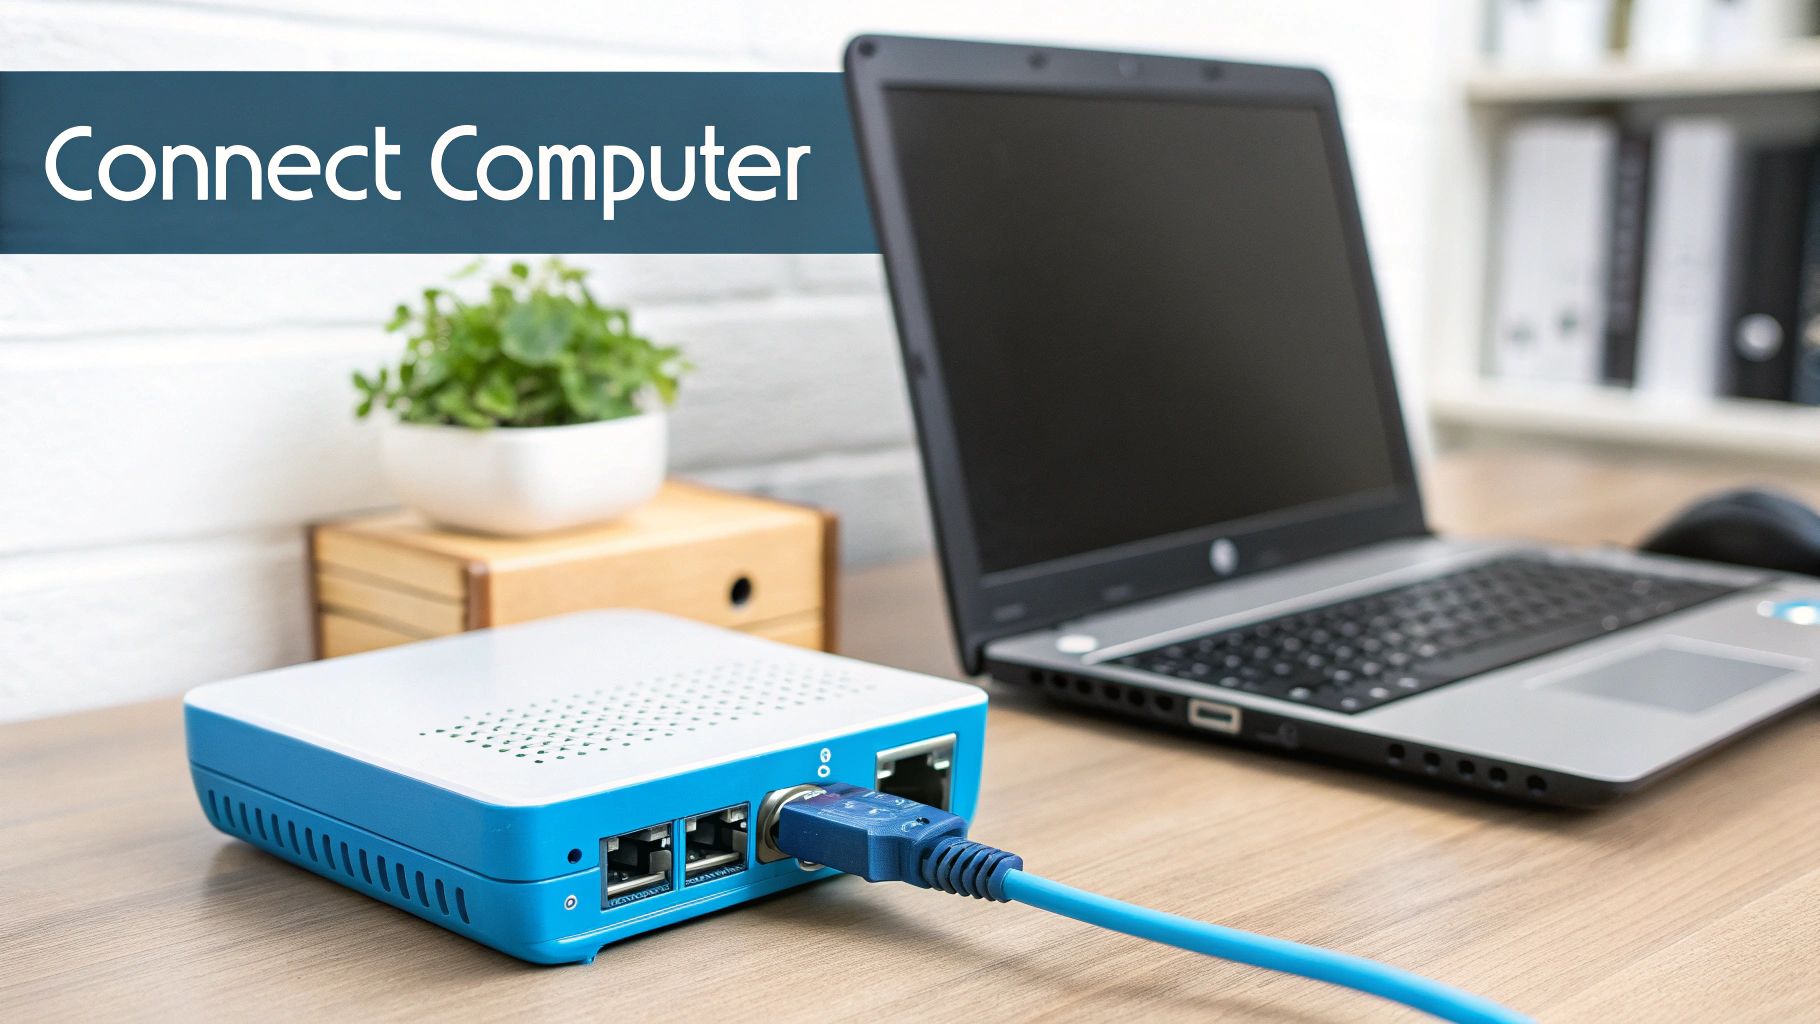
Connect a computer to your new network, either by plugging in with an Ethernet cable or by hopping on your Wi-Fi. Fire up a web browser like Chrome or Safari. In most cases, your browser will automatically get whisked away to the SwiftNet activation portal. If it doesn't pop up on its own, just try navigating to any website, and that should trigger the redirect.
This is where you'll need your SwiftNet account info. Have your account number and the main phone number for the account ready to go. It’ll make this final step a total breeze.
It's pretty amazing when you think about it—this simple process connects you to a massive, global system. This kind of connectivity is becoming more essential every day. Just look at the cellular modem market, which is exploding thanks to things like 5G and connected cars. It was valued at $6.23 billion in 2025 and is expected to rocket to almost $14 billion by 2030. You can dig into the numbers yourself with these cellular modem market findings on Mordor Intelligence.
Once you plug in your details and hit submit, your modem will finish its final configuration. Just like that, you're fully online and ready to browse.
Having Trouble Connecting Your Modem? Let's Fix It.
So, you’ve followed the setup steps, but your modem is giving you the silent treatment. Don't start dreading a call to support just yet. Even with a perfect setup, tech can be temperamental, but the good news is that most connection problems are surprisingly simple to solve on your own.
Nine times out of ten, the culprit is just a minor communication hiccup between your modem and the network. Before diving into anything more complex, we’re going to start with the oldest trick in the IT playbook. Why? Because it works.
The Classic Sixty-Second Reset
The power cycle is the go-to first step for a reason—it resolves the issue around 90% of the time. Think of it as giving your modem a chance to clear its head and start fresh.
Here’s exactly what to do:
- Pull the Plug: Unplug the power cord directly from the back of your modem. Don't just flick a switch on a power strip; you need to physically disconnect it.
- Give It a Minute: Now, wait for at least 60 seconds. This part is critical. It allows the internal components to fully discharge and reset properly. Don't rush it.
- Power It Back Up: Plug the cord back in. The modem will need a few minutes to run through its startup sequence, so be patient while the lights blink and stabilize.
If that didn't do the trick, the next thing to check is your physical connections. A loose coaxial cable is another common reason for connection headaches. Make sure the cable is screwed securely into both the wall jack and the port on your modem.
A good rule of thumb is to make the connection "finger-tight." You shouldn’t need any tools. In fact, using a wrench can overtighten the connector, potentially damaging it and making the problem even worse.
This troubleshooting process is universal, whether you're using a standard cable modem or something more specialized like a satellite modem. Satellite connectivity is a big deal, especially for bringing internet to remote areas. It's a growing field—the global market for these devices was valued at around $550 million in 2025 and is expected to climb to $713 million by 2027. You can see more on that in this global satellite modem market analysis.
If you’re actually connected but your speeds are painfully slow, that’s a different issue entirely. We have a whole guide dedicated to slow internet troubleshooting that can help you out.
Still no luck after trying everything? Okay, now it’s time to reach out. Our SwiftNet support team is here to help you get to the bottom of it.
Got Questions About Connecting Your Modem?
Even the most straightforward tech setup can throw a curveball or two. Let's be honest, figuring out how to connect a new modem isn't just about plugging in cables; it’s about understanding a little of the why behind the process. Here are some of the most common questions we get from folks setting up their internet for the first time.
How Long Should a New Modem Take to Connect?
I know it's tempting to start refreshing your browser the second it's plugged in, but patience really is a virtue here. A brand-new modem usually needs a good 5 to 15 minutes to get its bearings. It’s not just powering on—it's having a whole conversation with the network, downloading critical firmware updates, and getting in sync with SwiftNet’s systems.
You'll see the lights blink like crazy during this phase. It might look like it's struggling, but trust me, it's all part of the process. Just let it do its thing without unplugging it.
What Is the Difference Between a Modem and a Router?
This is a classic, and for good reason! The easiest way I've found to explain it is to think of your internet like the water supply to your house.
The modem is the main water pipe coming in from the street. It brings that powerful internet signal right into your home from SwiftNet. But that's just one pipe. The router, on the other hand, is like your home's plumbing system. It takes that one connection and splits it, creating your wireless network (WiFi) so all your different devices—laptops, phones, smart TVs—can get online at the same time.
Of course, a lot of modern gear combines both into a single "combo" unit, which definitely makes setup simpler.
Key Takeaway: Think of it this way: the modem gets the internet to your home, and the router gets it around your home. You need both to get everything online wirelessly.
Can I Use My Own Modem with SwiftNet?
Yes, you usually can, but there's a big "but" here. The modem you choose must be on SwiftNet's approved device list. This isn't just us being picky; using an unapproved or incompatible modem is one of the most common reasons people run into connection problems. We see it all the time—everything from painfully slow speeds to not being able to connect at all.
Before you go out and buy your own gear, do yourself a favor and double-check the compatibility list on the SwiftNet website. When in doubt, just give our support team a call to make sure the model you have your eye on will play nicely with our service.
Does the Location of My Modem Really Matter?
Oh, absolutely. It matters more than you’d think. While it’s easy to just tuck your modem behind the TV or in a cabinet to hide the cables, its location can make or break your WiFi performance.
For the strongest, most reliable signal, you'll want to place your modem:
- In a central spot in your home or RV.
- Out in the open. Don't bury it inside a cabinet or behind a bunch of furniture.
- Away from other electronics, especially things like microwaves or cordless phones which are notorious for causing signal interference.
Taking a minute to find the right spot ensures your WiFi signal can travel freely, giving you a much more stable connection across your whole space.
Fine-Tuning Your Connection for RVs and Travel
Taking your modem on the road isn't just for stationary homes anymore. For anyone living the mobile lifestyle, a solid internet signal is the lifeline for remote work, finding your way, or just kicking back with a movie after a long day of driving.
But let's be real—the nomadic life brings its own set of challenges. You’ll be dealing with everything from spotty campground WiFi to fickle 5G internet signals, especially once you leave the city limits.
Getting the Best Signal on the Move
When you're in an RV, placement is everything. I've found that putting your modem near a window and getting it up as high as possible makes a huge difference. This simple trick helps it catch the best signal from cell towers, which can be a lifesaver in more remote areas.
And don't forget about security. Since you'll be connecting from all sorts of public and semi-public spots, locking down your network is just plain smart.
A stable connection keeps your adventures running without a hitch. By taking a few extra steps to dial in your mobile setup, you can make sure your internet is ready to perform wherever you decide to park.
Want to go deeper on this topic? We've put together a comprehensive guide specifically on finding the best internet for RV living.
Ready for reliable internet that keeps up with your travels? SwiftNet Wifi offers high-speed 5G service built for rural areas and life on the road. Get connected today!
#rv #rvlife #rvliving #rvlifestyle #rvrenovation #rvremodel
#rvtravel #rvcamping #rvadventures #ruralwifi #5gwifi
#5ginternet


