
· By James
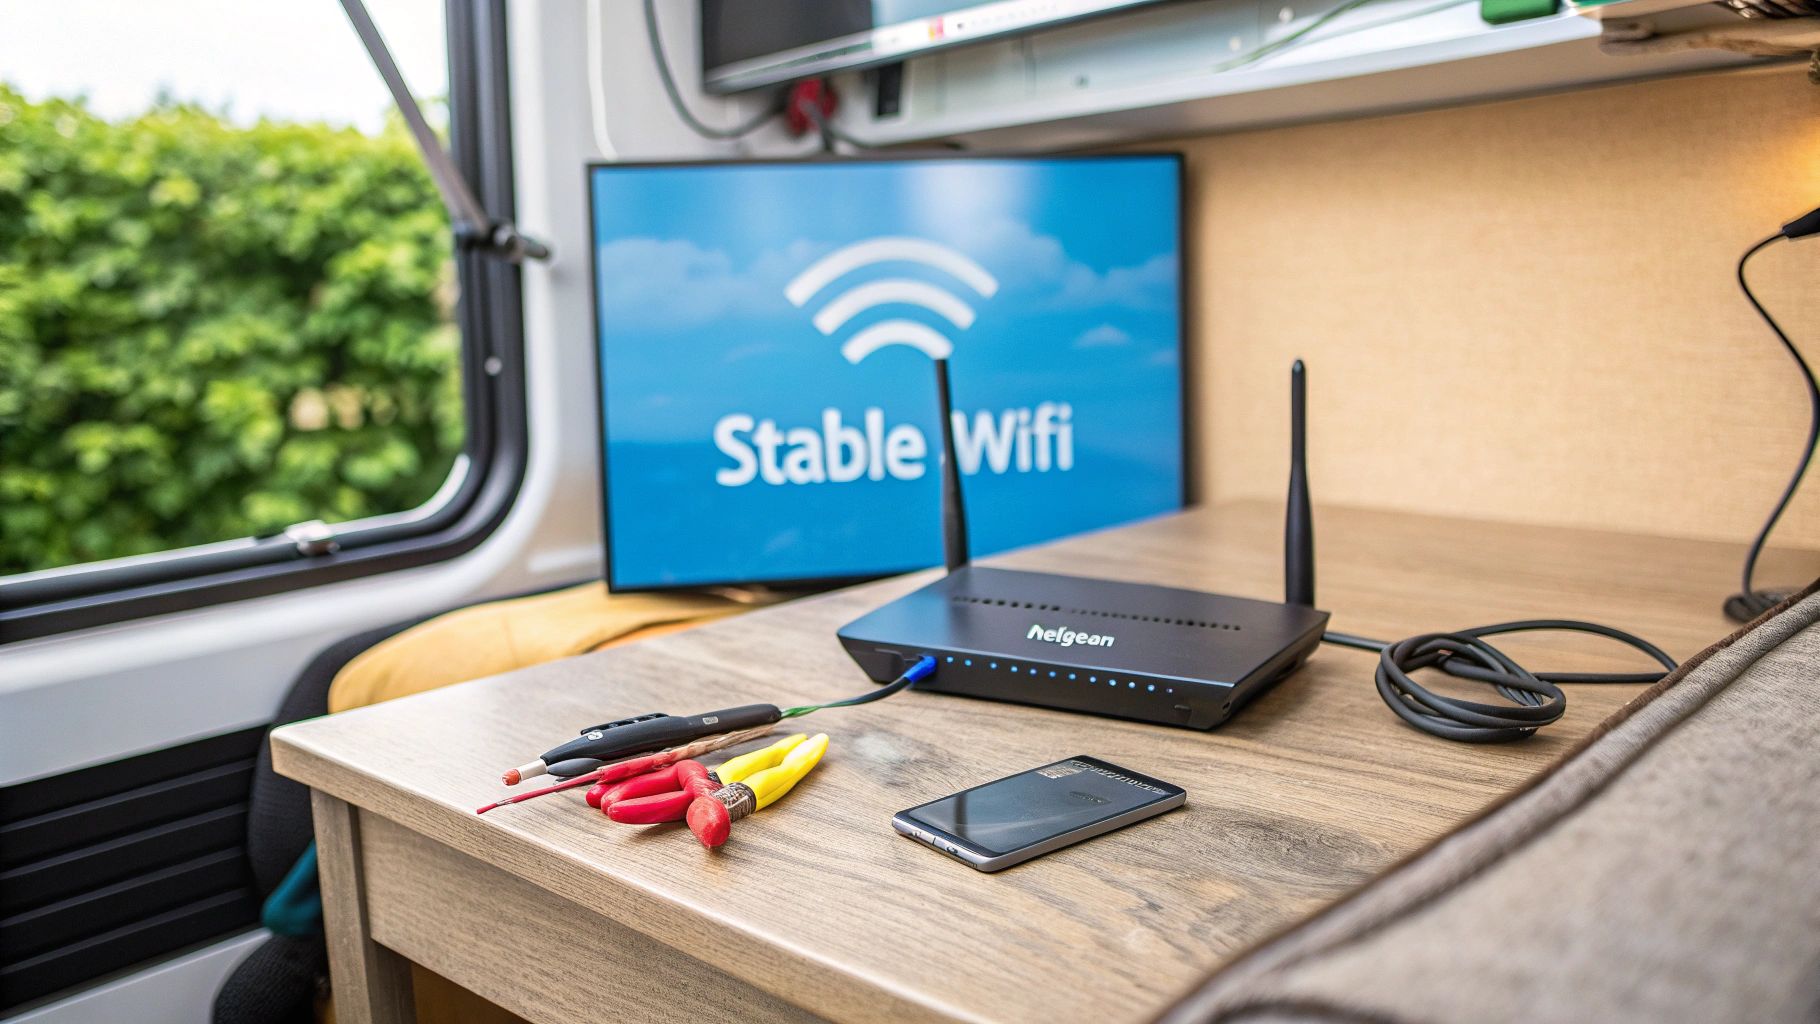
Netgear Router Troubleshooting Guide for Stable WiFi
Having trouble with your Netgear router? Before you get sucked into a vortex of advanced settings or start worrying about hardware failure, let's talk about the single most effective first step: a proper power cycle.
It sounds almost too simple, but correctly restarting your router and modem can fix a surprising number of common internet woes, from sluggish speeds and dropped connections to spotty WiFi. More often than not, it’ll get you back online in just a few minutes.
Your First Step to Quick Netgear Router Fixes
Think of a systematic restart—what we tech folks call a power cycle—as a clean slate for your network. It's not just about yanking the power cord. It’s a specific sequence designed to flush out temporary glitches, memory leaks, or interference that can build up over time. This happens even with high-performance gear like the Nighthawk series.
This process forces a fresh, clean handshake between your internet service provider (ISP) and all your devices. It’s especially critical if you're using rural or RV internet, where connections from cellular or satellite modems can be a bit more temperamental. A clean reboot gets all the components talking to each other properly again.
Before diving into the more time-consuming steps, it’s always a good idea to run through a few quick initial checks. These can save you a lot of time and frustration if the problem is a simple one.
Initial Checks Before Deeper Troubleshooting
| Check | Why It Matters | Quick Action |
|---|---|---|
| Physical Connections | A loose cable is a common culprit for a dead connection. | Ensure all Ethernet and power cables are firmly plugged into the router, modem, and wall outlets. |
| ISP Outage | Your router might be fine, but your service provider could be down. | Check your ISP's website or app for any reported outages in your area. |
| Router Lights | The status lights are your router's way of telling you what's wrong. | Look for solid green or white lights. Blinking or red/orange lights often indicate a specific problem. |
| Overheating | Routers need to breathe. If they get too hot, performance suffers. | Make sure your router has adequate ventilation and isn't covered or in a cramped space. |
Once you've confirmed these basics are in order, you can proceed with confidence that a reboot is the right next step.
The Power of a Proper Reboot
I can't stress this enough: the order you do things in really matters. If you rush it or plug everything back in at once, you might prevent the router from getting a valid internet signal from the modem.
Here’s the right way to do it:
- Unplug both devices. Start by disconnecting the power cords from your modem (the box that brings the internet into your home) and your Netgear router.
- Wait a full minute. Don't skip this. Leave both devices unplugged for at least 60 seconds. This gives them enough time to fully discharge, clear their temporary memory, and reset their internal components.
- Plug in the modem first. Reconnect the power cord to your modem only. Now, be patient. Wait for its status lights to turn solid and stable, which can take a couple of minutes. You're looking for a solid "Online," "Internet," or globe symbol light.
- Then, plug in the router. Once the modem is fully booted and online, you can plug the power cord into your Netgear router. Give it another minute or two to start up. You'll know it's ready when its power and internet lights are solid green or white.
This structured approach is the absolute bedrock of network troubleshooting. This image shows a simplified flow for what to do when a simple reboot doesn't cut it.
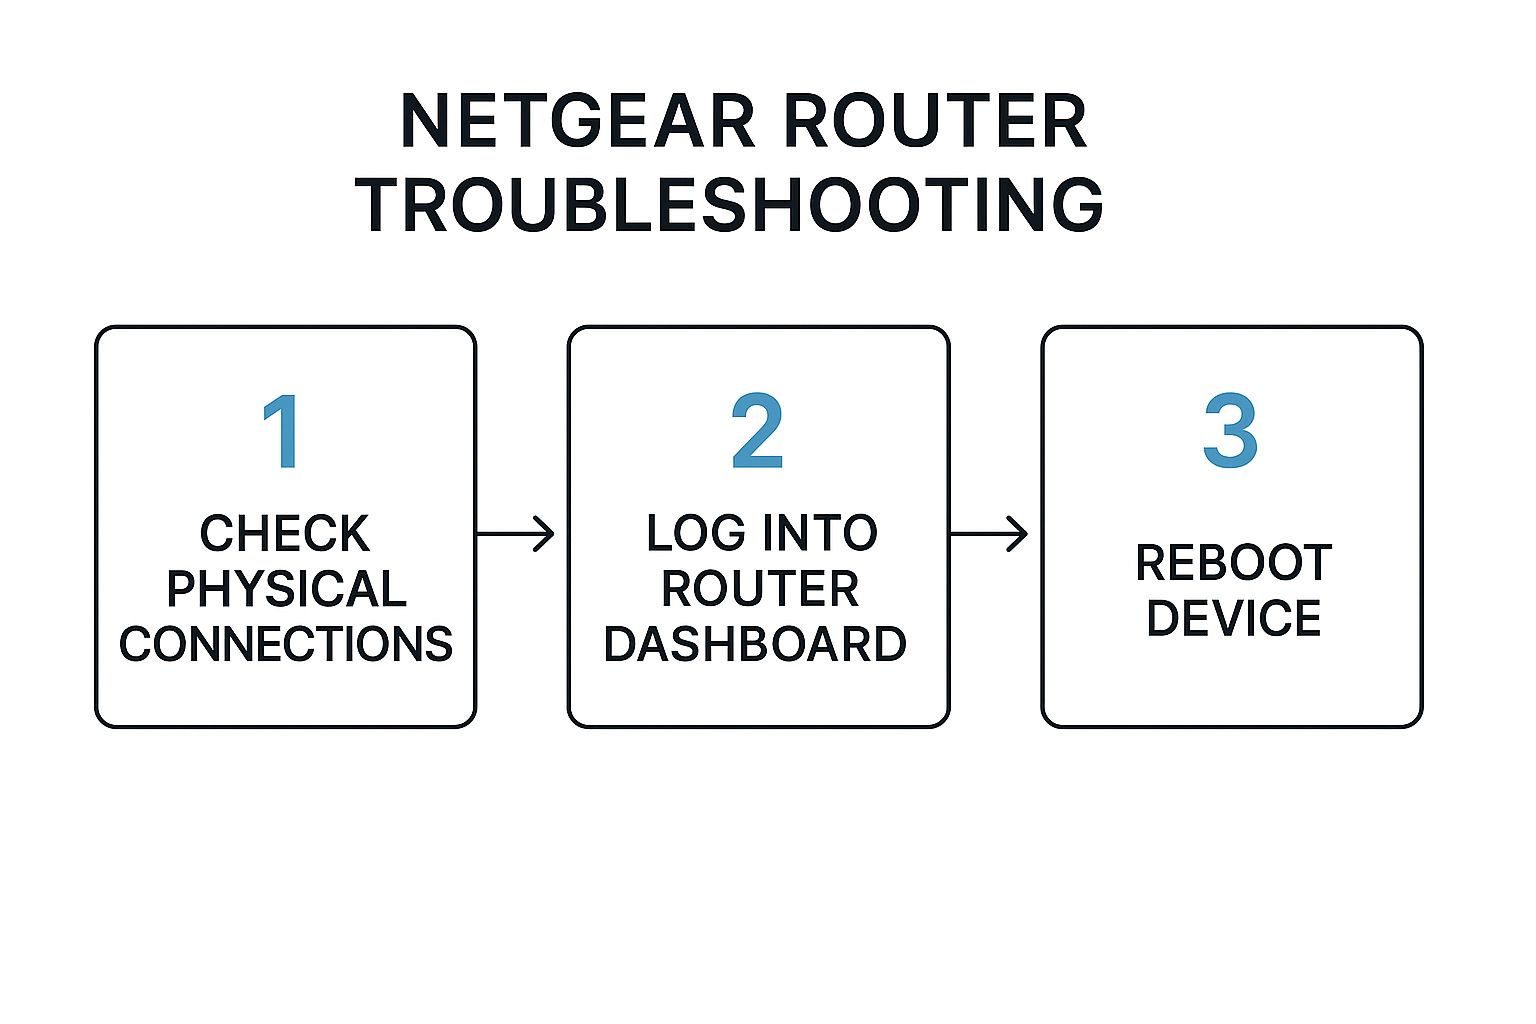
As you can see, after some initial checks, the reboot is the central, low-effort step to try before you need to get into more complex diagnostics.
From my experience, a proper power cycle resolves an estimated 80% of common router connectivity problems. This isn't an exaggeration. It works for everything from dropped connections to slow speeds, which are often just caused by temporary software bugs or interference.
If you're interested in the "why" behind this and other troubleshooting methods, an expert technical troubleshooting guide is a great resource. Understanding these fundamental principles will save you a ton of headaches with any tech you own.
So, what's actually going on with your connection? Is the internet completely out, or is it just chugging along at a snail's pace? Before you even think about fixing your Netgear router, you have to put on your detective hat. Figuring out the exact nature of the problem is the most important first step. It's what separates a quick fix from a whole afternoon of frustration.
Think about it. Your smart TV is stuck on that infuriating buffering circle, but your laptop in the next room is browsing just fine. Or maybe your phone shows a full-strength Wi-Fi signal, but no websites will actually load. These are different problems, and they demand different solutions. Getting specific about the symptoms is key.
Interpreting Your Router’s LED Lights
Your first and best clue is right on the front of your router: the LED lights. They're the router's way of telling you what's happening. While the exact light patterns can change a bit between Netgear models, the basic language is pretty universal.
Here's a quick rundown of what you're looking for:
- Solid Green/White Internet Light: This is good news. It usually means your router has a solid connection to the internet. If you still can't get online, the issue is probably between the router and your devices—a local Wi-Fi problem.
- Amber or Red Internet Light: Houston, we have a problem. A steady amber or red light means the router isn't getting an internet signal from your modem. This points the finger at your modem or your Internet Service Provider (ISP) itself.
- Blinking Internet Light: This one is a bit tricky. A blinking amber or green light often means the router is actively trying—but failing—to connect. However, a steady, rhythmic blink can also just mean data is flowing normally. Context is everything here.
Just by glancing at these lights, you can immediately narrow your focus. Are you dealing with a problem inside your home or RV, or is the issue with the signal coming from outside?
Differentiating Connection Symptoms
Okay, you've checked the lights. Now, let's get more specific about the failure. Are we talking about a complete outage, or something more subtle? Different symptoms point to different culprits.
Don’t just throw your hands up and say the internet is "down." Ask yourself: Is it slow on every device? Does it drop out at certain times of day? Does it only affect devices in the back of the RV? The more details you can gather, the faster you'll land on the right fix.
For instance, if your connection is just universally sluggish on every phone, tablet, and computer, you could be dealing with network congestion. Maybe too many devices are trying to stream at once. For those kinds of speed issues, our guide on https://swiftnetwifi.com/blogs/news/slow-internet-troubleshooting is a great place to start.
When you're trying to nail down flaky connections or high latency, specialized network bandwidth monitoring tools can be a game-changer. These apps show you exactly where your bandwidth is going, sniffing out which devices or apps are hogging all the data. This is a lifesaver in a rural or RV setup where every bit of bandwidth counts.
By clearly understanding the symptoms, you can stop guessing and start working toward a real, effective solution.
Resolving Unstable Connections and Packet Loss
It's one of the most frustrating things to deal with: your WiFi signal looks perfect, but it acts totally broken. All the lights on your Netgear router are solid green, yet your Zoom calls keep freezing and online games are a laggy, unplayable mess. This usually points to an unstable connection or packet loss, where tiny bits of your data get dropped on their way to or from the internet.
This is a classic headache, especially for folks using their Netgear router in rural areas or RVs where the main internet source can be a bit shaky to begin with. You might see full bars, but the actual data getting through is unreliable. It’s the kind of performance hiccup that a simple reboot just won’t fix.
Identifying the Root of Instability
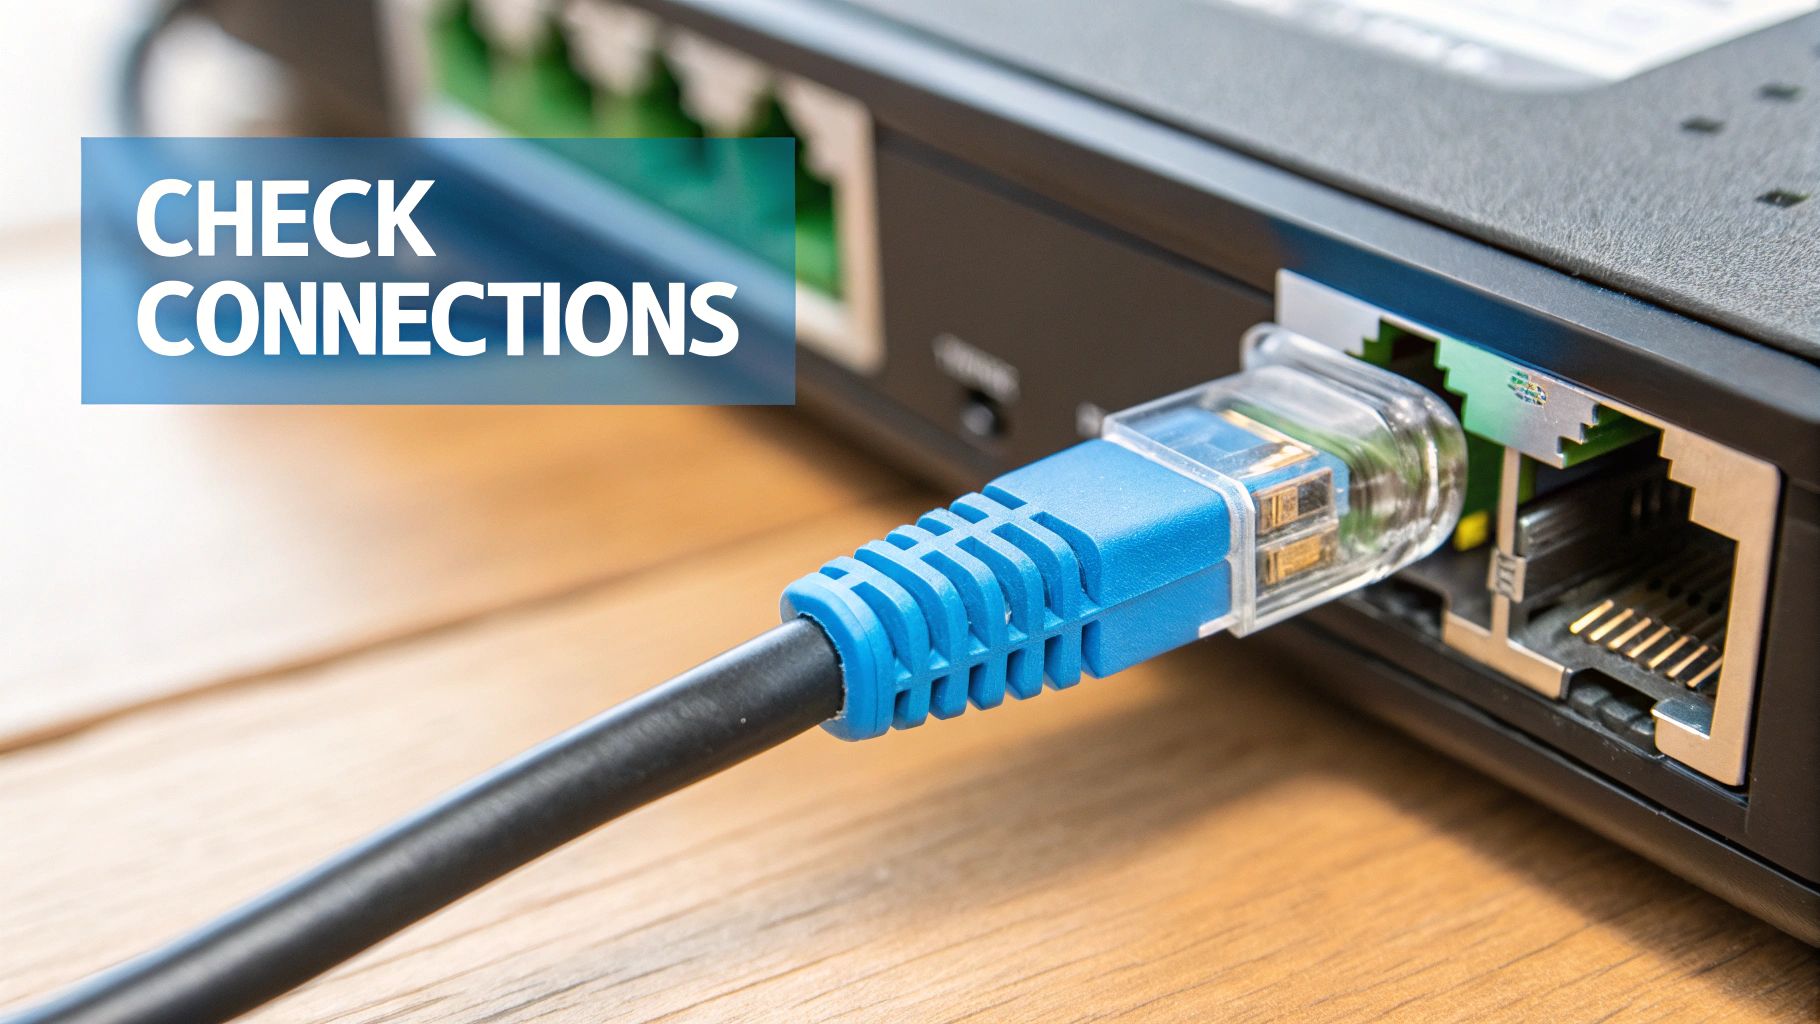
Before you dive into the router's settings and start changing things, it’s always best to check the physical stuff first. This is doubly true in the unique environment of an RV or a remote homestead.
- Overheating: Routers get hot, and high-performance models like the Nighthawk series can get surprisingly warm. If yours is tucked away in a tight RV cabinet without much airflow, it can easily overheat. When that happens, its internal components will slow down to protect themselves, causing performance throttling and dropped packets. A good rule of thumb is to give your router at least a few inches of clear space on all sides.
- Bad Cables: That little Ethernet cable running between your modem and router can be a silent killer of a stable connection. Even if it looks perfectly fine, the delicate wires inside can get damaged. Swapping it out with a new or known-good cable is one of the quickest and easiest diagnostic steps you can take.
If you’ve checked these physical items and your connection is still dropping, the issue probably lies with the router’s software or how it's communicating with your internet source. Intermittent signal loss can also create annoying dead zones, and if that sounds familiar, you should check out our guide on the top WiFi dead zone solutions for better connectivity.
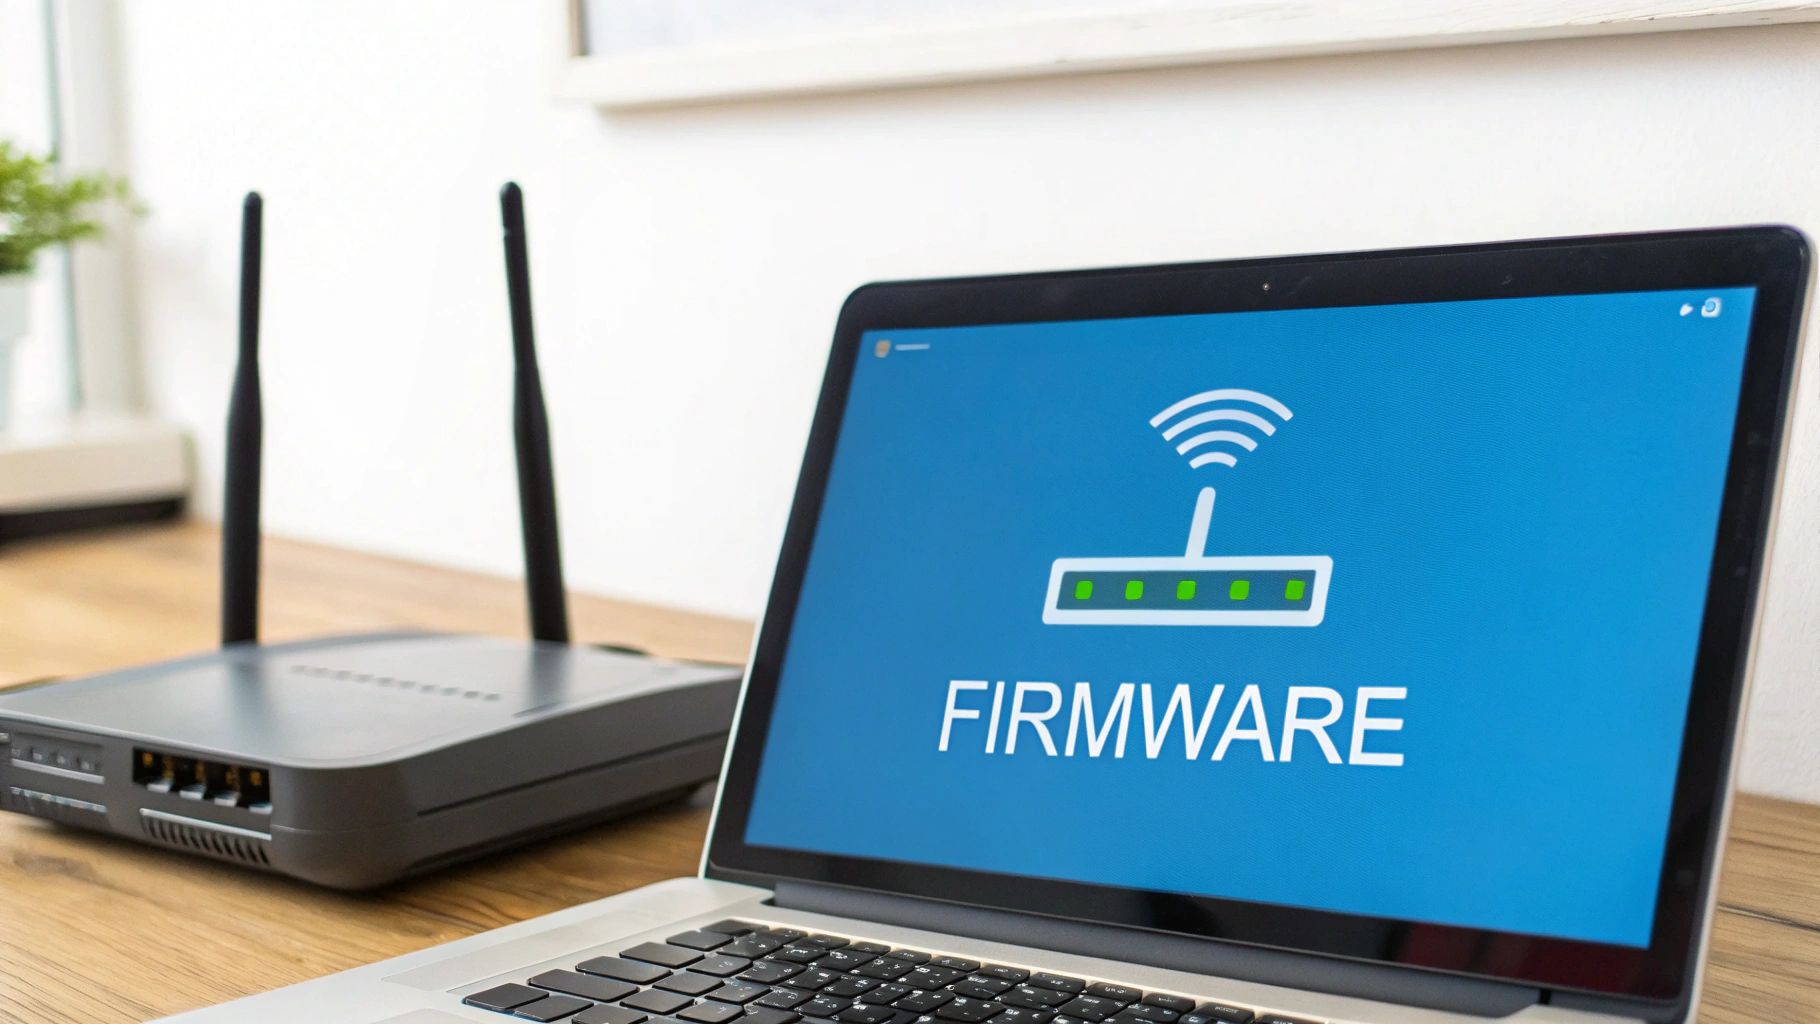
When Firmware Isn't the Fix
Keeping your router’s firmware up-to-date is always smart, but it's not a magic bullet. Sometimes, a stubborn problem like packet loss points to something deeper.
I've seen a known issue with some Netgear routers, especially in the Nighthawk line, where they suffer from consistent packet loss even when everything else seems fine. I've talked to users who've seen this problem stick around through multiple firmware updates, which tells me it's a more complex software or hardware flaw.
For example, some users have shared that their Nighthawk router worked flawlessly for weeks before suddenly starting to drop packets at a steady, maddening rate. This problem has been documented even after updating firmware all the way from version 1.0.1.60 to 1.0.1.74, which suggests it’s not a simple bug a quick patch can fix.
This kind of recurring problem shows why thorough Netgear router troubleshooting means looking beyond the obvious. If a new firmware version doesn’t help, you might need to consider more advanced steps like a full factory reset.
Fixing Issues Where Specific Websites Won't Load
It’s one of the most baffling problems you can run into with a Netgear router: most of the internet works just fine, but one or two specific websites simply refuse to load. Maybe you're getting a "site cannot be reached" error, or the page shows up as a jumbled mess of text without any images or proper formatting. It's not a full-blown outage, but it's just as frustrating.
When this happens, the problem almost always lies somewhere in the router's settings. Your router is successfully getting you online, but it's somehow mishandling or filtering the data for that one particular site. I've seen this stump even experienced users, but it's usually a straightforward fix once you know where to look.
Pinpointing the Cause of Selective Blocking
A few usual suspects are behind this weird behavior. Understanding them is key to picking the right fix, especially for those of us using rural or RV internet where the connection source can add its own layer of complexity.
- DNS Resolution Errors: Your router uses a DNS (Domain Name System) server to translate a website's name into a digital address. If the default DNS server from your internet provider has a hiccup with a specific site, your router simply won't know where to send you.
- MTU Mismatches: The MTU (Maximum Transmission Unit) setting controls the size of data packets on your network. Cellular and satellite internet, common in RVs, sometimes need a smaller MTU size. If a website's server sends packets that are too big for your router's setting, they can get dropped, causing the site to fail.
- Accidental Security Blocks: It’s surprisingly easy to accidentally blacklist a website. Your Netgear router’s built-in security tools, like Access Control or Parental Controls, might have the site on a blocklist, especially if you were tinkering with settings earlier.
Think of it this way: your router is acting as a gatekeeper but has misplaced the key for one specific address. The good news is, by adjusting its settings, you can almost always cut a new key.
A perfect real-world example of this pops up in online tech forums. Some owners of the popular Nighthawk AX5400 router (model RAX50) reported that certain websites would load as nothing but plain text—no images, no formatting. The problem vanished the moment they bypassed the router, confirming it was the culprit. You can dig into these user stories and see how router settings can affect web access.
Actionable Steps for a Solution
To get this sorted out, you’ll need to methodically check the likely causes inside your router's admin panel.
First, try changing your router's DNS servers. Instead of letting your internet provider assign them automatically, manually switch to a public DNS provider. Two of the most reliable are Google (8.8.8.8) and Cloudflare (1.1.1.1). This one simple change often solves lookup-related problems instantly.
If that doesn't do the trick, log back into your router’s settings and take a close look at any security or access control lists. Check for any rules that could be blocking the website you're trying to reach. Make sure the site isn't listed under a "blocked sites" category. A quick diagnostic test is to disable these features temporarily. If the site loads properly after you turn them off, you’ve found your issue.
Tweaking Your Netgear Settings for the Best Possible Signal
Think of your Netgear router's default settings as a one-size-fits-all t-shirt. They're designed for the "average" home, which is nothing like the unique environment of an RV park or a remote campsite. Between the metal walls of your rig and the crowded airwaves of a campground, those factory settings just won't cut it.
The good news is, you don't have to be a network engineer to make a huge difference. Getting into your router's settings is the key. Whether you prefer using the Nighthawk app on your phone or logging in through a web browser, a few smart changes can dramatically improve your connection when a simple power cycle isn't enough.
Pick a Better WiFi Channel
Imagine your WiFi is a highway. When every router in the campground tries to use the same lane, you get a massive traffic jam. This is exactly what’s happening when your router is fighting for space on the same WiFi channel as everyone else's.
Manually choosing a less crowded channel is one of the easiest and most powerful fixes you can make. Just grab a free WiFi analyzer app for your phone to see which channels are packed and which are wide open.
- For the 2.4 GHz band: Your best bets are almost always channels 1, 6, or 11. These three are special because they don't overlap, which means less interference from your neighbors.
- For the 5 GHz band: This band gives you a lot more room to breathe with many more non-overlapping channels. The analyzer app will be your best friend here, showing you exactly which ones are clear in your specific spot.
Just by making this one change in your Netgear admin panel, you're essentially moving your internet traffic to an empty express lane. The performance boost can be immediate.
Tell Your Router What's Important with QoS
Not all internet use is created equal. That critical video call with your boss is way more important than a big software update downloading in the background. That's where a feature called Quality of Service (QoS) comes into play.
QoS lets you tell your Netgear router which devices or apps should get first dibs on your internet bandwidth. It’s a game-changer.
For instance, you can give your work laptop or your smart TV top priority. When everyone in the family is online and the network gets congested, the router makes sure your critical devices get the speed they need. No more buffering during a crucial presentation or the final scene of a movie. This is especially vital for anyone working from an RV on a potentially spotty cellular connection. You can also set priorities by activity, like "Gaming" or "Video Streaming."
Pro Tip: When you set up QoS, be selective. If you give everything top priority, then nothing is a priority. I’ve found that picking just one or two truly essential devices or activities yields the best results.
Diving into your settings can feel like a lot, but understanding what each one does transforms your router from a black box into a powerful tool customized for your life on the road. Here's a quick breakdown of some key settings and what they mean for you.
Key Router Settings and Their Impact on Performance
| Setting | What It Does | Recommended Action for Rural/RV Users |
|---|---|---|
| WiFi Channel | Selects the specific frequency "lane" your WiFi signal uses to communicate with devices. | Use a WiFi analyzer app to find the least congested channel. Stick to 1, 6, or 11 for 2.4 GHz. |
| Quality of Service (QoS) | Prioritizes internet traffic for specific devices or applications (e.g., streaming, gaming). | Enable QoS and give top priority to your most important device, like a work laptop or streaming stick. |
| Firmware Updates | Installs the latest software from Netgear, which can include security patches and performance fixes. | Check for updates regularly. A router with old firmware can be slow and vulnerable. |
| Transmit Power Control | Adjusts the strength of your WiFi signal. | Set to 100%. In a large RV or area with weak signal, you need all the power you can get. |
| Guest Network | Creates a separate, isolated network for visitors. | Enable it. This keeps your main network secure and prevents guests' devices from hogging your bandwidth. |
Taking the time to adjust these settings will give you a much more stable and reliable connection, tailored specifically to the challenges of RV and rural internet.
Fine-tuning features like QoS is also a smart way to manage your data, which is crucial if you're dealing with slow upload speeds. For more on that, check out our guide on how you can increase upload speed for faster internet; its tips work hand-in-hand with these router adjustments. Getting these settings dialed in makes all the difference.
When and How to Safely Factory Reset Your Router
Alright, let's talk about the “nuclear option” for Netgear router troubleshooting: the factory reset. It's a drastic step, for sure, but sometimes it’s the only way to get your internet back on track.
If you’ve tried everything else—rebooting a dozen times, switching channels, checking every single cable—and your router is still acting up with persistent, mysterious issues, a reset might be your last best hope. I’ve seen this be the magic bullet after a corrupted firmware update or when a deep software glitch is causing constant, maddening connection drops.

This process completely wipes your router. Every single setting goes back to how it was the day you pulled it from the box. Your custom Wi-Fi name (SSID), your password, any special configurations for your RV’s internet source—poof, gone. It's a totally clean slate.
Back Up Your Settings Before You Do Anything Else
Before you even think about looking for that reset button, you have to back up your current router settings. Trust me on this. It's a non-negotiable step that will save you a massive headache later.
Just log into your Netgear admin panel and look for a section like “Administration” or “Advanced.” In there, you should find an option to “Back Up Settings.” This will save your entire configuration as a small file on your computer. After the reset, you can simply upload that file to instantly get your network name, password, and other customizations back.
A factory reset without a backup means setting up your entire network from scratch. This can be a real pain, especially if you have custom settings dialed in for your specific cellular or campground Wi-Fi source.
Performing the Reset: Soft vs. Hard
You’ve got two ways to get this done. The method you use really just depends on whether you can still get into your router’s admin dashboard.
-
Soft Reset (The Easy Way): If you can still log into your router's settings, look for an option that says “Factory Reset” or “Restore Factory Settings.” This is the gentlest way to do it and my first choice if it's available.
-
Hard Reset (The Physical Button): This is the one most people end up doing. Make sure the router is powered on. Now, find that tiny, recessed “Reset” button, usually hiding on the back panel. You’ll need a paper clip or a pen tip to press and hold it down for about 10 seconds. You'll see the router's lights blink or change color, which tells you it’s wiping itself clean.
Once the reset is finished, the router will reboot with its original, out-of-the-box settings. You’ll have to connect to its default Wi-Fi network—the name and password are on the sticker on the bottom or back of the router—and then use that backup file to restore your personalized setup.
Got Questions About Your Netgear Router? We've Got Answers
Even with the best guides, sometimes you just have a specific question that’s holding you back. I get it. I’ve been there, staring at a blinking light, wondering what on earth it’s trying to tell me.
This section is all about tackling those common head-scratchers we see all the time, especially from folks trying to stay connected in an RV or a rural home. Let's get you some quick, clear answers.
Why Does My Netgear Nighthawk Keep Dropping the Connection?
There's nothing more maddening than your internet connection vanishing mid-stream. When your Nighthawk starts acting flaky, it’s usually one of three things: outdated firmware, channel interference, or it's just plain overheating.
Before you tear your hair out, log into your router's admin panel. The first thing you should always do is check for a firmware update. It’s a simple fix that solves a surprising number of problems.
Next, think about your surroundings. If you're in a packed RV park, every router is screaming for attention on the same few WiFi channels. I recommend using a simple WiFi analyzer app on your phone to see which channels are the least crowded. Then, just pop into your router settings and manually switch to a clearer one. Also, give that Nighthawk some breathing room! Don't shove it in a stuffy cabinet where it can't get any airflow.
What Do the Different Colors on My Router Lights Mean?
Those little LED lights on your router are its way of talking to you. Think of them as a quick diagnostic tool.
- Solid Green or White: This is the goal. For the "Internet" light, this means you're online and everything is working as it should be.
- Blinking Light: A steady, rhythmic blink is usually a good sign, indicating data is flowing back and forth. If it's blinking frantically or irregularly, it might be struggling to establish a solid connection.
- Amber or Red: This is the universal color for "Houston, we have a problem." An amber or red internet light typically means the router can't get a signal from your modem or source.
Remember, these are general guidelines. Every model can be a little different. Your best bet is to pull up the manual for your specific Netgear router—a quick Google search usually does the trick—for a detailed chart of what each light and color pattern means.
How Can I Improve My WiFi Signal Strength in an RV?
RVs are basically metal boxes, which are WiFi's worst enemy. The signal bounces around and gets absorbed, creating dead zones. Getting a decent signal is all about placement and, sometimes, a little extra hardware.
First, router placement is key. Try to position it in a central location in your rig, as high up as possible. Keep it away from big metal surfaces (like the fridge) and other electronics that can cause interference.
In a crowded campground, changing the WiFi channel can be a game-changer. For larger rigs where the signal just won't stretch from the driver's seat to the bedroom, investing in a WiFi range extender or a mesh system compatible with your Netgear is a fantastic move. These devices grab your existing signal and rebroadcast it, filling in those frustrating gaps in your coverage.
Are you tired of battling unreliable internet on the road or in your rural home? SwiftNet Wifi provides high-speed 5G internet designed specifically for challenging locations. Stop troubleshooting and start streaming with a connection you can count on. Get your SwiftNet Wifi plan today!