

We've all been there: that one corner of the house or RV where the Wi-Fi just gives up. Video calls drop, your favorite show starts buffering endlessly, and frustration sets in. A wifi extender setup is your ticket out of that dead zone. It works by grabbing your router's existing signal and then rebroadcasting it, pushing that sweet, sweet internet into those hard-to-reach spots.
Why Your Wi-Fi Drops and How Extenders Help
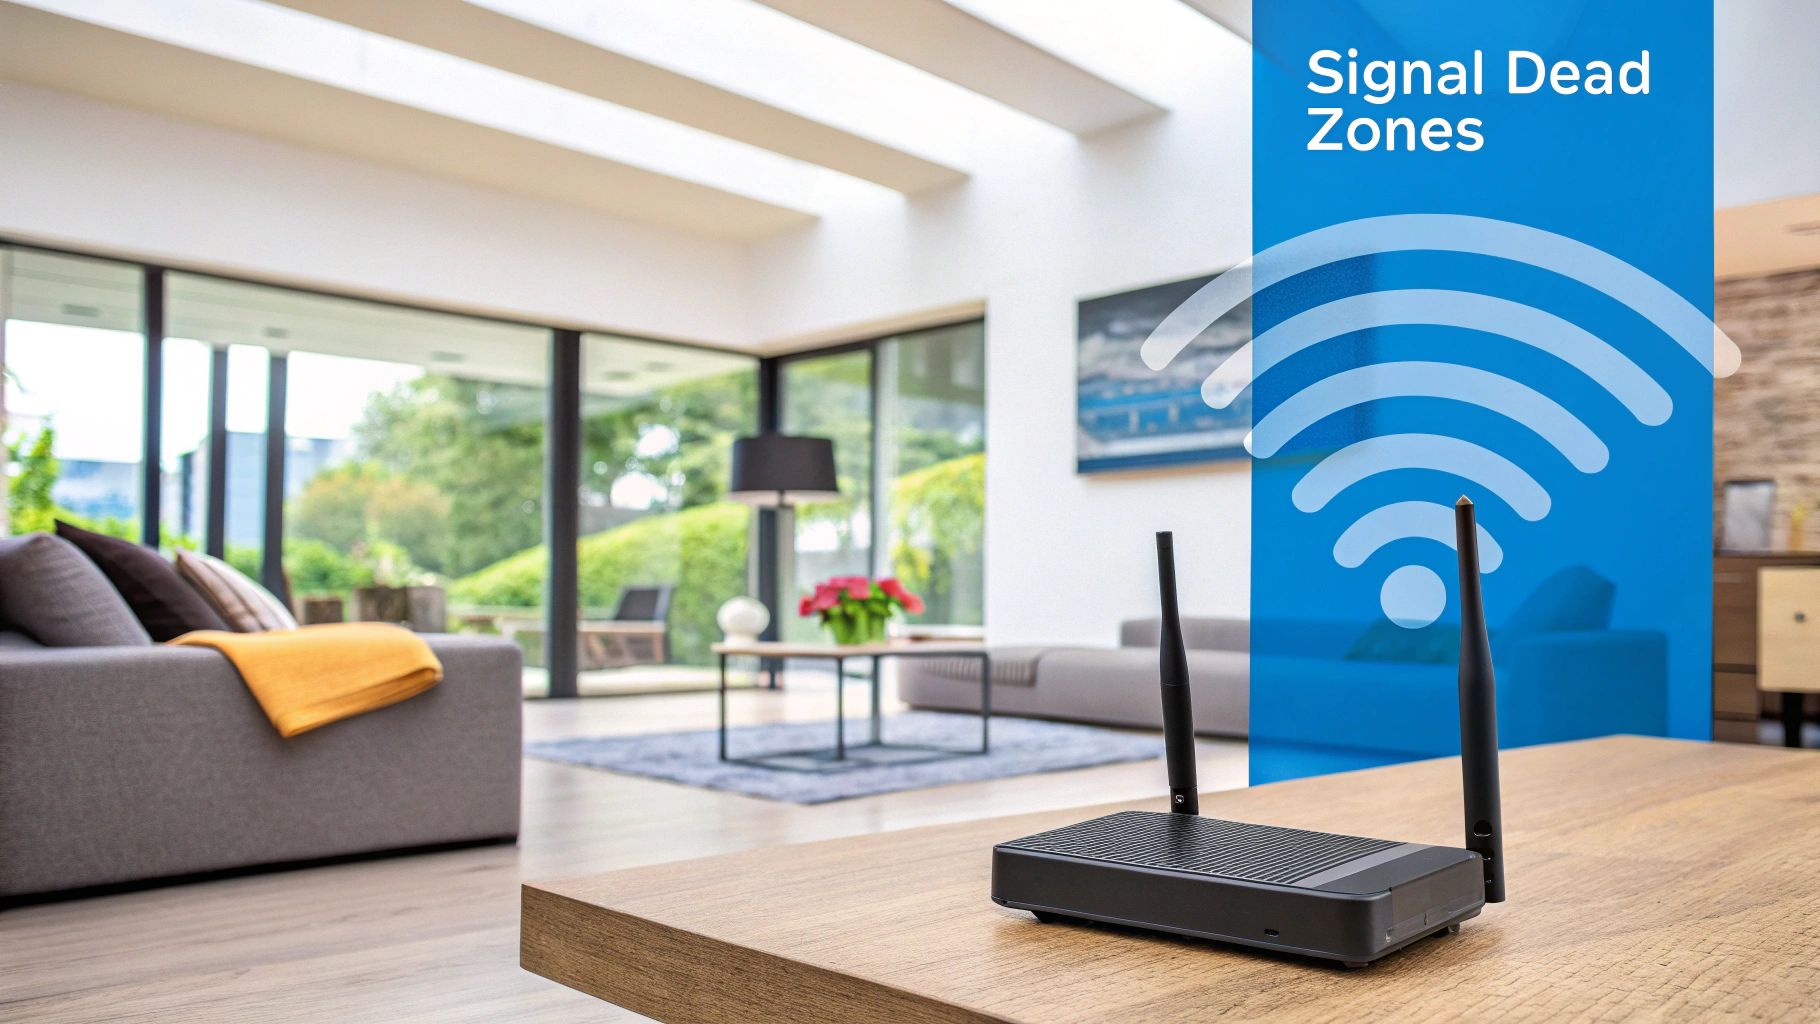
Ever wonder why your Wi-Fi signal seems to vanish the moment you step into the back bedroom or out onto the patio? It's a super common problem with some pretty straightforward causes. At its core, your router's signal simply gets weaker the farther it has to travel, especially when it runs into obstacles.
Think of it like music playing from a speaker. The farther you walk away, and the more walls you put between you and the source, the fainter the sound gets. A strong, reliable connection needs a clear path, and our homes and RVs are full of things that get in the way.
Common Obstacles That Kill Wi-Fi Signals
It's not just distance that weakens your signal. A bunch of everyday objects and materials can interfere with your wireless network. Knowing what these culprits are is the first step toward a fix.
- Physical Barriers: Thick walls are a Wi-Fi signal's worst enemy. Concrete, brick, and even dense plaster can stop a signal in its tracks. Big, solid furniture doesn't help, either.
- Distance from the Router: This one's a no-brainer. If your router is tucked away in the living room, it’s going to have a tough time reaching the far end of the house or your outdoor space.
- Appliance Interference: Believe it or not, your microwave is a major Wi-Fi disruptor. Household appliances like microwaves and older cordless phones often operate on the same 2.4 GHz frequency as many Wi-Fi networks, causing signal chaos when they're running.
This is exactly where a Wi-Fi extender comes in. It acts like a relay, grabbing the signal from your router and giving it a powerful boost before sending it on its way. This is a game-changer in mobile environments like an RV, where the metal construction can create frustrating dead zones. Our guide on how to extend your Wi-Fi range digs into even more strategies for tackling these issues.
A Wi-Fi extender doesn't create a new network; it expands your existing one. It’s a cost-effective way to get reliable coverage without replacing your entire router or running messy cables through your home.
The need for solid connectivity is only getting bigger. The global WiFi extenders market, valued at around $2.1 billion in 2025, is expected to skyrocket to $5.5 billion by 2035. That massive growth, tracked by firms like Future Market Insights, just shows how vital seamless internet has become for everything from remote work to smart home gadgets.
Choosing the Right Wi-Fi Extender for Your Home
Picking the right device is the most important first step for a solid wifi extender setup. With so many options out there, it’s easy to get bogged down in technical jargon. The real key is matching the extender’s features to what you actually need, whether you're trying to cover a sprawling rural home or just get a decent signal in a compact RV.
Your decision should be a pretty straightforward process. This simple flowchart breaks down the key things to think about, from the size of your space to the type of extender you'll need.
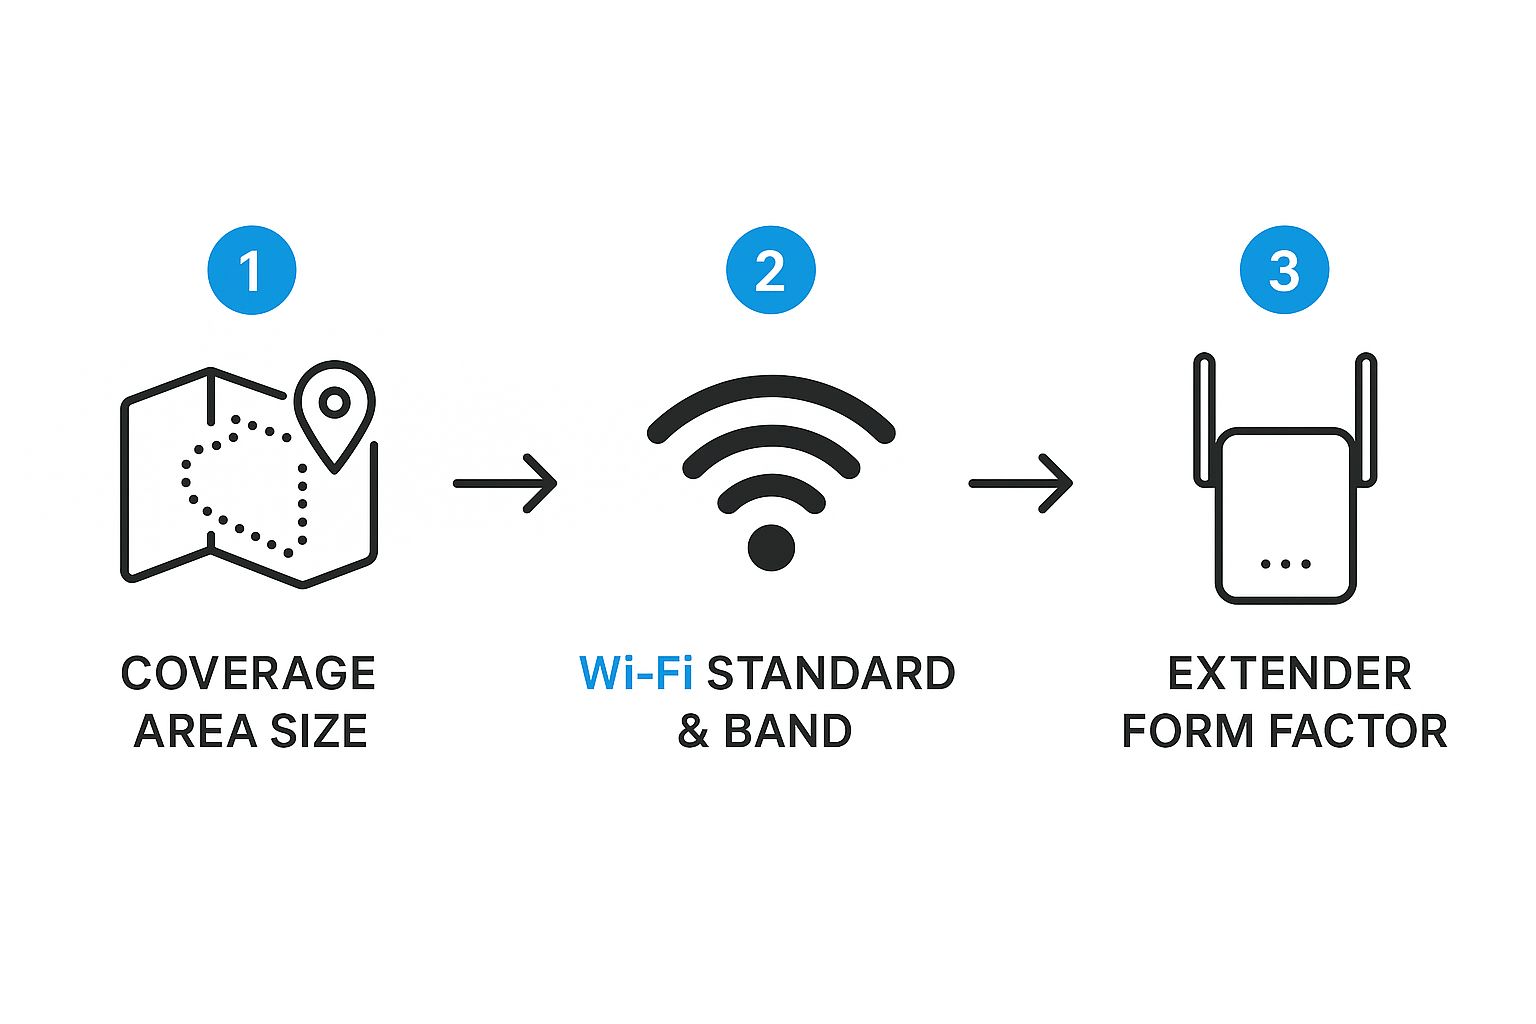
As you can see, choosing an extender is a logical progression. Start by figuring out your coverage needs, then match the tech (like bands and standards), and finally, pick the physical style that fits your environment best.
Understanding Bands and Standards
Your biggest choice is going to be between a single-band and a dual-band extender. Single-band models are pretty basic—they only operate on the 2.4 GHz frequency. While this band has great range, it’s also crowded and slow, often getting interference from things like microwaves and older cordless phones.
Dual-band extenders, on the other hand, use both the 2.4 GHz and 5 GHz frequencies. This is a game-changer. It lets them create a much faster, less congested connection for streaming, gaming, and video calls, making them the clear winner for most modern setups. Think of it like adding a fast lane to a traffic-jammed highway.
It's also a good idea to match your extender's Wi-Fi standard (like Wi-Fi 5 or Wi-Fi 6) to your main router's. Pairing a Wi-Fi 6 extender with a Wi-Fi 6 router guarantees you get the best speed and efficiency possible. If you mix and match, your whole network will just default to the older, slower technology.
A dual-band extender is almost always the best investment. It can use one band to talk to the router and the other to connect to your devices. This simple trick dramatically cuts down on the speed loss you typically see with single-band models.
To help you decide, here’s a quick comparison of the different types of extenders you’ll find on the market.
Comparing Wi-Fi Extender Types
| Feature | Single-Band Extender | Dual-Band Extender | Mesh System Node |
|---|---|---|---|
| Best For | Small apartments, basic browsing | Medium to large homes, streaming, gaming | Large multi-story homes, complex layouts |
| Speed | Slower, more susceptible to interference | Faster, less congested | Fastest, most stable and consistent speed |
| Frequency Bands | 2.4 GHz only | 2.4 GHz & 5 GHz | 2.4 GHz, 5 GHz (often a second 5 GHz band) |
| Setup Complexity | Very easy, plug-and-play | Easy, often app-based | Moderate, requires system setup |
| Cost | $ | $$ | $$$ |
This table should give you a clear idea of how these devices stack up. For most people, a dual-band extender hits that sweet spot of performance and price, but if you're dealing with a really large or tricky space, a mesh system might be worth the extra investment.
Plug-In vs. Desktop Extenders
The last piece of the puzzle is the extender's physical shape, or form factor. Your choice here really comes down to your space and how much performance you need.
- Plug-In Extenders: These are small, compact units that go right into a wall outlet. They're super easy to install and blend in without being an eyesore, which makes them perfect for smaller homes, apartments, or RVs where every inch of space counts.
- Desktop Extenders: These are bigger, more powerful units that look like small routers, often with external antennas. They deliver much better performance and wider coverage, making them the go-to choice for multi-story homes or properties with thick walls and other tricky layouts.
Before you buy anything, it’s smart to figure out exactly where your dead zones are. Our guide on how to map Wi-Fi coverage like a pro can walk you through pinpointing the exact spots that need a boost.
The demand for better Wi-Fi is huge. As of 2024, the global market for signal extenders hit a massive $6.75 billion, with Wi-Fi extenders leading the charge in adoption rates. As our homes and mobile setups get packed with more and more connected devices, picking the right extender is more critical than ever. You can dig into more data on this growing market over at intelmarketresearch.com.
Getting Your Wi-Fi Extender Connected
Alright, you've picked out the perfect Wi-Fi extender. Now for the fun part: the actual wifi extender setup. Getting your new gadget talking to your main router is usually a pretty straightforward affair. Most modern extenders give you a few different ways to get connected, which is great whether you're a total tech novice or someone who likes to be in the driver's seat.
Before you start, the first move is always the same. Find a power outlet in the same room as your router and plug the extender in. Keeping it close for this initial handshake ensures the strongest signal, making the whole process go much smoother.
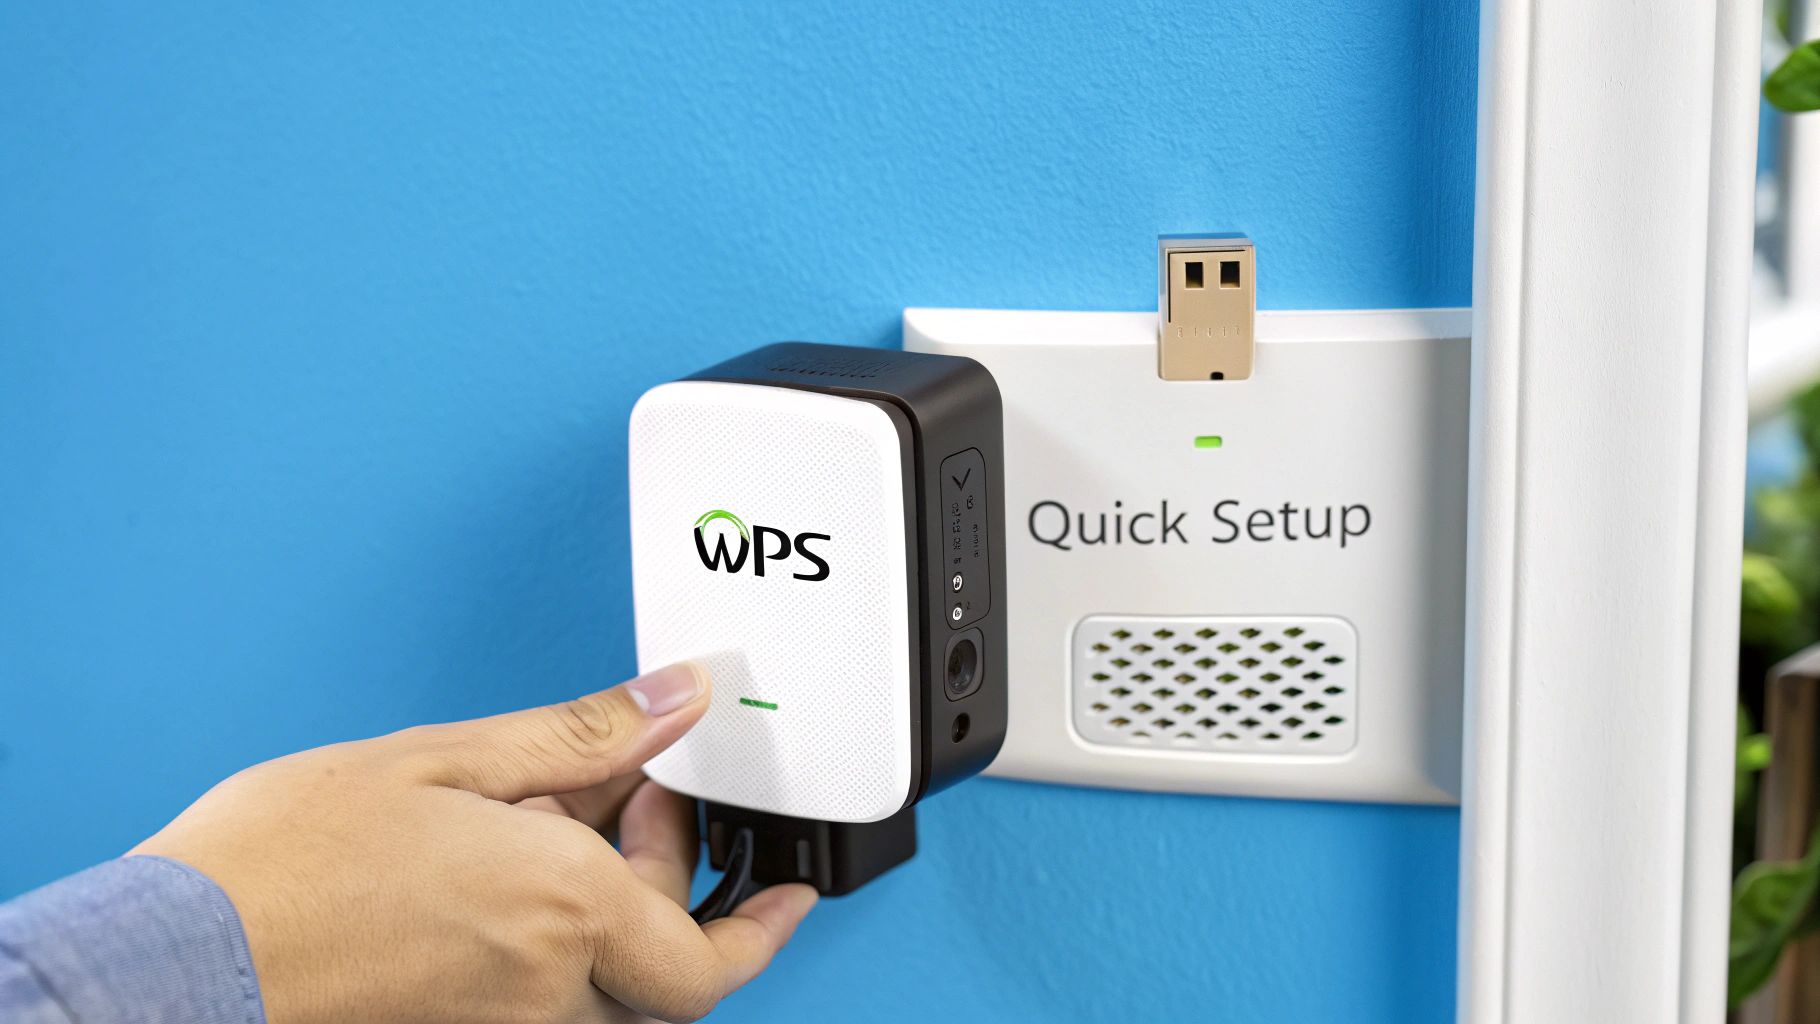
The Simple WPS Button Method
For most folks, the quickest way to get up and running is with the Wi-Fi Protected Setup (WPS) button. It’s designed to be a simple, push-button connection that skips the need for typing in passwords.
- First, press the WPS button on your main router. You’ll typically have a two-minute window to complete the pairing, so don't wander off.
- Next, press the WPS button on your Wi-Fi extender. You should see a status light start blinking as it hunts for your router’s signal.
- Just wait for that light to turn solid. A steady green or blue light is pretty much the universal sign for "we're connected!" And that's it—you're done.
While this method is incredibly convenient, it does have a catch. Some internet service providers disable the WPS feature on their routers for security reasons, so this might not be an option for everyone.
Using a Web Browser For More Control
If the WPS button is a no-go or you just prefer to fine-tune things yourself, using a web browser is the most reliable path. This route gives you direct access to the extender’s control panel, letting you customize your network settings.
Start by connecting a laptop or smartphone to the extender's default Wi-Fi network. The name will be something obvious, like "NETGEAR_EXT" or "TP-LINK_Extender." The password is often printed right on a sticker on the extender itself.
Once you’re connected, fire up a web browser. From there, most manufacturers have a specific web address you’ll type in to launch the setup wizard.
-
NETGEAR:
www.mywifiext.net -
TP-Link:
tplinkrepeater.net -
Linksys:
extender.linksys.com
Just follow the on-screen prompts. It'll walk you through picking your home Wi-Fi network and typing in the password. This is also where you get to name your new, extended network.
Pro Tip: I always recommend keeping the extender’s network name (SSID) different from your main router’s, at least to start. Naming it something like "HomeWiFi_EXT" makes it dead simple to confirm which network you're connected to when you start testing its reach and performance.
Leveraging Brand-Specific Mobile Apps
These days, most major brands offer dedicated mobile apps that make the wifi extender setup ridiculously easy. Apps like NETGEAR's Nighthawk or TP-Link's Tether provide a guided, visual walkthrough right from your phone.
The process couldn't be simpler:
- Download the right app for your extender's brand from the iOS App Store or Google Play.
- Create an account or sign in.
- Follow the app's step-by-step instructions to link the extender to your network.
What's great about these apps is that they often pack in extra features, like signal strength meters to help you find the absolute best spot for your extender and tools to see who's connected. It’s the perfect blend of WPS simplicity and web browser control.
No matter which method you choose, a successful connection is just step one. Remember, the performance of your entire network still hinges on a properly configured primary router. If you want to make sure your foundation is solid, you can learn more about how to setup your main router in our detailed guide. Getting that right ensures your new extender can really do its job well.
Finding the Perfect Spot for Peak Performance
Alright, you've finished the initial wifi extender setup. Now comes the part that makes all the difference between a frustratingly slow "boosted" signal and the seamless connection you were hoping for.
A lot of folks understandably place their extender right in the heart of a dead zone. It seems like the logical move, but it’s actually the worst thing you can do.
Think of it this way: an extender needs a good, strong signal from your main router to work its magic. If you stick it where the signal is already gone, it has nothing but a weak, choppy connection to amplify. The result? A boosted signal that’s still painfully slow.
The trick is to find that perfect middle ground, the "sweet spot." You're looking for a spot roughly halfway between your router and the area you're trying to cover. It needs to be close enough to the router to grab a solid signal, but far enough away to effectively push that signal into the dead zone.
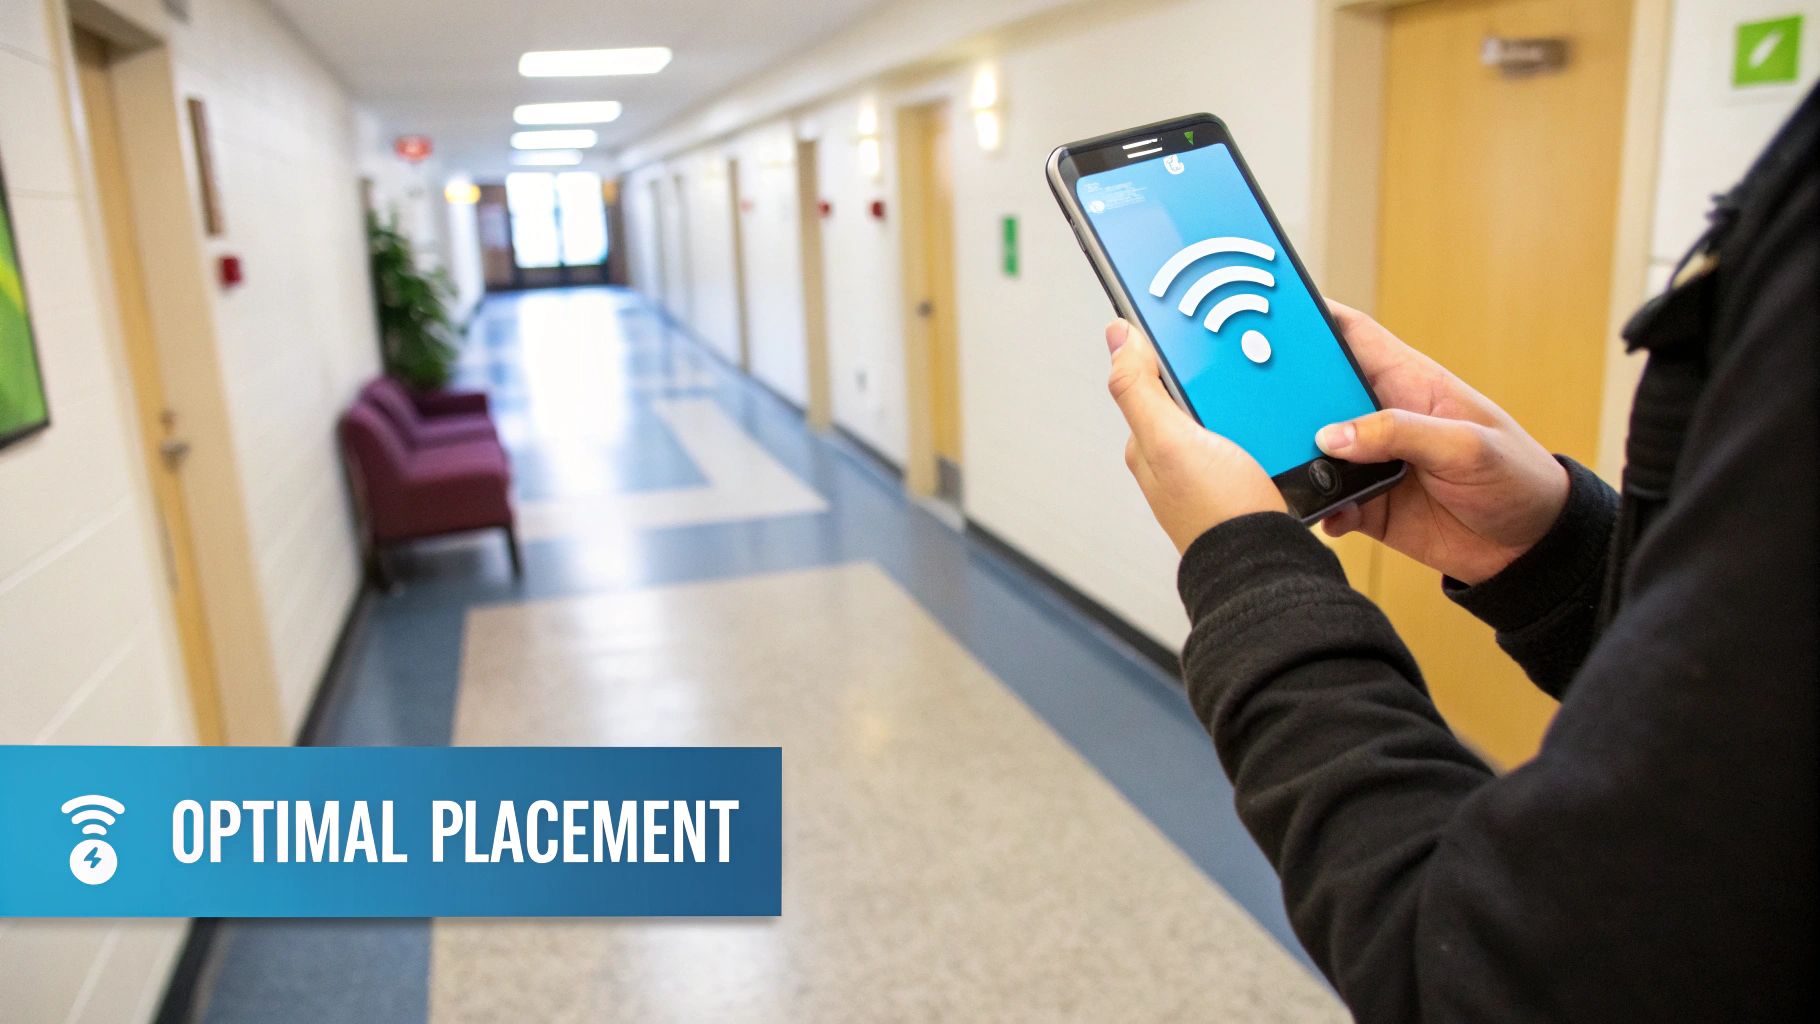
Using Your Phone as a Signal Meter
You don't need any special gear to hunt down this sweet spot. Your smartphone is the perfect tool for the job.
Start at your router and begin walking toward the area with bad Wi-Fi, keeping a close eye on the Wi-Fi bars on your phone.
Your goal is to find a location where you still have at least two or three bars of signal strength. Once you find a place that fits the bill and has a free power outlet, plug in the extender. This quick test ensures your extender is starting with a healthy signal that it can rebroadcast with real power and stability.
I can't stress this enough: an extender can only give what it gets. Placing it in a location where it can receive a strong signal from the router is the single most important factor for getting a fast, reliable extended network.
Avoiding Common Signal Blockers
Even with the perfect placement, everyday household items and even the walls of your home or RV can sabotage your signal. It's crucial to keep your extender away from these common Wi-Fi killers.
Watch out for these classic signal obstructions:
- Large Metal Appliances: Microwaves are notorious signal eaters, but refrigerators and other big metal objects can also block or deflect Wi-Fi waves.
- Thick, Dense Walls: Concrete and brick are Wi-Fi's worst enemies. If you can, try to create a clear line of sight between the router and the extender.
- Water: It might sound strange, but large bodies of water, like a big aquarium, can actually absorb Wi-Fi signals.
- Other Electronics: Cordless phones, baby monitors, and some Bluetooth devices can create interference, especially on the crowded 2.4 GHz frequency band.
By taking a few minutes to pick a spot with a strong incoming signal and clear of major obstructions, you're setting your extender up for success. This little bit of extra attention to placement can be the difference between a spotty connection and a seamless one.
Optimizing and Securing Your Extended Network
Getting your extender online is the first win, but don't stop there. A few quick tweaks can take your connection from "just okay" to impressively solid. This last part of the wifi extender setup is all about fine-tuning performance and locking things down so your network stays safe. It only takes a few minutes, but you'll notice the difference right away.
The first thing to tackle is what to name your new, extended network—its SSID. You've got two schools of thought here, and the best one for you depends on how you want to use your connection.
To Match or Not to Match Your SSID
Using the exact same SSID and password as your main router is the simplest approach. It lets your phone, laptop, or tablet automatically jump between the router and the extender as you wander around. It's designed to feel like one big, seamless network.
But here's a real-world catch: devices can sometimes be a little stubborn. They might cling to a weak signal from the router even when the extender is offering a much stronger one right next to them. If you give your extender its own unique name—something like "RV-WiFi_EXT"—you take back control. You can manually tell your device to connect to the extender, guaranteeing you're always on the strongest signal in that part of your space.
Critical Security Adjustments
An open network is like leaving your front door unlocked. Once you're connected, there are two security steps you absolutely cannot skip. They're non-negotiable for protecting your personal information.
- Update the Firmware: Think of firmware as the brain of your extender. Manufacturers are always pushing out updates to patch security vulnerabilities, squash bugs, and even improve speed. The very first thing you should do is log into the extender's settings and check for a firmware update.
- Change the Default Password: Every extender ships with a generic admin password, usually something obvious like "admin" or "password." A hacker could guess that in seconds. Log in immediately and change it to something strong and unique that only you know.
Your extender is a doorway into your home network. Taking a few moments to update its firmware and change the default admin credentials is the most important thing you can do to keep that door locked.
The demand for better connectivity in more places is driving a huge market. The Wi-Fi range extender market is expected to be worth $2.91 billion in 2025 and is projected to jump to $4.99 billion by 2030. A lot of that growth is happening in outdoor settings, exactly like campgrounds and rural properties. You can see more data on the expanding Wi-Fi extender market at Mordor Intelligence. Taking these simple steps ensures your gear is secure and ready to perform.
Common Questions About WiFi Extender Setup
Even the most straightforward WiFi extender setup can raise a few questions. Let's walk through some of the most common ones I hear, so you can get the absolute best performance out of your newly expanded network.
Getting these details right can clear up a lot of confusion and save you from some common headaches down the road.
Will a Wi-Fi Extender Slow Down My Internet Speed?
This is probably the number one question I get. And technically, the answer is yes, an extender can reduce the maximum speed for any device connected to it.
Here’s why: Most extenders have to receive data from your router and then re-broadcast it using the same radio channels. That process effectively cuts the available bandwidth in half.
But here’s the real-world takeaway: A stable, reliable signal at 50% of your top speed is infinitely better than a frustrating, constantly dropping signal that’s barely usable. For things like streaming video or just browsing the web, that improved stability will feel much faster and smoother than the weak connection you were fighting with before.
Can I Use Two Wi-Fi Extenders at the Same Time?
While you can plug in multiple extenders, it's almost never a good idea to "daisy chain" them by connecting one extender to another. This setup absolutely kills your signal with each hop, cranking up the lag and slowing speeds to a crawl.
If you need to cover more ground, a much better approach is to place multiple extenders in different spots, making sure each one connects directly back to your main router. For really large homes or complex layouts, you’re much better off investing in a mesh Wi-Fi system. Their nodes are specifically designed to work together without wrecking your performance.
The best way to know if your extender is working is to just test it out. Connect your phone or laptop to its new network while you're standing in your old dead zone. If you can stream a YouTube video and browse a few websites without any buffering, it’s doing its job perfectly.
Should I Use the Same Network Name as My Router?
This one really comes down to convenience versus control.
Using the same network name (also called an SSID) and password creates what looks like a single, seamless network. This is great because your devices can automatically switch between the router and the extender as you move around.
The catch? Devices can be stubborn. Sometimes they'll cling to the weaker signal long after they should have switched. By giving the extender its own distinct name—something like "HomeNetwork_EXT"—you get full manual control. This lets you decide which network to connect to, guaranteeing you’re always on the strongest possible signal for your exact location.
Ready to eliminate dead zones for good? SwiftNet Wifi offers high-speed 5G internet solutions perfect for rural homes and life on the road, ensuring you stay connected wherever your adventures take you. Explore our plans and get the reliable internet you deserve.
#rv #rvlife #rvliving #rvlifestyle #rvrenovation #rvremodel
#rvtravel #rvcamping #rvadventures #ruralwifi #5gwifi
#5ginternet


