

Alright, let's get you set up. The key to a successful, tear-free router installation is having all your ducks in a row before you even think about plugging anything in. It's a bit like a pre-flight checklist for your internet—a few minutes of prep now will save you a world of frustration later.
Gathering Your Gear for a Smooth Setup
Before diving in, let's take a quick inventory. A stable internet connection, especially in an RV or out in the country, depends just as much on the quality of your gear as it does on the SwiftNet service itself. We're not just talking about having a router; we need the right router and all its essential companions.
The star of the show, of course, is your wireless router. This is the little box that will broadcast the Wi-Fi signal for all your gadgets—laptops, phones, smart TVs, you name it. But it can't do the job alone. It needs a few critical accessories to get up and running.
Your Router Setup Checklist
I've put together a quick table to help you round up everything you'll need. Think of this as your mission briefing before you start connecting cables.
| Item | What It Does | Pro Tip |
|---|---|---|
| Wireless Router | Creates your personal Wi-Fi network for all your devices to connect to. | Place it in a central, open area for the best signal coverage. Avoid closets or cabinets. |
| Power Adapter | Supplies the correct voltage to safely power your router. | Always use the adapter that came with your router. A different one can cause damage. |
| Ethernet Cable | Physically connects your router to the SwiftNet modem or antenna. | Use the new cable from the box. An old, bent cable can be a secret source of slow speeds. |
Having these three items ready and in good shape is the foundation of a solid home or RV network.
Powering Your Connection
A quick but important note on power. For those of us in RVs or in areas with occasional power outages, keeping that router online is crucial. If your grid power isn't always a sure thing, it's worth looking into a backup power source. Learning how a home generator works can give you some great ideas for keeping your internet—and everything else—running no matter what.
My Two Cents: I can't tell you how many times a connectivity issue has boiled down to a sketchy, frayed Ethernet cable someone pulled from a junk drawer. It's the simplest thing to overlook. If you're facing connection drops, swapping out that cable is one of the first things I'd try. Use a new one from the start and save yourself the potential headache.
With all your hardware accounted for, you've laid the groundwork for a stable, dependable network. Now, we can move on to the fun part: getting it all connected.
Making the Right Physical Connections
Okay, with all your gear unboxed, it's time to hook everything up and create the physical backbone of your network. This part is about more than just plugging in cables. It’s about building a stable foundation that keeps you from pulling your hair out over connection problems later, especially if you’re in an RV where things tend to get jostled around.
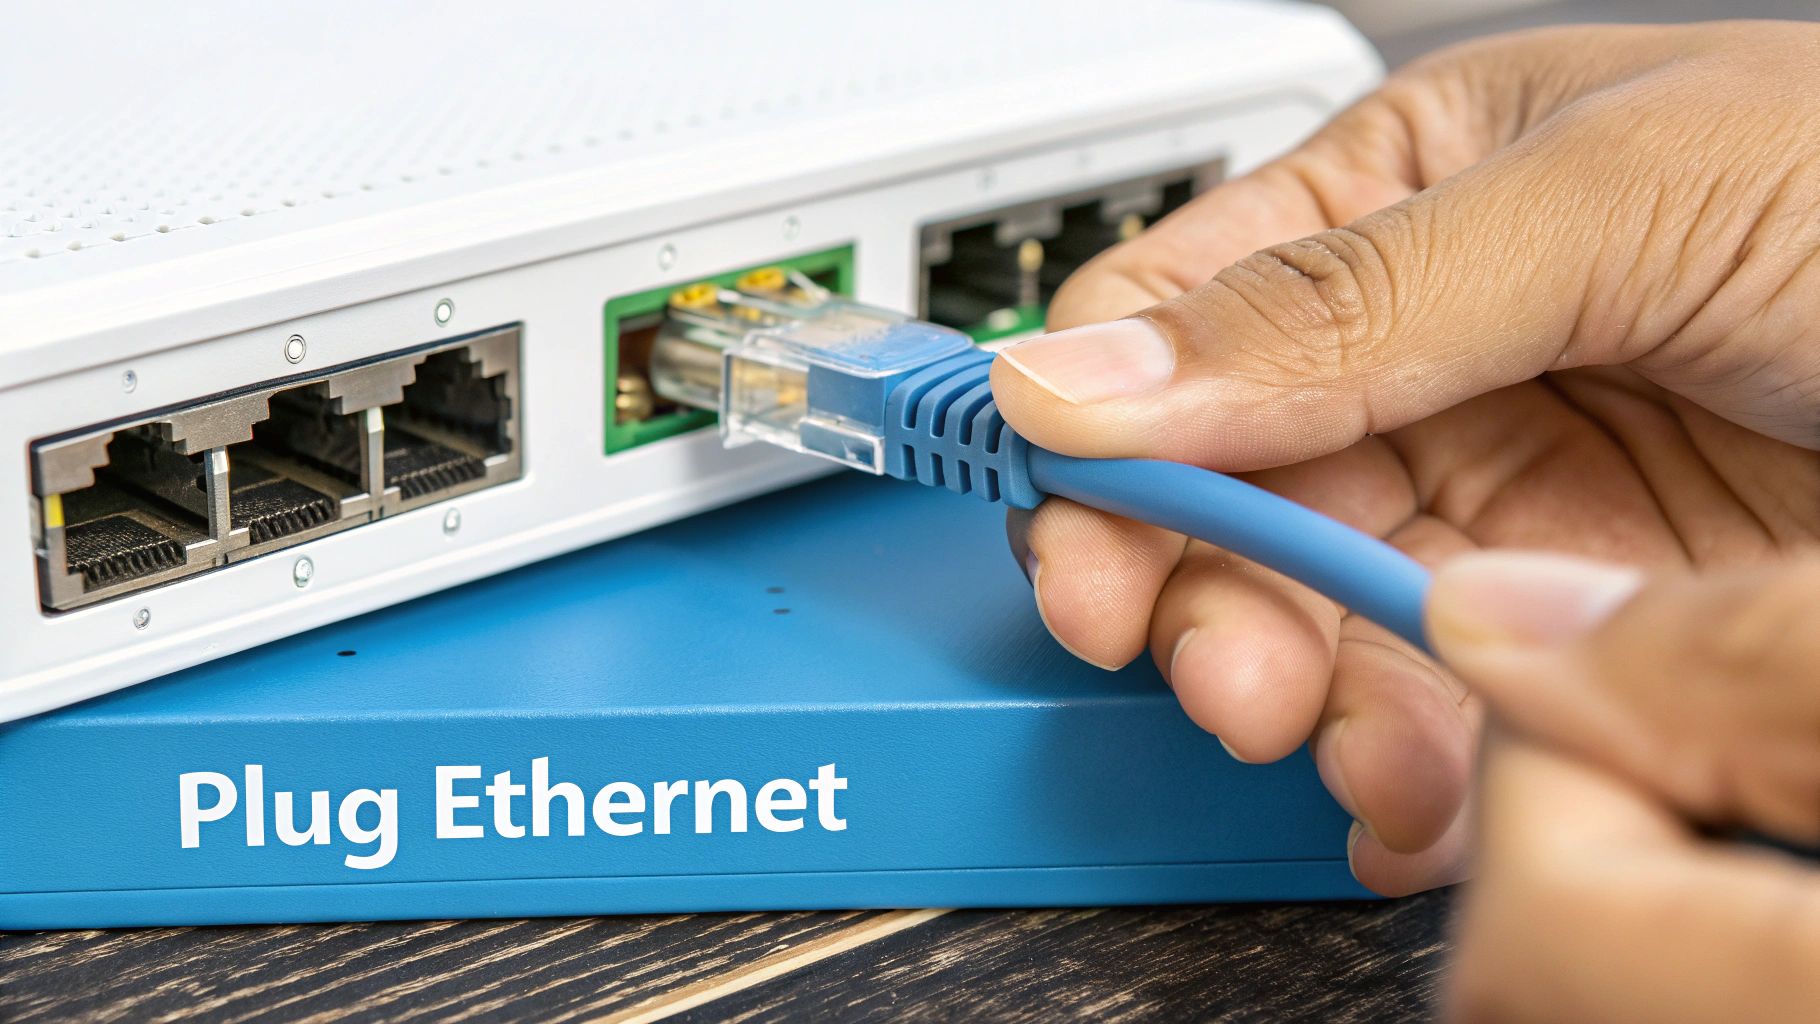
The first, and most important, connection is between your SwiftNet modem (or antenna) and your router. Grab that new Ethernet cable you just took out of the box.
- Plug one end into the WAN (Wide Area Network) port on your router.
- You can't miss it—this port is usually a different color, often blue or yellow. It's specifically designed to bring the internet signal into the router.
Be careful not to plug it into a LAN port by mistake. It simply won't work, and it's a super common error that trips people up.
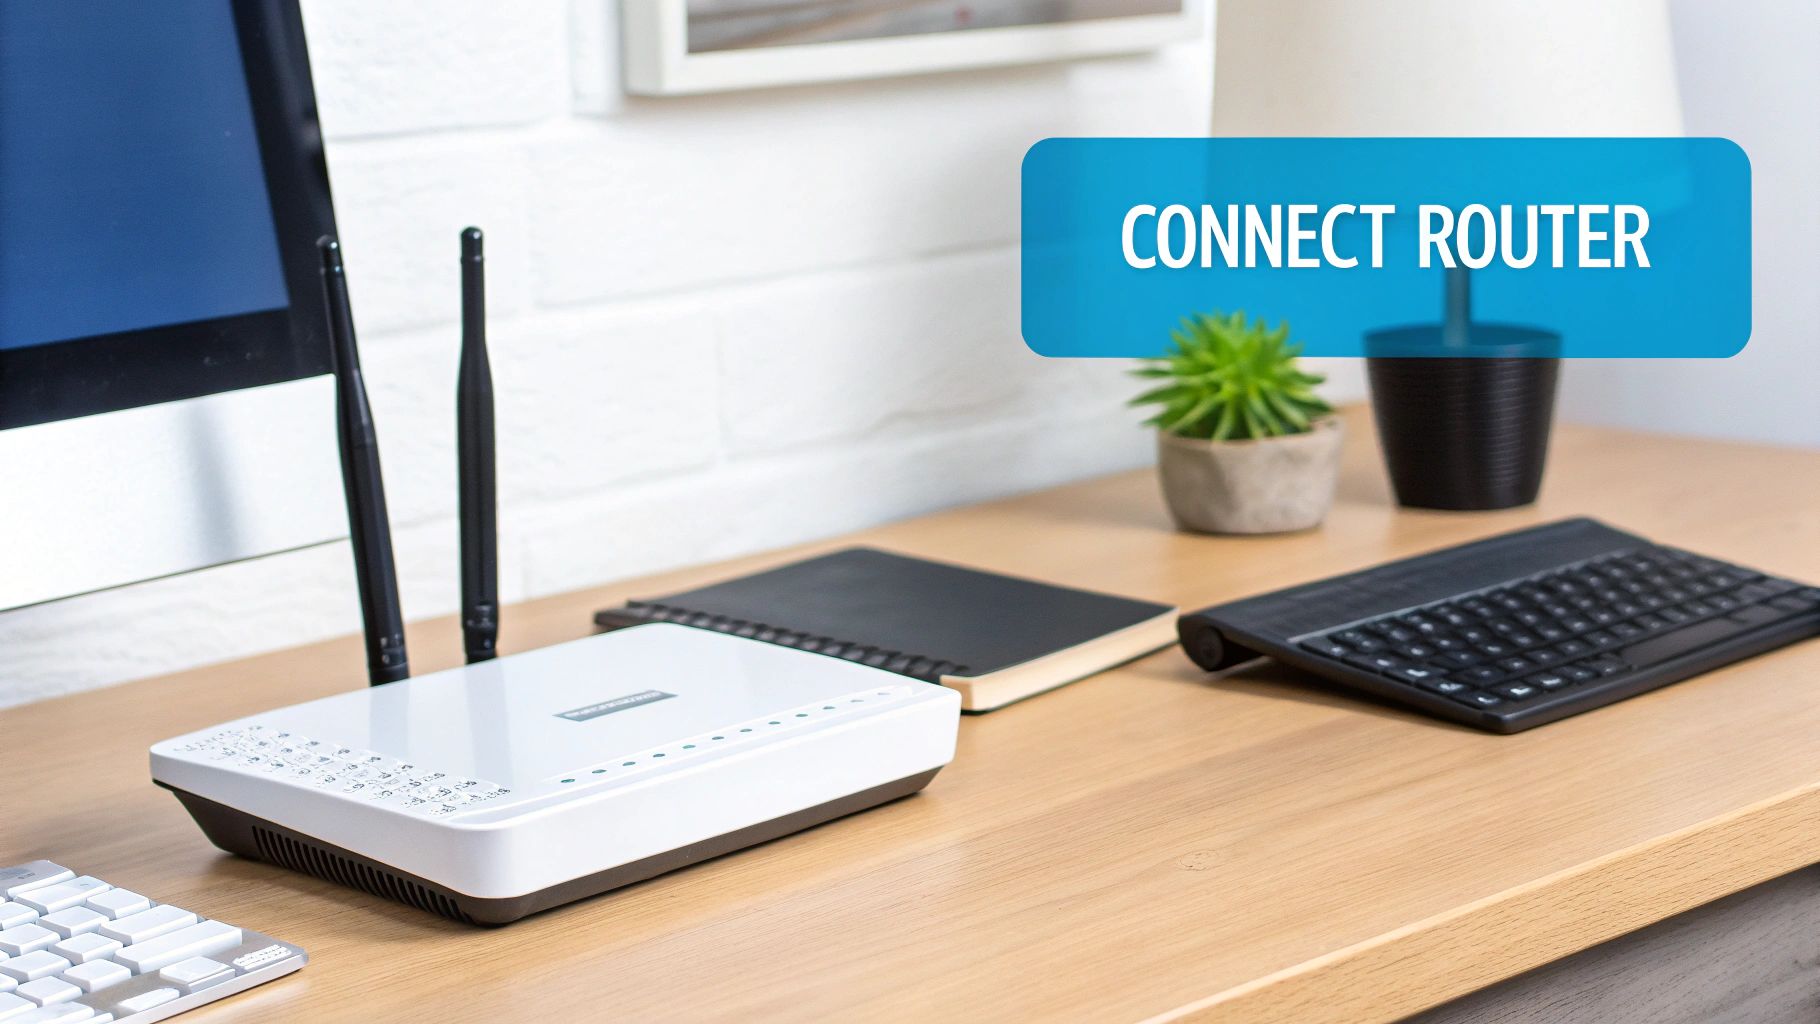
This image gives you a quick visual of getting the router out and ready for the real work.

Think of this as the prep phase—making sure all your components are identified and your space is ready before you start connecting everything.
The Correct Power-Up Sequence
Once the Ethernet cable is securely clicked into place, you can grab the power adapters. Now, here’s a pro tip that will save you a world of frustration: power up your modem first.
Following this order helps prevent those annoying "handshake" errors where the two devices just refuse to talk to each other properly.
- Plug in your SwiftNet modem and give it a minute or two. You're waiting for its lights to go solid and stop blinking.
- Only after the modem is stable should you plug in your router's power adapter.
This sequence gives the modem enough time to establish a solid connection to the network before the router jumps in and asks for access. It makes for a much smoother, faster startup. If this is all new to you, our guide on how to hook up a modem has some extra details that might help.
Your router’s placement is just as important as how it's connected. Try to put it in a central, elevated spot away from big metal surfaces, appliances like microwaves, and exterior walls. This one simple trick can make a massive difference in your Wi-Fi signal strength throughout your RV or home.
It's no surprise that getting this right is so important. The global router market hit about $42 billion in 2023 and is expected to climb to $75 billion by 2032, all thanks to the explosion of smart devices demanding a rock-solid connection.
Navigating Your Router’s Admin Panel
So, you’ve got all the cables plugged in and the lights are glowing green. Now it’s time to jump into the software side of things by logging into your router’s admin panel. It might sound a bit technical, but once you spot the right address, it’s surprisingly simple.
Every router comes with a little sticker—usually on the bottom or back—that lists the Default Gateway or Router Login. It often looks like a string of numbers (for example, 192.168.0.1). Keep an eye out for that—it’s your ticket into the settings.
Initial Configuration Essentials
Point your browser at the gateway address and enter the printed username and password. Once you’re in, make these three changes before moving on:
-
Rename Your Wi-Fi Network (SSID)
Pick something you’ll recognize—nothing generic like “Linksys” or “NETGEAR.” A unique SSID helps you zero in on your own network when you’re surrounded by others in an RV park. -
Create a Strong Wi-Fi Password
Mix uppercase, lowercase, numbers, and symbols. Always choose the highest security protocol your router offers—most newer models support WPA3, which gives you the strongest encryption. -
Change the Default Admin Password
Every router ships with the same factory admin password for its model. Swapping it out immediately prevents anyone else from waltzing into your settings.
Leaving default admin credentials in place is like leaving your front door unlocked—anyone can walk right in.
Why These Settings Matter
Spending a few minutes on these tweaks pays dividends down the road. A custom SSID and solid password not only keep freeloaders off your bandwidth but also shield your personal files and devices. In crowded campgrounds, every bit of security counts—your connection stays yours alone.
With the admin panel locked down and your Wi-Fi personalized, your SwiftNet Wifi setup is now both stable and secure. Next up: fine-tuning signal strength throughout your rig.
Optimizing Your Wifi for Peak Performance
Alright, your router is connected and you've got a signal. That's a huge win, but now it's time to fine-tune it for the best possible experience. This is where you go from just having Wi-Fi to having great Wi-Fi—which is a total game-changer when you’re relying on it for work or trying to stream your favorite show after a long day of travel.
One of the quickest and most effective tweaks you can make is changing your Wi-Fi channel. Think of Wi-Fi channels like lanes on a highway. If everyone in the RV park is trying to use the same lane (channel), traffic immediately grinds to a halt. By jumping into your router’s settings and switching to a less congested channel, you can often sidestep that interference and see an instant speed boost.
Choosing Between 2.4 GHz and 5 GHz
Most modern routers broadcast two separate networks, and knowing which one to use for which device can make a surprisingly big difference.
- The 2.4 GHz Band: This is your long-range specialist. It's much better at penetrating solid objects like the walls of your RV or cabin. It’s the perfect choice for your phone, smart home gadgets, or that laptop you’re using on the picnic table outside.
- The 5 GHz Band: This one is the speed demon. It delivers much faster performance but over a shorter distance. You’ll want to connect your streaming stick, gaming console, or work computer to this band when they're close to the router for the absolute best performance.
Strategically assigning your devices to the right band is a core part of optimizing your network. If you’re looking for more ideas on improving your signal's reach, our guide on how to extend your Wifi range has some excellent, practical tips.
Keep Your Firmware Fresh: Your router’s firmware is its brain. Manufacturers are constantly releasing updates that patch security holes, squash bugs, and often improve performance. Make it a habit to check for a new firmware version in your admin panel every few months. It's a five-minute task that keeps your network secure and running smoothly.
The demand for high-performing home networks has absolutely exploded, especially with the rise of remote work and e-learning. In fact, the home Wi-Fi router market is projected to grow by $3.34 billion between 2025 and 2029. To keep up, companies are even starting to integrate AI to automatically manage network traffic and security. You can discover more insights about this market transformation and how AI is shaping it here.
Solving Common Connection Problems
Sooner or later, even with the slickest setup, you’re going to hit a bump in the road. It happens to everyone. But before you get frustrated, know that most of these connection issues are pretty common and, thankfully, often have a simple fix.
Ever see that classic "Wi-Fi but no internet" message? It’s a perfect example. Your first instinct might be to think the service is down, but that's rarely the case. More often than not, it's just a simple communication breakdown between your modem and router.
The very first thing to try—and what works a surprising amount of the time—is a proper power cycle. Unplug both your SwiftNet modem and your router from the wall outlet. Go grab a drink, check your email on your phone, whatever—just wait a full 60 seconds. Then, plug the modem back in first. Give it a minute or two for its lights to go solid, showing it’s reconnected, then plug in your router. This simple reset clears up a massive percentage of connection headaches.
What Your Router Lights Are Trying to Tell You
Those blinking lights on your router aren't just for show; they're speaking a language. Once you know what they mean, you can diagnose problems in a flash. While the specifics can vary a bit between brands, they generally follow a common pattern:
- Solid Green or Blue: All systems go. You have a good, stable connection.
- Blinking Green or Blue: This is perfectly normal. It just means data is flowing back and forth.
- Solid Orange or Amber: Uh-oh. This usually points to a problem connecting to the internet itself.
- No Light at All: The device is either off or isn't getting a signal. Check that power cord!
If you're dealing with slow speeds that a restart just can't seem to fix, there might be something else going on. For a more detailed look, head over to our complete guide on slow internet troubleshooting.
Keeping Your Mobile Network Safe and Sound
Getting your router fired up and connected is a great first step, but the real magic is in the long-term management. This is what keeps your digital life humming along smoothly while you're on the move. A connected RV is a smart RV, after all, but it absolutely needs to be a secure one.
Thankfully, this just means taking a few simple, proactive steps to control who's on your network and what they can do once they're there.
Create a Welcome Mat for Visitors
One of the handiest tools in your router's arsenal is the guest network. Think of it as a separate, walled-off internet connection just for visitors. Most modern routers let you create a second Wi-Fi network that has its own unique name and password.
When friends, family, or campground neighbors pop over, they can jump on this network without ever getting a peek at your primary devices. That means your laptop with personal files and any smart RV controls stay completely private and secure.
Prioritize What Matters Most Online
Another feature that's a real game-changer is Quality of Service (QoS). This awesome setting lets you play traffic cop with your internet connection, telling your router which online activities should get priority.
For instance, you can tell it that your important work video conference is the top dog, making sure it gets all the bandwidth it needs, even if someone else is trying to download a massive game update in the background. It puts you in the driver's seat.
With QoS, you can say goodbye to frustrating lag or buffering during those can't-miss moments. You're essentially creating a VIP lane for your most critical connections.
Taking the time to set up these features does more than just boost security. It’s about making sure your internet connection is reliable, fast, and shaped to fit exactly how you live and travel.
Answering Your Top Router Questions
Even with a smooth setup, a few questions always seem to pop up. We get it. So, we’ve put together the most common ones we hear from our RV and rural customers to give you quick, clear answers pulled from our own real-world experience.
Can I Use Just Any Router with SwiftNet Wifi?
Pretty much, yes! Almost any modern router you can buy today will work just fine with our service.
The only real requirement is that it needs a standard WAN (or "Internet") port to plug into our equipment. If you’re in an RV with a bunch of smart TVs, laptops, and phones all trying to connect, we'd suggest looking at a router that supports the newer Wi-Fi 6 standard. It’s just built to handle that kind of digital traffic jam much more efficiently.
What's the Real Difference Between 2.4 GHz and 5 GHz?
Think of it as a trade-off between range and speed. It’s like choosing between a marathon runner and a sprinter.
The 2.4 GHz band is your marathon runner—it has a longer reach, which is great for pushing a signal through the walls of your RV or to devices farther away. The 5 GHz band is the sprinter—it's way faster but doesn't have the same endurance, so its range is shorter.
Pro Tip: My advice is to connect your most demanding devices, like a smart TV for streaming or your work laptop, to the 5 GHz band when they're close to the router. For everything else that doesn't need blazing speed, like your phone or smart speakers, the 2.4 GHz band is perfect.
How Often Should I Really Restart My Router?
Making it a habit to power cycle your modem and router about once a month is a fantastic idea. It's the simplest way to clear out any little software glitches or memory leaks that can build up and bog down your connection over time.
Honestly, if your internet ever feels sluggish or drops unexpectedly, this should be the very first thing you try. Just unplug the modem, give it 30 seconds, and plug it back in. Wait for its lights to settle down, and then do the exact same thing for your router. Nine times out of ten, that'll fix it.
Ready for a connection that actually keeps up with your life on the road? SwiftNet Wifi delivers reliable, high-speed 5G internet designed specifically for RVers and rural homes. Get connected today!
#rv #rvlife #rvliving #rvlifestyle #rvrenovation #rvremodel
#rvtravel #rvcamping #rvadventures #ruralwifi #5gwifi
#5ginternet


