

Alright, the first hurdle to getting great WiFi is the physical setup. It's more than just plugging things in—where you put your router can make or break your signal strength and coverage, especially in an RV or a spread-out rural home.
Your First Steps to a Powerful Home Network
Before we get into the nitty-gritty of software and settings, let's nail down the basics. A lot of folks use "WiFi" and "Internet" as if they're the same thing, but they're not. Taking a moment to understand the real difference in WiFi and Internet will give you a much better handle on managing your network.
Getting this initial setup right is your ticket to a smooth digital life, whether you're working from the road or streaming a movie night at home. And you're not alone in needing a rock-solid connection; the demand for reliable home networks has exploded.
The global wireless router market hit an estimated USD 15.15 billion in 2024 and is projected to reach USD 38.10 billion by 2033. This boom is all thanks to the explosion of connected devices and the massive shift to remote work and online learning.
This just goes to show how central a well-placed, properly configured router is to modern life.
Finding the Perfect Spot
I can't stress this enough: where you place your router matters. A lot. The goal is simple: put it in a central spot, get it up off the floor, and keep it clear of things that block its signal, like thick walls or big metal appliances.
Think of your router's signal like the sound from a speaker. You want it to travel as freely as possible in every direction to cover the most area.
Some of the most common signal-killers I've seen are:
- Microwave ovens (especially when they're running!)
- Concrete, brick, or stone walls
- Big fish tanks (water is surprisingly good at absorbing WiFi signals)
- Other electronics, like older cordless phones or even Bluetooth speakers
Just by avoiding these interference sources, you can give your network a serious performance boost right from the start.
To make it even simpler, I've put together a quick cheat sheet for finding that perfect router location.
Router Placement Quick Guide
Here’s a quick rundown of the dos and don'ts for router placement to help you get the strongest, most reliable signal possible.
| Do Place It Here | Don't Place It Here |
|---|---|
| In a central location in your home or RV. | In a corner, basement, or closet. |
| Elevated, like on a bookshelf or table. | On the floor. |
| In an open space, away from walls. | Next to a microwave or other electronics. |
| Away from large metal objects like filing cabinets. | Behind a large TV or aquarium. |
| Near where you use WiFi the most. | Near thick concrete, brick, or stone walls. |
Following these simple guidelines can make a world of difference in your day-to-day internet experience, ensuring you get a stable connection for all your devices.
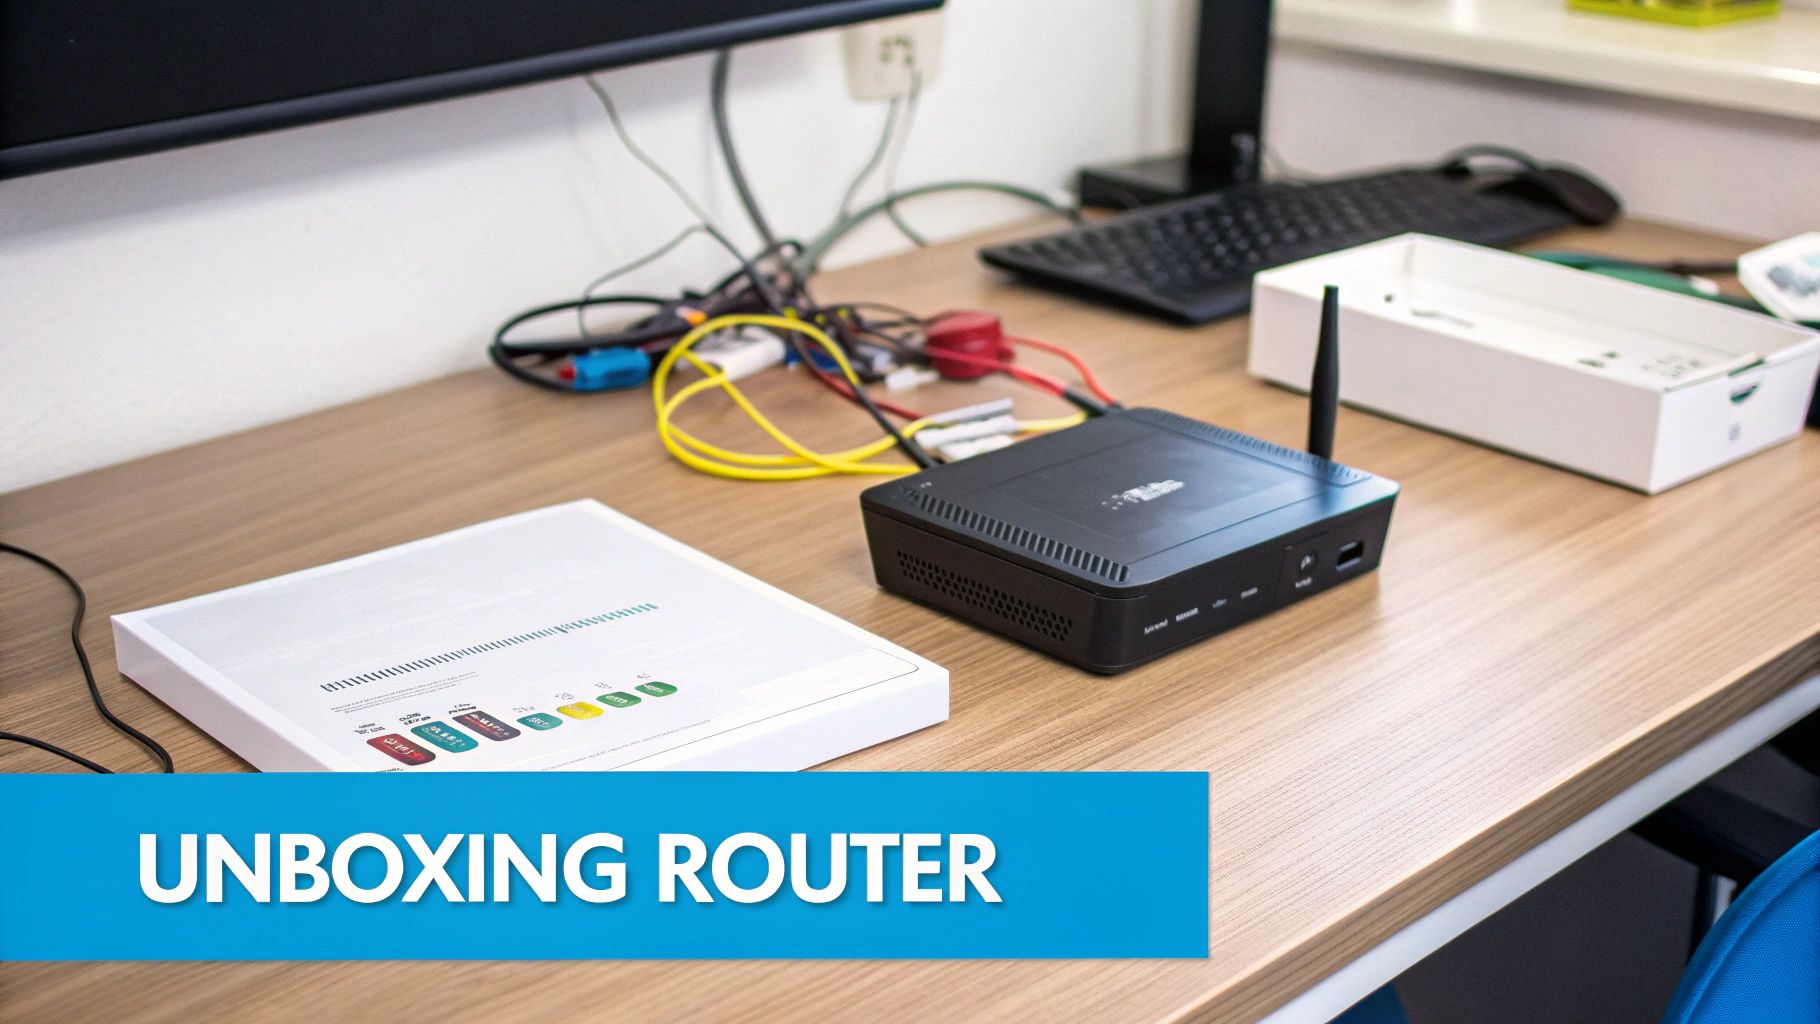
Making the Right Physical Connections
Okay, with your router in the perfect spot, it's time to actually plug things in. This part is super important because getting the physical connections right from the start is the foundation for a stable, happy network. Trust me, a few seconds here saves a lot of headaches later.
First up, grab the Ethernet cable that came in the box. One end plugs into the single WAN (Wide Area Network) or "Internet" port on your router. It's almost always a different color from the other ports to make it easy to spot. The other end of that cable goes straight into the Ethernet port on your modem. If you need a bit more detail on that part of the setup, we've got a full guide on how to connect a modem.
With the data cable sorted, now connect the power adapter to the router and plug it into a nearby outlet. This visual breaks down the simple sequence for you.
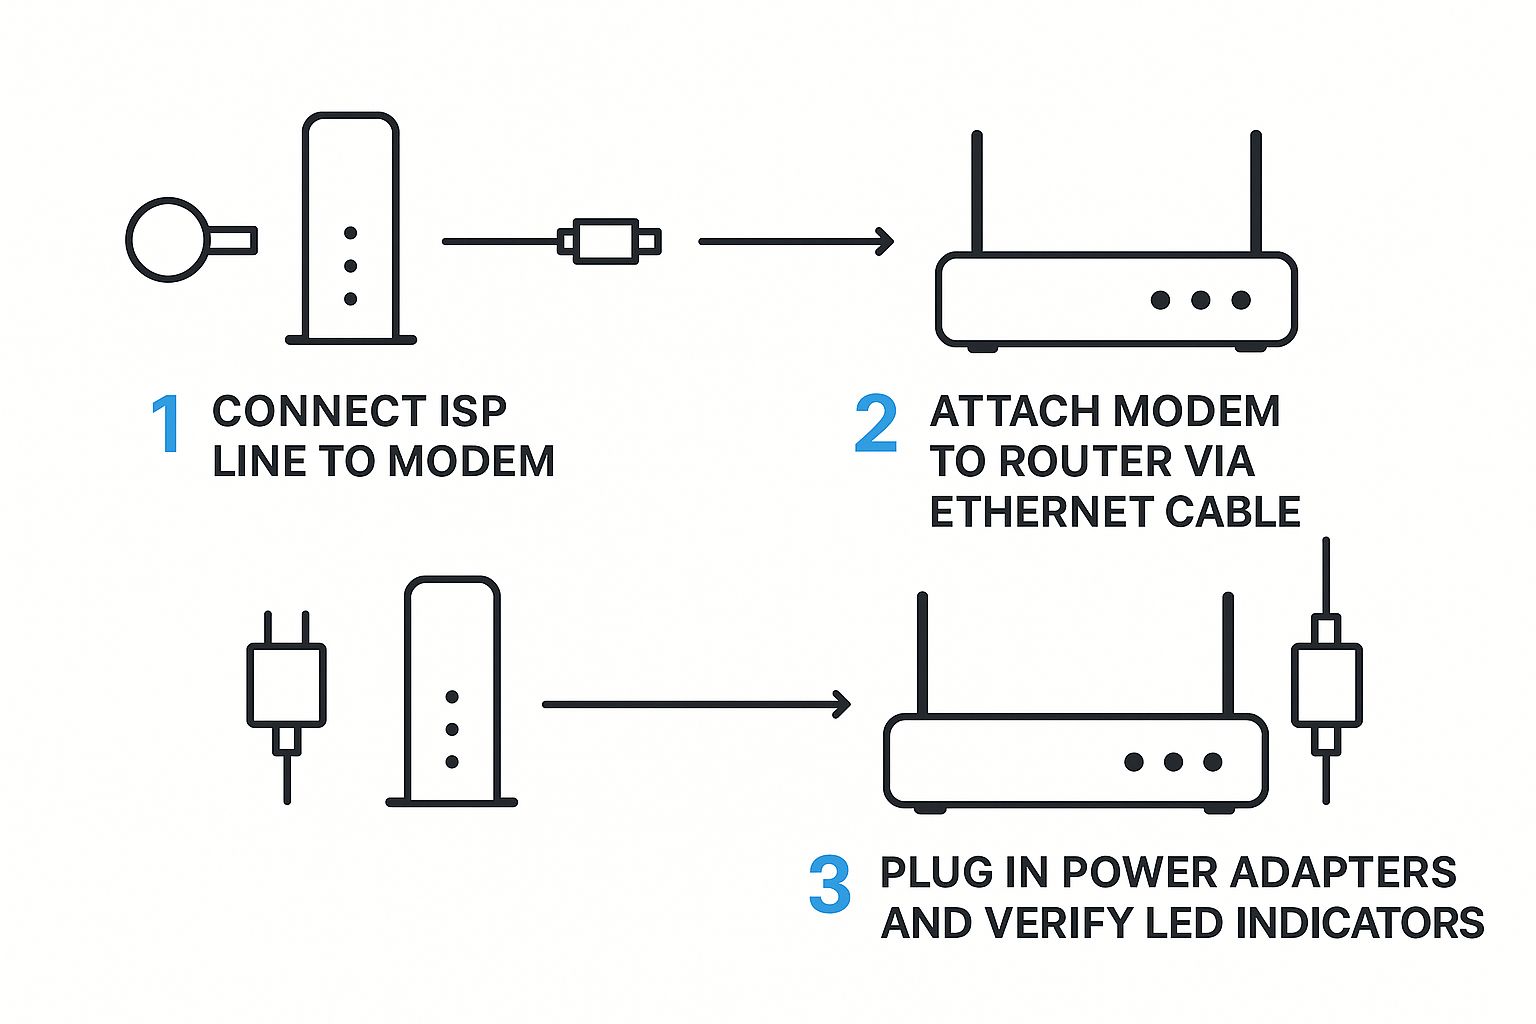
As you can see, it's a simple flow: your internet service comes into the modem, the modem talks to the router, and then everything gets power. Once that's done, you're ready for the magic moment.
Reading the Router Lights
After you plug it in, your router will start its boot-up sequence, and you'll see a little light show. Don't just ignore these blinking lights! They're the first, and easiest, way to know if you've hooked everything up correctly.
What you're looking for is a solid power light and a blinking light for the internet or WAN port. A solid power light means it's on, and the blinking internet light tells you it's successfully talking to the modem.
If that internet light is totally off or glowing an angry red or orange, it’s a sign to go back and double-check that your Ethernet cables are plugged in snugly at both ends.
Getting this simple visual confirmation now is key. It ensures your physical setup is solid before you dive into the software side of things, preventing that frustrating "why isn't this working?!" moment down the line.
Accessing Your Router's Admin Panel

Alright, your router is plugged in and the lights are blinking. Now it’s time to jump into the driver's seat. We need to get into its web-based admin panel—think of it as the router’s command center, where all the important settings live.
First things first, you have to connect a computer directly to the router. My strong recommendation is to use an Ethernet cable for this initial setup. It’s a direct, stable link that just makes things easier. Plug one end into any of the available LAN ports on the back of the router and the other end into your computer. Simple as that.
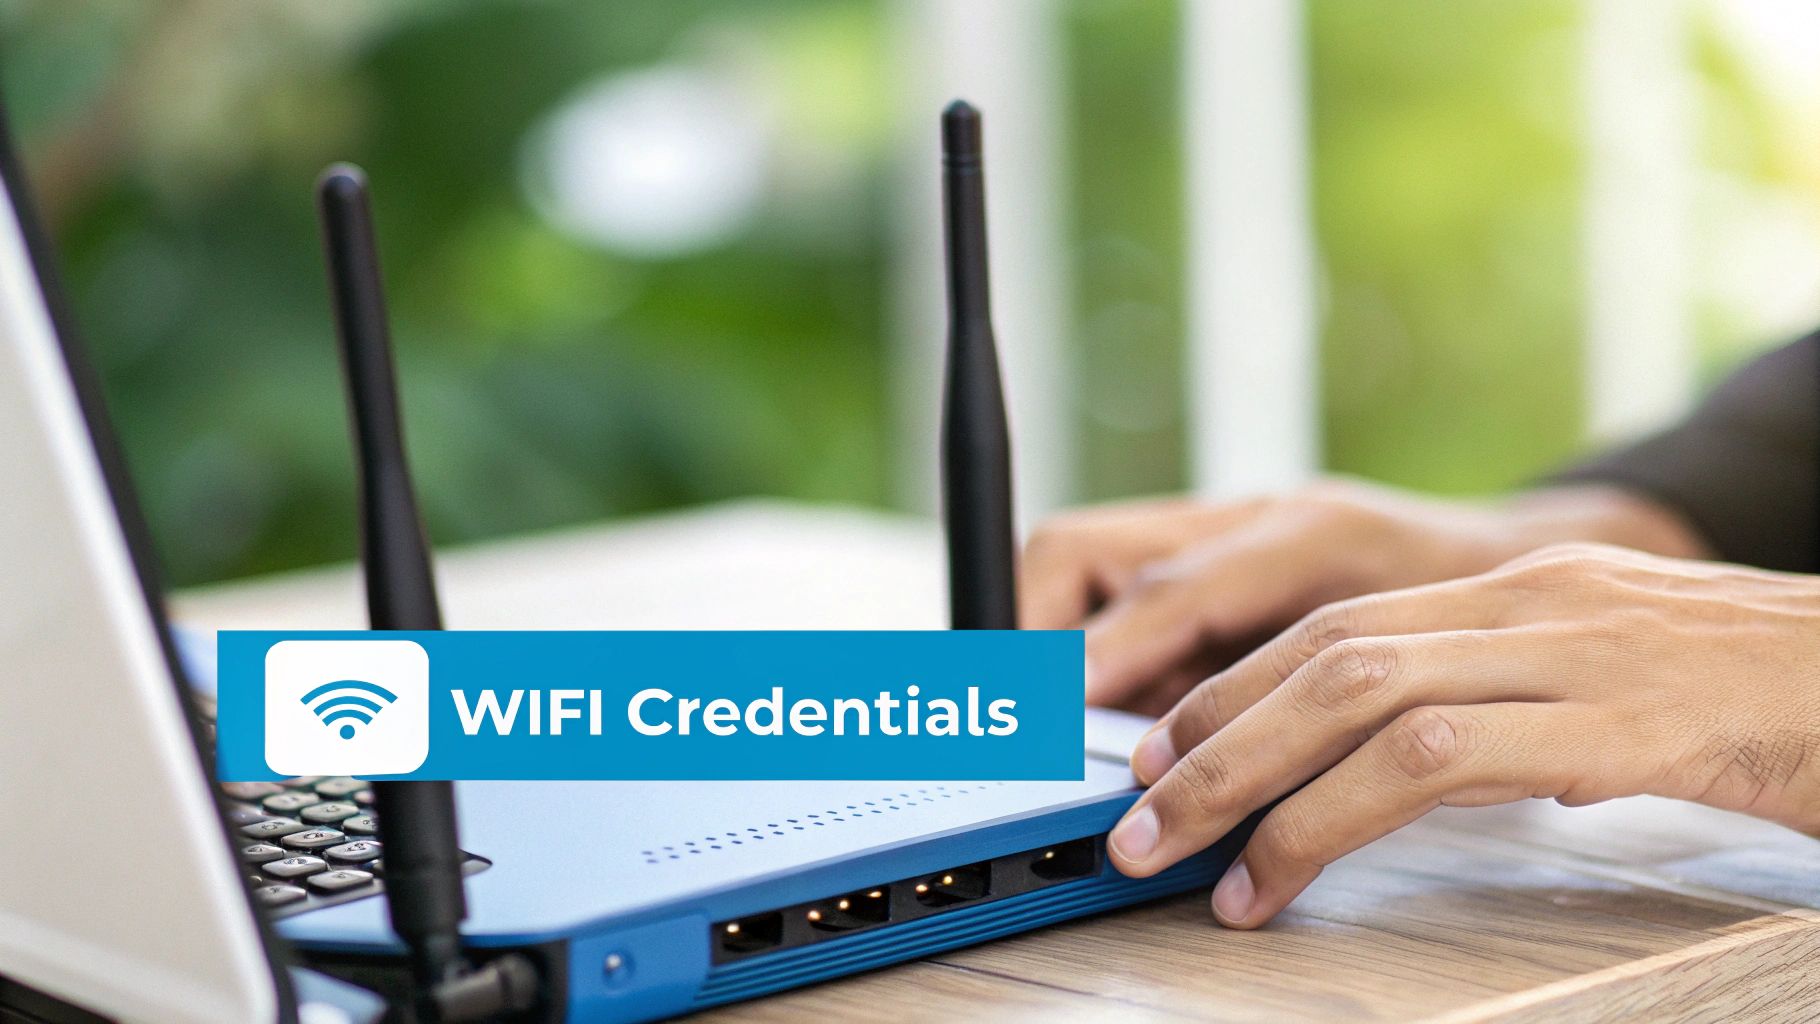
If you can't go the wired route, connecting wirelessly is also an option. Flip the router over and look for a sticker. It will have the default WiFi network name (that's the SSID) and password. Just connect to that network like you would any other.
Finding Your Router's Login Details
Okay, you're connected. Now it's time to log in. Every router has a specific web address, which is usually its IP address, that takes you to the admin panel. Most of the time, this will be 192.168.1.1 or 192.168.0.1.
You can find this exact address, along with the default username and password (it's often "admin" for both), printed on that same sticker on the bottom of your router.
Open up a web browser on the computer you connected and type that IP address directly into the address bar. Hit Enter. You should see a login screen pop up, asking for the username and password you just found.
It's this kind of easy setup that's making reliable home internet so essential, especially with the boom in e-learning and remote work. In fact, the home Wi-Fi router market is expected to grow by USD 3.34 billion between 2025 and 2029. Taking a few minutes to access and properly configure your router ensures you're getting the most out of these powerful little devices. You can read more about this trend in the full market analysis.
Pro Tip: If the default login details don’t work, it probably means someone has already changed them. The easiest fix is to do a factory reset on the router. This will wipe any custom settings and restore the original login info, giving you a fresh start.
Setting Your WiFi Name and Password
Using the default network settings on your router is a bit like leaving the keys in your front door with a sign that says "come on in." It’s an open invitation for trouble and screams to anyone nearby that your network might be an easy target. Let's lock that door by changing two critical settings: your WiFi name and its password.
The default network name, often called the SSID (Service Set Identifier), usually gives away the router brand, with names like "SwiftNet_2G_Setup" or "ASUS_5G". This is the first piece of information a potential snooper needs. Knowing the make and model of your router makes it way easier for them to look up known weaknesses and try to exploit them. A simple name change is your first line of defense.
Crafting a Secure WiFi Name
When you're picking a new name, the goal is anonymity. You absolutely want to avoid anything that points back to you—don't use your name, your address, or even the model of your RV.
Get a little creative here. A fun, impersonal name like "TheWanderingSignal" or "PrairieLink" is easy for you to remember and spot in a list of networks, but it tells a stranger nothing about who you are.
The ideal SSID is:
- Unique so you can easily pick it out from the dozens of other networks at a busy campground.
- Anonymous and gives away zero personal details.
- Simple enough that you can type it into a new device without second-guessing the spelling.
Once you’ve landed on a name, it’s time for the most important part: creating a rock-solid password.
Your network password is the single most important barrier protecting your digital life. A weak one can be cracked in minutes, exposing everything from your browsing habits to your banking details.
The strength of your password is also tied to the security protocol you use. Dig into your router’s settings, and you'll see a few encryption options. We'll break down the most common ones below.
WiFi Security Protocol Comparison
Here’s a quick breakdown of common WiFi security types to help you choose the most secure option available on your router.
| Protocol | Security Level | Best For |
|---|---|---|
| WPA3 | Excellent | The most current and secure standard. Always choose this if it's an option. |
| WPA2-AES | Good | Still a very strong and widely used protocol. A solid second choice. |
| WPA/WPA2-TKIP | Fair | A mixed-mode option for older devices. Use only if you have to. |
| WEP | Very Poor | Outdated and easily cracked. Never use this. |
Always, always choose WPA3 if your router and devices support it. It’s the latest standard for a reason. If that’s not an option, WPA2-AES is your next-best bet and is still considered very secure. You should absolutely avoid the older, vulnerable options like WEP or the original WPA.
Finally, create a password that is at least 12-16 characters long. Make sure it’s a random mix of uppercase letters, lowercase letters, numbers, and symbols. A strong password, paired with a unique SSID and modern encryption, creates a secure foundation for your network—something you definitely want, whether you're parked in a remote field or a bustling RV park.
Optimizing Your Router for Peak Performance
Getting your WiFi name and password set is a huge step, but don't stop there. A basic setup gets you online, sure, but a few more tweaks can drastically improve your network's speed, stability, and security.
Think of it as fine-tuning an engine—it’s already running, but now we’re making it purr.
One of the most important yet overlooked tasks is updating your router's firmware. This is the software that runs your router, and manufacturers regularly release updates to patch security holes, fix bugs, and sometimes even add new features. Keeping it current is your best defense against emerging online threats.
Another critical security step is changing the router’s default administrative password. This is the password you use to log into the admin panel, not your WiFi password. Leaving it as "admin" is like leaving a master key under the doormat for anyone to find.
Smart Features For Better Connectivity
Beyond security, modern routers have features designed to make your life easier and your connection better. One of the most useful, especially when you have visitors in your RV, is the guest network.
A guest network creates a separate, isolated WiFi connection just for visitors. This means they can get online without having access to your main network or any of the devices on it, like shared hard drives or printers. It’s a simple way to offer hospitality without compromising your privacy.
Setting up a guest network keeps your primary devices secure. It acts like a digital velvet rope, giving guests internet access while keeping them completely separate from your personal data and devices.
This separation is particularly important as the router market continues to grow and add features. For instance, the wireless router industry in the Asia Pacific region is expected to grow from USD 4.395 billion in 2021 to an estimated USD 6.334 billion by 2025. That growth is driven by advanced features like these, and knowing how to configure them is key. For more on these trends, you can explore detailed market insights.
Finally, channel selection can be a game-changer, especially in a crowded RV park. Routers broadcast on different WiFi channels, and if too many nearby networks are on the same one, it's like everyone trying to talk at once. Using a WiFi analyzer app can help you find a less congested channel, which can significantly boost your signal quality.
If you find your signal is still weak even after these optimizations, you might need a little extra boost. Be sure to check out our guide on how to extend your WiFi range.
Common Router Setup Questions Answered
Even the smoothest router setup can hit a bump or two. It happens to everyone. Let's walk through some of the most common questions and snags people run into, so you can get your network dialed in and working perfectly.
So, you've followed all the steps, but you've got no internet. Don't panic! The first thing I always try is a simple power cycle. Go ahead and unplug both your modem and the router. Give it a full 60 seconds of being unplugged—this is key. Then, plug the modem in first and wait for its lights to go solid and stable before you even think about plugging the router back in. This little reboot sequence fixes simple communication hiccups more often than not.
Finding Router and Network Info
What happens if the default IP address for logging into your router settings just isn't working? It’s a common headache.
On a Windows PC, pull up the Command Prompt, type ipconfig, and hit Enter. You're looking for the line that says "Default Gateway"—that's your router's address. If you're on a Mac, you can find the "Router" address right in your network connection details.
Another question that comes up all the time is which WiFi band to use. Think of it this way:
- 2.4 GHz: This is your long-distance runner. It pushes a signal further, making it great for devices that are far from the router and don't need insane speeds for things like checking email.
- 5 GHz: This band is the sprinter. It's much faster but has a shorter range. It's perfect for your heavy-hitting devices like a 4K streaming stick or gaming console that are relatively close by.
If you're still dealing with connection drops or other weird issues after trying these fixes, we have a more in-depth guide on Netgear router troubleshooting that digs into more advanced solutions.
From my experience, a stable connection is all about managing these small details. Just making sure your cables are snug and rebooting your gear in the right order solves more than 50% of initial setup problems.
Final Checks and Enjoying Your New Network
Alright, you've wrestled with the technical bits and your new router is humming along. Now for the fun part—actually getting your gear hooked up to your shiny new, secure network.
First things first, let's get your essential devices connected. Grab your smartphone, your laptop, and maybe that smart TV you've been wanting to catch up on. Try connecting each one to make sure they can find and join your new WiFi without a hitch.
Once you have a couple of devices online, it's a great idea to run a quick speed test. Just search for any free speed test website—there are dozens of good ones. This is your moment of truth. The test will show your download and upload speeds, giving you instant confirmation that your new setup is delivering the performance you're paying for. It's a simple check that brings a whole lot of peace of mind.
Your Final Security Checklist
Before you kick back and start streaming, let's just tick off a few final security boxes. Making sure these are done means your network isn't just fast; it's also locked down tight against any unwanted visitors.
- Custom SSID: Is your WiFi network name unique and anonymous? Check.
- Strong Password: Did you set a long, complex password using WPA3 or WPA2 security? Check.
- Admin Login Changed: Have you updated the router's main administrative password from the factory default? Double-check.
- Firmware Updated: Is your router running the absolute latest firmware version available? Perfect.
With those final items confirmed, you've officially built a fast, stable, and secure network that's ready for anything—whether you're parked for the season or rolling down the highway in your RV. This solid foundation will keep all your online activities running smoothly.
Now you can confidently connect the rest of your gadgets and start enjoying the stable, high-speed internet you just worked to create.
For high-speed 5G internet that keeps up with your life on the road or in rural areas, check out SwiftNet Wifi. Explore our reliable internet solutions at https://swiftnetwifi.com.
#rv #rvlife #rvliving #rvlifestyle #rvrenovation #rvremodel
#rvtravel #rvcamping #rvadventures #ruralwifi #5gwifi
#5ginternet


