

It's one thing to have internet, but it's another thing entirely to know what you're actually doing with it. You can get a handle on your data consumption by checking your router's admin panel for a big-picture view, digging into built-in reports on Windows and macOS, or simply looking at the mobile data settings on your iPhone or Android.
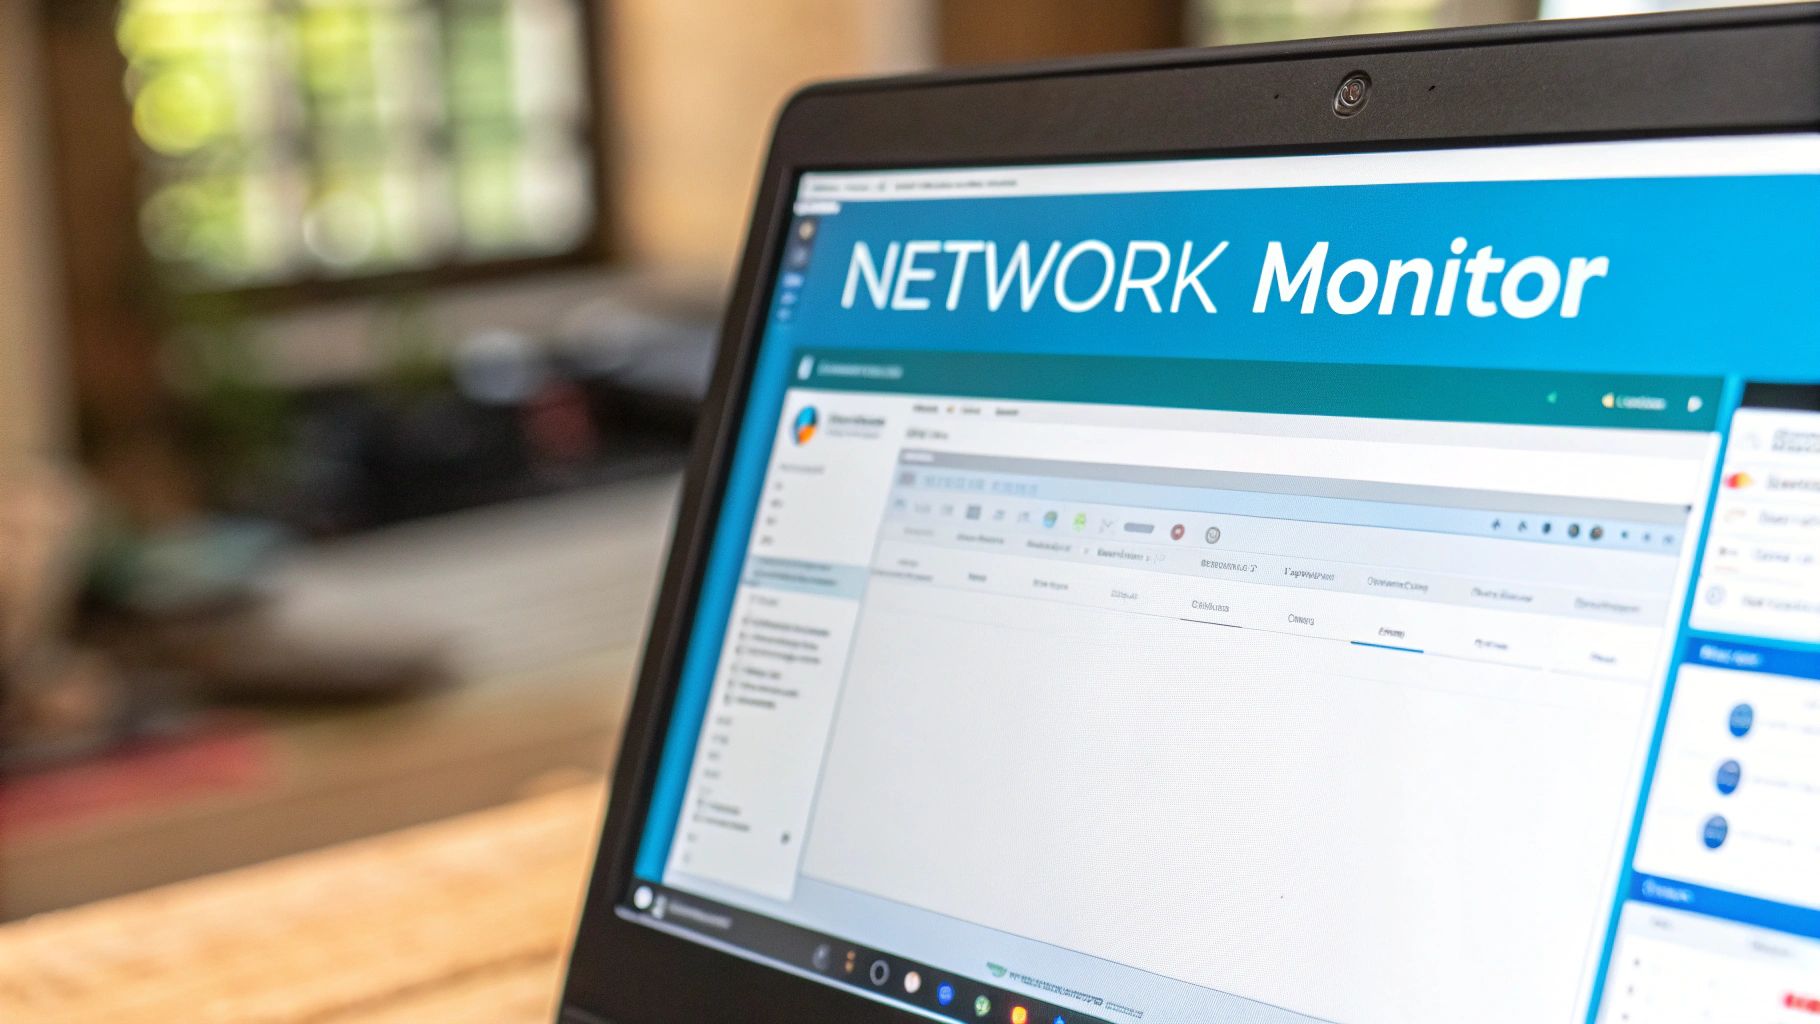
But for the most straightforward, no-fuss overview of every single device on your network, a user-friendly app like the SwiftNet Wifi portal gives you a clean, visual dashboard of your usage.
Why Monitoring Your Internet Usage Is a Game Changer
Before we get into the nitty-gritty of how to check your usage, let's talk about why it even matters. Honestly, tracking your internet data is about so much more than just satisfying some idle curiosity. It’s about taking real, active control over your digital life, your budget, and even your security. It puts you in the driver's seat of your own network.
This kind of awareness is more critical now than ever before. The number of internet users across the globe has ballooned to a staggering 5.64 billion people—more than double the number of people who are still offline. And with mobile phones driving 62% of all web traffic, our data consumption has become a constant, often invisible, part of our daily routines.
Real-World Scenarios and Benefits
Think about it in practical terms. A family gets a brand-new 4K smart TV. They’re thrilled. What they might not realize is that streaming those gorgeous ultra-high-definition movies is quietly guzzling down massive amounts of data. Suddenly, they're hit with an overage fee from their provider, all because they blew past their monthly cap without even knowing it. If they knew how to check their usage, they could have spotted the new TV’s data appetite right away and either adjusted the streaming quality or upgraded their plan.
Here’s another one I see all the time, especially with remote work. You're on an important video call, and it's lagging terribly. It's easy to blame your internet provider, but the real culprit could be a cloud backup service humming away in the background, hogging all your bandwidth. Pinpointing that single issue can completely transform your work-from-home experience. This is an absolutely vital skill for anyone embracing the digital nomad lifestyle. For those who are often on the move, our guide on how to work remotely and travel has some extra tips.
A sudden, unexplained spike in your data usage can be the first warning sign of an unauthorized device on your network or a malware infection on one of your computers. Monitoring is your first line of defense.
Taking Control of Your Digital Footprint
At the end of the day, learning how to see your internet usage gives you the power to troubleshoot, optimize, and secure your connection. You can make sure bandwidth is shared fairly among everyone in the house, dodge those nasty surprise charges from your provider, and keep your online experience running smoothly for everyone.
Understanding your data flow is a key part of managing your digital footprint, much in the same way that effective information life cycle management strategies are crucial for how organizations handle their own data.
Get the Full Picture from Your Wi-Fi Router
While checking usage on individual devices is helpful, your Wi-Fi router is the ultimate source of truth. Think of it as the main gatekeeper for your home's internet connection. It sees and logs every single gigabyte that comes in or goes out, making it the most accurate place to see the complete picture of your household's data consumption.
Accessing this data means logging into your router's administrative interface, often called the admin panel. If that sounds overly technical, don't worry—it’s usually a straightforward process that anyone can handle.
Finding Your Router's Login Details
First things first, you need to find your router's IP address and login credentials. Manufacturers typically print this information right on a sticker, usually on the back or bottom of the router itself. It’s the easiest place to start.
Go ahead and flip your router over and hunt for that label. You're looking for a few key pieces of info:
- IP Address: This will be a string of numbers, often labeled "Default Gateway," "Router IP," or something similar. Common examples are 192.168.1.1 or 10.0.0.1.
- Username: The default is almost always "admin."
- Password: This will be a unique password, or sometimes simply "password."
With these details in hand, open a web browser on a computer or phone connected to your network. Type the IP address directly into the address bar (where you'd normally type a website) and hit Enter. A login page should pop up.
Security Pro-Tip: If you're still using that default password from the sticker, now is the perfect time to change it. Creating a strong, unique password is one of the single best things you can do to keep your home network secure.
Navigating the Router's Admin Panel
Once you're logged in, you'll be in your router's command center. The layout and exact wording will look different depending on your router's brand—Netgear, TP-Link, and ASUS all have their own unique interfaces—but the underlying goal is the same. You need to find the traffic or bandwidth monitor.
Start by looking for menu items with obvious names. I've found that usage stats are often tucked away under headings like these:
Advanced > Traffic MeterStatus > Bandwidth UsageNetwork Statistics > Traffic MonitorQoS (Quality of Service) > Statistics
Click around and explore the different tabs. The feature you want will show you a summary of data downloaded and uploaded over a certain time frame. The best routers will even break this down by each connected device, which is incredibly useful for spotting which gadget is the data hog in your home. These insights can also be a lifesaver when you need to troubleshoot common network issues that might be slowing you down.
This router-level view is invaluable. It’s the only way to capture everything—from your smart TV streaming in 4K to your gaming console's massive updates—and get the true story of where all your data is going.
Pinpoint Data Hogs on Your Windows PC or Mac
While your router gives you the big-picture view, your computer's operating system is where you can get your hands dirty and see exactly which apps are gobbling up your bandwidth. This is how you catch those sneaky background processes that can grind your connection to a halt without you even noticing.
Luckily, both Windows and macOS have some powerful, built-in tools to help you play detective. Knowing how to use them can be the difference between a frustratingly slow day and a smooth online experience. Let's dive in.
Checking Data Usage in Windows
Windows makes it refreshingly simple to see what you've used over the past 30 days. The tool is baked right into the operating system, so you don't need to download a thing.
Just head over to Settings > Network & Internet > Data usage. You’ll immediately see a clean overview of your total data use, followed by a list of every single application and how much it consumed.
This organized list makes it incredibly easy to spot if a new game, a streaming marathon, or a cloud backup is the culprit behind a recent data spike.
This focus on individual data use is part of a much bigger story. The number of internet users globally is expected to climb to a staggering 5.56 billion by 2025—that's more than double the 2.53 billion users back in 2013. This explosion shows just how vital internet access has become, and why managing our own data use is more important than ever.
For anyone living in less-connected areas, these trends really hit home. Our guide on securing reliable internet access for rural areas offers some great context on how this expansion is changing communities everywhere.
Finding Network Activity on a Mac
If you're a Mac user, your key to data insights is a powerhouse utility called Activity Monitor. It gives you a live, real-time look at everything happening on your Mac, including detailed network stats.
You can find it by going to your Applications folder > Utilities > Activity Monitor. Once it’s open, just click on the "Network" tab. You'll see a list of every process currently running on your machine.
Pay attention to these two columns:
- Sent Bytes: This shows how much data your Mac has uploaded for each process.
- Rcvd Bytes: This shows how much data your Mac has downloaded for each process.
By sorting the "Rcvd Bytes" column from highest to lowest, you can instantly see which app or process is downloading the most data right now. This is a lifesaver for troubleshooting why your video call is suddenly choppy or your online game is lagging.
Unlike the 30-day window on a PC, Activity Monitor also tracks cumulative data since your Mac was last restarted. Here’s a pro tip: if you want to track your usage to line up with your ISP's billing cycle, just restart your computer on the first day of the new cycle. This resets the counters, giving you a clean slate for the month.
Track Data Usage on Your Android or iPhone
Let's be real—our smartphones are practically an extension of our arms. We use them for everything, from streaming our favorite playlists to getting directions across town. That constant connection makes them a huge source of data consumption, especially when we're off Wi-Fi. Thankfully, both Android and iOS have built-in tools that let you see exactly where every megabyte of your mobile data goes.
This isn't just a feeling; it's a global reality. A staggering 95.9% of internet users now get online with their smartphones, cementing mobile as the primary way we connect. Knowing how to manage that connection isn't just a nice-to-have anymore—it's a crucial skill. If you're curious about the broader trends, the latest internet usage statistics from SG Analytics offer some fascinating insights.
How to See Internet Usage on Android
Android really shines when it comes to giving you control over your mobile data. You get detailed tracking and even tools to stop yourself from going over your monthly limit. The exact menu names can differ a bit depending on who made your phone (like Samsung or Google), but the general path is almost always the same.
First, pop open your Settings app and look for Network & internet. Inside that menu, you'll find an option like Data usage or SIMs. Tap it, and you’ll see a clear overview of your total cellular data use for your current cycle.
But this is where Android gets really helpful—it lets you take action right from this screen.
- App Breakdown: Just below your total usage, you get a list of every app and how much data it's been sipping. It's the perfect way to spot a data hog.
- Data Warning & Limit: You can tell your phone to send you a heads-up when you're getting close to your monthly cap. You can even set a hard limit that cuts off mobile data automatically to make sure you never get hit with overage charges.
This level of detail is perfect for figuring out if YouTube or Instagram is the secret culprit behind your shrinking data plan.
My personal pro-tip: Go into your phone's data usage settings and set the billing cycle reset date to match the day your carrier plan actually renews. This way, the numbers you see on your phone will line up perfectly with what your provider is tracking.
Checking Cellular Data on Your iPhone
For all the iPhone users out there, the process is just as simple, though it works a little differently. To check out your internet usage, open the Settings app and then tap on Cellular.
Scroll down a bit until you see the Cellular Data section. You'll find your Current Period usage right at the top, which is the running total of all the data you've used. Below that, you’ll see an alphabetical list of all your apps, each with its own data usage number next to it.
This is great for pinpointing which app is your biggest data consumer. But there's one critical detail every iPhone owner needs to know: iOS doesn't automatically reset this counter. You have to do it yourself. To get an accurate picture of your monthly usage, you need to scroll all the way to the bottom of the Cellular screen and tap Reset Statistics on the day your billing cycle starts over.
If digging through your router’s technical menus or deciphering your computer’s activity monitor feels like a chore, I get it. There’s a much simpler way to see your internet usage.
For anyone who wants powerful insights without the headache, the SwiftNet Wifi portal and app offer a refreshingly easy solution. This approach is designed for everyone, not just the tech-savvy among us.
When you log into your SwiftNet account, you’re greeted with a clean, visual dashboard of your entire network’s activity. There are no confusing settings or technical jargon to wade through. It’s all laid out in a way that just makes sense.
Get Instant Clarity on Your Network
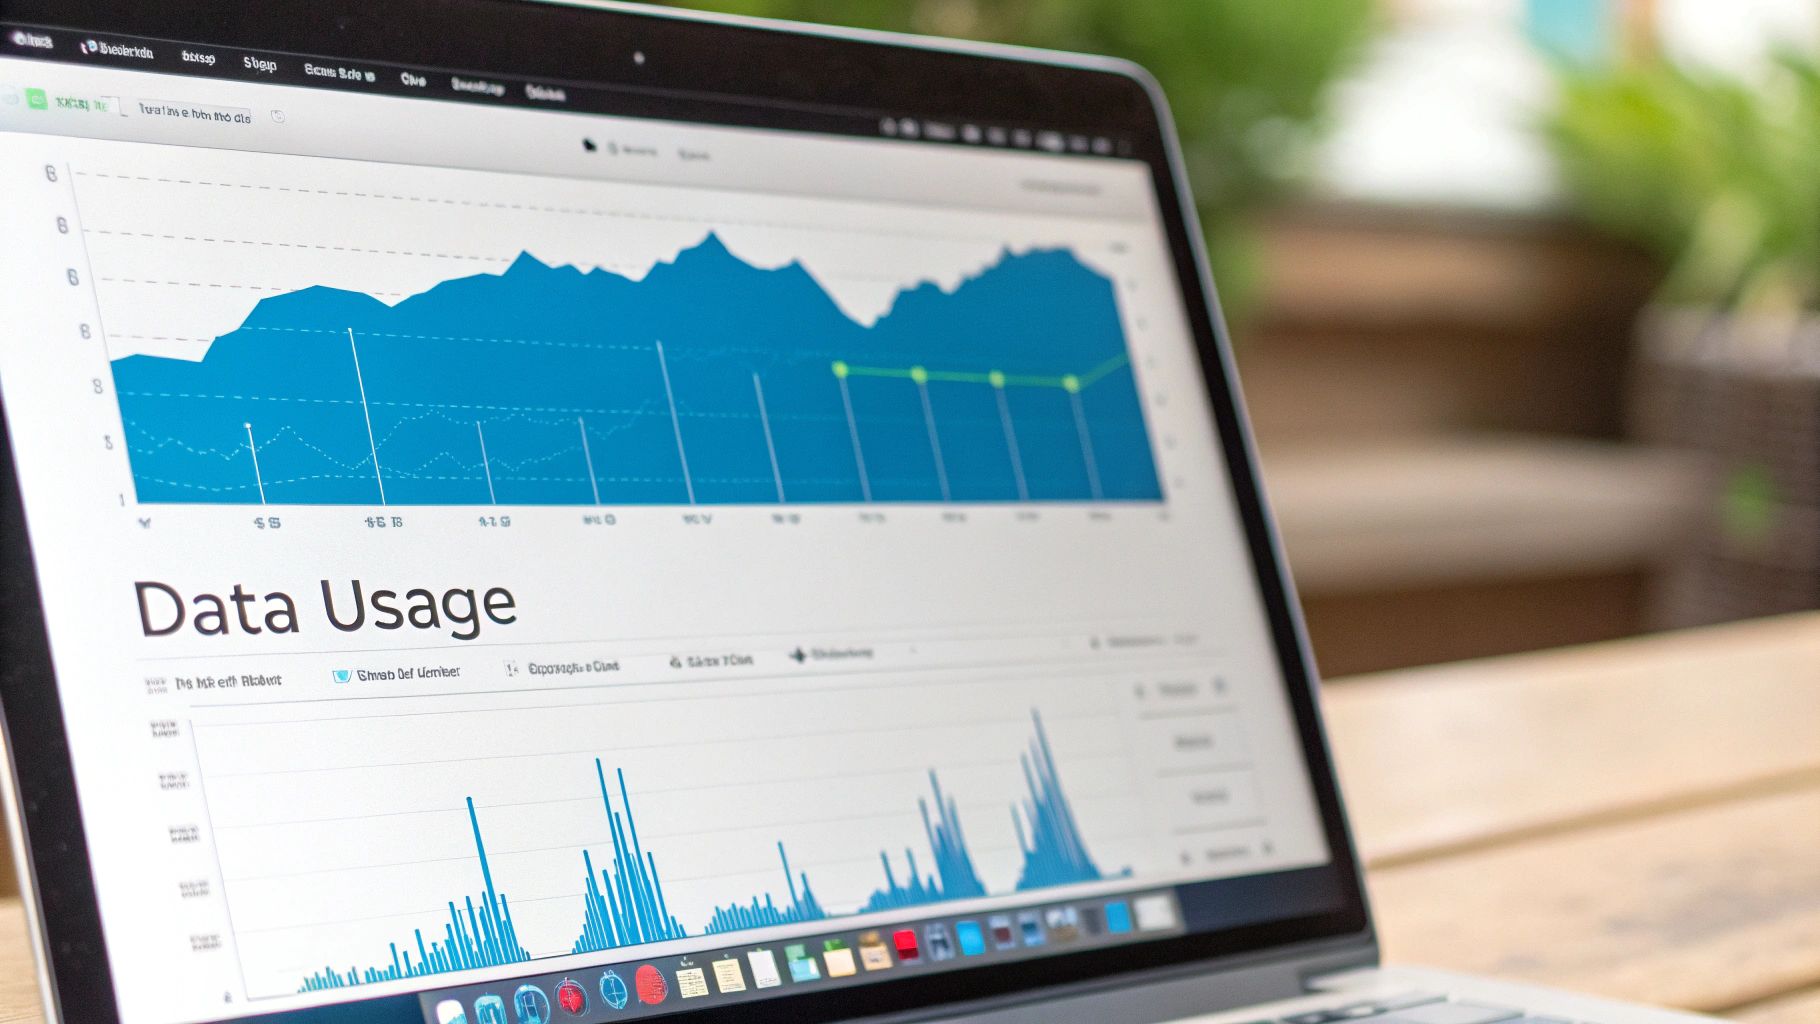
The real magic of using the portal is its user-friendly design. You can instantly see which devices are connected to your network and how much data each one is gobbling up. Wondering if the kids’ tablet is the reason for a data spike? The answer is right there, just a tap away.
This clear breakdown is a lifesaver for managing a modern household. Think about it: the average smartphone alone now consumes over 21.1 GB of cellular data per month. When you add in smart TVs, laptops, and gaming consoles, that number skyrockets.
The SwiftNet Wifi portal transforms complex network data into simple, actionable insights. This allows you to stop guessing and start managing your internet connection effectively, making sure everyone has the bandwidth they need without the drama.
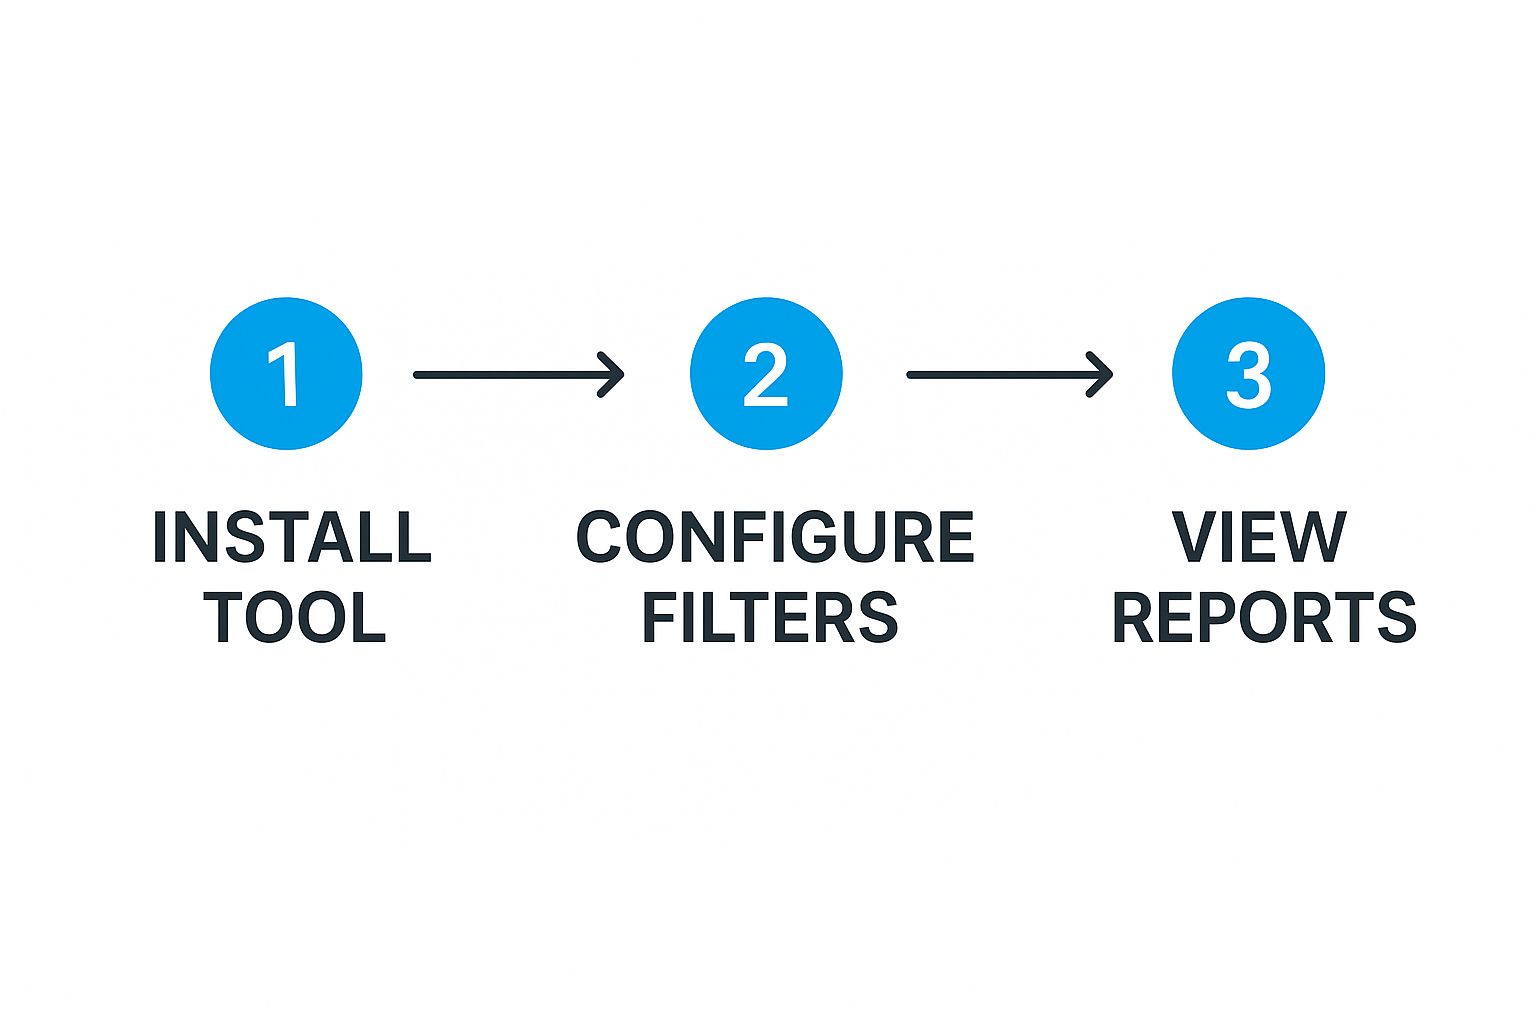
The whole process is designed to be visual and intuitive. This chart shows just how simple it is to go from setup to seeing exactly what’s happening on your network.
This streamlined approach means you spend less time playing tech support and more time enjoying a stable, fast connection.
Advanced Features Made Simple
Beyond just checking your current usage, the SwiftNet portal puts features in your hands that used to be reserved for IT professionals.
Here’s a quick look at what you can do with just a few clicks:
- View Historical Trends: Look back at your data usage over days, weeks, or even months to spot patterns. Is your bill higher because of more movie nights or a new game download? Now you’ll know.
- Identify Data Hogs: Easily see a ranked list of the most data-hungry devices on your network. It’s a game-changer for figuring out what’s slowing everyone else down.
- Set Custom Alerts: Get a notification when you’re approaching your data limit. This is perfect for avoiding those nasty, unexpected overage fees from your provider.
This method is the ideal choice for anyone—from busy families keeping an eye on screen time to RV travelers managing a precious data plan—who wants total control over their internet without needing to become a network engineer. It makes managing your digital life accessible and completely stress-free.
Method Comparison for Checking Internet Usage
Feeling a bit overwhelmed by the options? Don't be. Each method for checking your internet usage has its own strengths. This table gives you a side-by-side look at the different approaches, helping you pick the one that fits your needs and technical comfort level.
| Method | Best For | Ease of Use | Data Detail |
|---|---|---|---|
| Router Admin Panel | Tech-savvy users wanting a complete, unfiltered network overview. | Low (Requires technical knowledge) | High (Often shows real-time and aggregate data for all devices) |
| Windows/macOS | Quickly checking the data usage of a single computer. | Medium (Built-in but requires navigating system settings) | Medium (Only shows data for that specific device) |
| iOS/Android | Monitoring cellular and Wi-Fi data on your personal smartphone or tablet. | High (Simple to find in device settings) | Medium (Limited to that specific device, often resets monthly) |
| SwiftNet Wifi Portal | Effortless, family-friendly monitoring of all connected devices in one place. | High (Designed for simplicity and clarity) | High (Provides per-device usage, historical trends, and alerts) |
Ultimately, the best tool is the one you’ll actually use. For most people, the simplicity and comprehensive view of a dedicated portal like SwiftNet offer the perfect balance of power and convenience.
Got Questions About Your Internet Usage? We've Got Answers.
Once you start digging into your internet usage numbers, a whole new set of questions usually pops up. It's one thing to see how many gigabytes you've used, but it's another thing entirely to understand what that means for your day-to-day life online.
Let's walk through some of the most common questions we hear. This isn't just about monitoring your data; it's about actively managing it. That's a crucial skill, especially when you're trying to figure out if your plan is the right fit. If you're wondering where you land, our guide on how much data you actually need is a great place to start.
Why Doesn't My Device's Data Usage Match My ISP's Bill?
This is an incredibly common source of confusion. You check your Windows or Mac and it says you've used 150 GB this month. Then your internet bill arrives, and your provider says you used 165 GB. What gives?
The difference almost always comes down to what is being measured. Your laptop only knows about the data it sends and receives. Your Internet Service Provider (ISP), on the other hand, measures everything that passes through your router—the central hub for your entire home network.
So, that higher number from your ISP includes:
- Every other device connected to your Wi-Fi, like your smart TV, phones, tablets, and gaming consoles.
- A little bit of "network overhead," which is the extra data required just to manage and maintain your connection.
- Tiny rounding differences in how systems define a gigabyte (some use 1000 MB, others use 1024 MB).
The Takeaway: Trust your ISP's report or your router's log for the most accurate picture of your household's total usage. Use your computer's built-in tools to see which specific apps are data-hungry, not to argue with your bill.
Can My Internet Provider See My Browsing History?
This is a huge question, and it gets right to the heart of online privacy. The short answer is: they can see the amount of your traffic, but generally not the content of it.
Think of it like the post office. They know you sent a package, how much it weighs, and the address it's going to. They don't know what's inside the box. Similarly, your ISP knows how much data you're using and that you're connecting to servers for Netflix or Google, but thanks to modern encryption (HTTPS), they can't see the specific shows you watch or the emails you send.
What if One Device Is Sucking Up All the Data?
You've done the detective work and found the culprit: the kids' gaming PC in the basement is chewing through hundreds of gigs a month. Now what? Pinpointing the data hog is half the battle, and luckily, you have a few ways to get things back under control.
Here are a few things you can try right now:
- Adjust Streaming Quality: This is the big one. Most of the time, video streaming is the primary offender. Bumping the quality down from 4K or 1080p to 720p on services like YouTube or Netflix can slash data consumption, and on many smaller screens, you'll barely notice the difference.
- Tackle Background Apps: Many applications, especially on smartphones and computers, are constantly refreshing in the background. Dive into your device’s settings and turn off "background app refresh" or "background data" for anything that isn't essential.
- Scan for Malware: A sudden, unexplained spike in data usage can sometimes be a red flag for a virus. Run a full scan with a reputable antivirus program to make sure nothing malicious is secretly phoning home with your data.
By taking a few of these steps, you can usually rein in a rogue device and get your household's internet usage back to a reasonable level.
Ready to take the guesswork out of your internet usage? With SwiftNet Wifi, you get high-speed, reliable 5G internet perfect for rural homes and RV life, complete with an easy-to-use portal that puts you in control. Stop wondering and start knowing.


